Administration
Register new users via dashboard
- Follow the link http://$DOMAIN/sign-up and enter email and password of the new user.
- Sign in to the specified email and follow the confirmation link in the incoming letter.
If the SMTP server is not configured, you can confirm registration through the administrator dashboard:
- Follow the link http://$DOMAIN/storage/admin and enter administrator login and password (
PLATFORM_ADMIN_EMAILandPLATFORM_ADMIN_PASSWORD) to sign in. - Then click on the Users tab, open the new user’s page in users’ list and put Active status in the Permissions section.
- After that click Save and go to the Sign-In page by clicking VIEW SITE on top of the screen.
- Registration is confirmed! At http://$DOMAIN/sign-in enter email and password to sign in to the workspace.
Work with admin panel
- To get access to the admin panel, follow http://$DOMAIN/storage/admin.
- Credentials are given in the platform.secrets.json file (platform-user-secret: admin_email, admin_password).
Reset authorization token
- Go to the Users block in the Authentication and Authorization section.
- Select a user.
- Select the Reset user's access token action in the drop-down list.
- Click the Go button.
Register new users using cURL-requests
- Use cURL-template below to send API-request for registration of the new user:
curl --location 'http://platform.$DOMAIN' --header 'Content-Type: application/json' --data-raw '{"query":"mutation ($userInfo: RegistrationInput!) {registration(userInfo: $userInfo) {ok}}","variables":{"userInfo":{"password":"password","confirmPassword":"password","email":"email@email.com"}}}'
Fill in the following fields:
http://platform.$DOMAIN– URL of the deployed Platform server"password":"password"– enter password"confirmPassword":"password"– confirm password"email":"email@email.com"– enter email
API should return "ok": true.
- Confirm registration via email, or administrator dashboard (if SMTP-server is not configured).
- Registration is confirmed! At http://platform.$DOMAIN/sign-in enter email and password to sign in to the workspace.
The system automatically creates a separate workspace for each new user. Connecting multiple users to the same workspace is not supported.
Update a license
Preconditions
Installed OMNI Platform with an activated license.
Updating
Copy the license file face_sdk.lic to the setup folder. If the file name is different, rename it to face_sdk.lic.
If the license key has been updated (a new license has been issued, not an existing one has been renewed), update the license key in the files ./cfg/platform.secrets.json and ./cfg/license-server.settings.cfg .
Change to the setup directory and recreate the secrets:
./cli.sh platform install-secretsExpected output:
secret "rabbit-secret" deleted
secret/rabbit-secret created
...
secret "face-sdk" deleted
secret/face-sdk created
name, server or password is empty, "docker-regcreds" secret creation skipped
secret "postgres-creds-pack" deleted
secret/postgres-creds-pack created
Activate the license:
./cli.sh license-server activateExpected output:
[2023-06-20 13:58:49+03:00] INF Activating license key...
[2023-06-20 13:58:50+03:00] INF License activated successfully!
Restart the service:
kubectl delete $(kubectl get pod -o name)Expected output:
pod "platform-activity-matcher-dep-5ffdb45cbf-kkmd7" deleted
...
pod "platform-matcher-dep-5695b46bd5-nvlr7" deleted
Run the command:
watch -n 0.1 kubectl get podand wait until all pods have transitioned to the Running status.
Expected output:
NAME                                                          READY          STATUS         RESTARTS         AGE
platform-activity-matcher-dep-6fdc8bfbd5-pl8ql                 1/1           Running         2 (24h ago)     24h
image-api-age-estimator-dep-544cdfd7c-4khhh                    1/1           Running         0               24h
...
platform-matcher-dep-85ddfdfd4f-7t7br                          1/1           Running         0               24h
End the command with the Ctrl+C.
Check that the license term has been updated:
./cli.sh license-server status-licenseAs a result, the license key and the number of days left to expiration should be displayed. Expected output:
Activation Status: OK
License key: YOUR-LICENSE-KEY
Days Left To Expiration: 10
Deactivate a license
If you need to deploy and use OMNI Platform on another machine, you'll need to deactivate the license on the old machine and activate it on the new one.
On a machine with installed OMNI Platform
Online deactivation
Method 1 (basic)
./cli.sh license-server deactivate
Method 2 (optional)
sudo /opt/platform_license_server/lexfloatserver -d
Method 3 (optional)
- Go to the license server page at http://<your_domain>:8090/, for example http://platform.com:8090/.
- Enter license server credentials. They are available in
auth.admins.usernameandauth.admins.passwordfields of ./modules/license-server/install-kit/config.yaml file. - Click SETTINGS in the upper right corner. Enter the activation key and check the “I have read the above disclaimer and wish to proceed” checkbox.
- Click DEACTIVATE.

Offline deactivation
- Run the command below:
sudo /opt/platform_license_server/lexfloatserver -d --license-key <license_key> --offline-request ./offline-request-deact.dat - Submit the generated file to our support team.
On a machine with deleted OMNI Platform
Option 1
OMNI Platform and distribution have been deleted, but the license server still exists.You can check its status with the command:
sudo service floatingserver status
As a result, the command should return active status.
Method 1
sudo /opt/platform_license_server/lexfloatserver -d
Method 2
- Go to the license server page at http://<your_domain>:8090/, for example http://platform.com:8090/.
- Enter license server credentials. They are available in
auth.admins.usernameandauth.admins.passwordfields of ./modules/license-server/install-kit/config.yaml file. - Click SETTINGS in the upper right corner. Enter the activation key and check the “I have read the above disclaimer and wish to proceed” checkbox.
- Click DEACTIVATE.
Option 2
OMNI Platform, distribution and license server have been deleted.Unpack the platform distribution kit.
Fill in the configuration file ./cfg/license-server.settings.cfg.
Install the license server.
./cli.sh license-server installDeactivate the license.
./cli.sh license-server deactivate
Physical server is irretrievably lost
In this case, to deactivate the license, contact our technical support.
Possible errors
ERR Deactivation limit reached!: report the error to our technical support. As a result, the number of available deactivations (“Allowed Deactivations”) will be increased by 1.
Deactivation check
Method 1
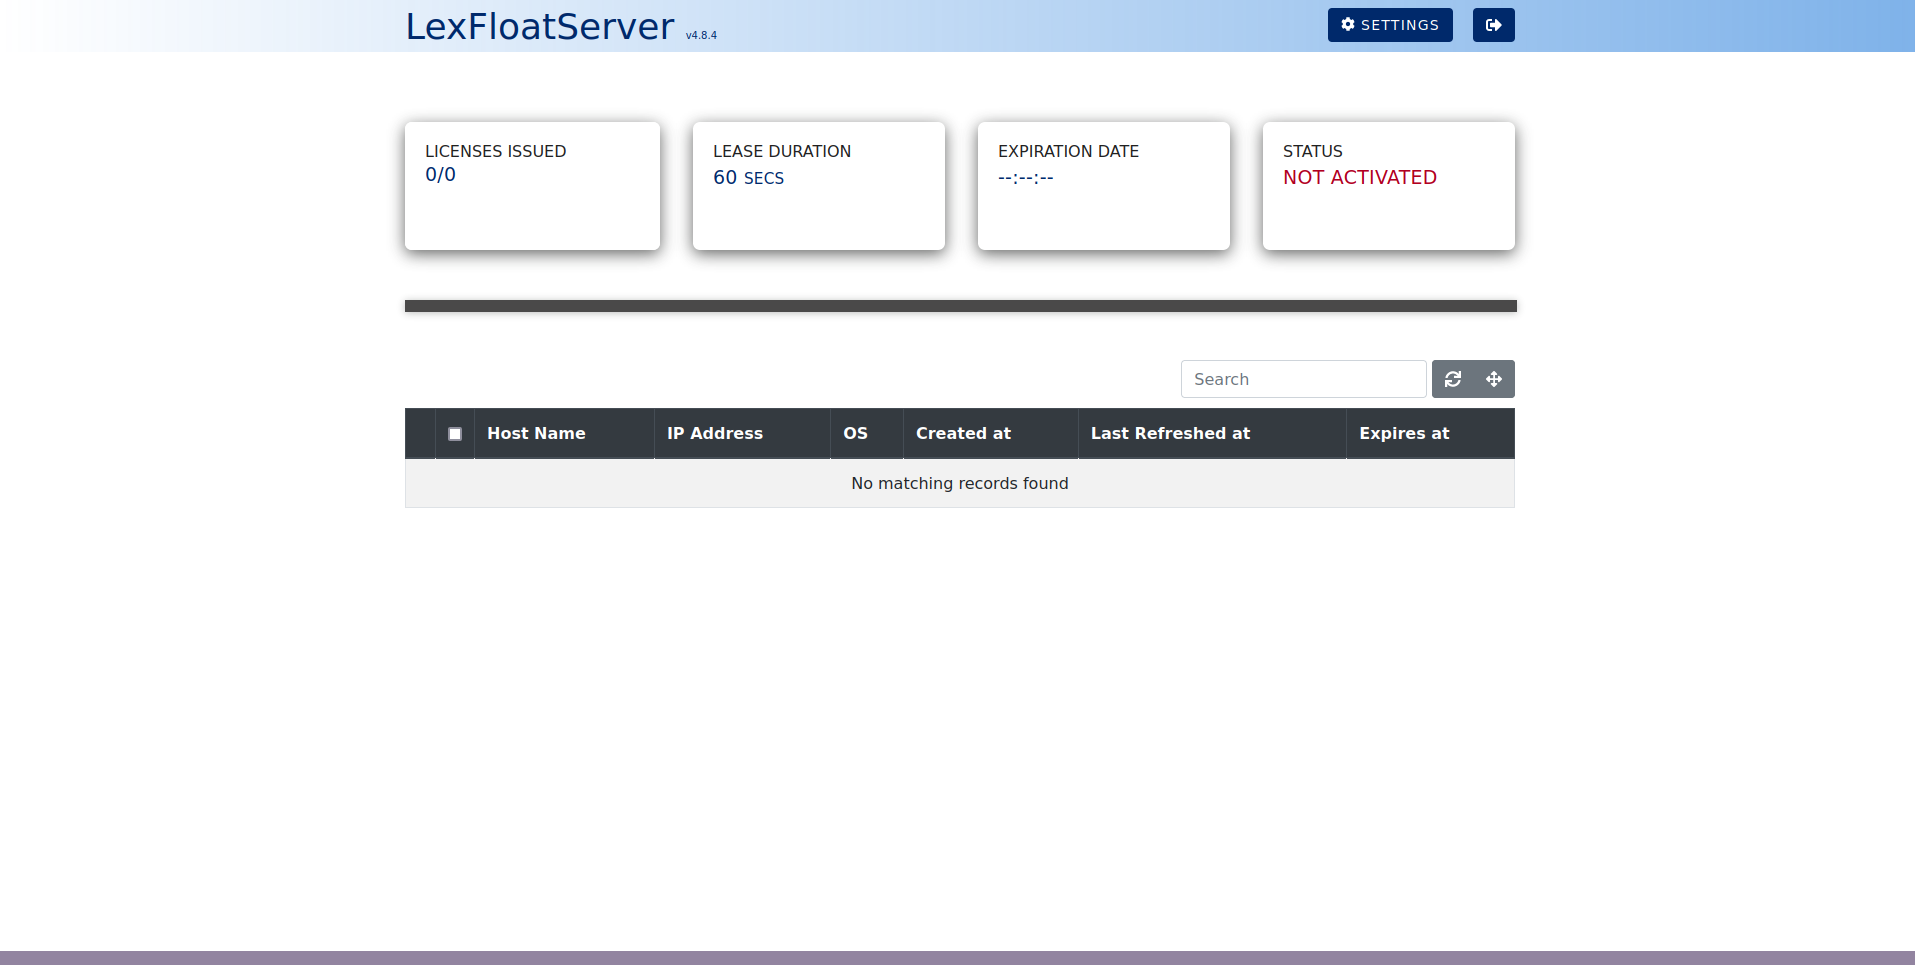
- Go to http://<your_domain>:8090/, for example http://platform.com:8090/.
- Enter license server credentials.
- The page should display NOT ACTIVATED status.
Method 2
Run the command:
./cli.sh license-server status-license
Result:
Activation Status : NOT ACTIVATED
License key:
Days Left To Expiration: 0
Method 3
Run the command:
sudo /opt/platform_license_server/lexfloatserver --status
Result:
Activation Status : NOT ACTIVATED
License key:
Days Left To Expiration: 0
Increase the speed of extracting a biometric template
Changing this configuration only affects the search(sourceImage) API-request.
To increase the speed of extracting a biometric template, open the configuration file ./cfg/image-api.values.yaml, go to face-detector-template-extractor.configs.recognizer.params, add field num_threads: <> and enter the required number of threads in the field.
For maximum performance, the number of threads must be selected relative to the configuration of OMNI Platform server. The number of threads should not exceed the number of processor cores.
Set the size of incoming events
Events are generated by OMNI Agent and then transmitted to OMNI Platform. The allowed size of transmitted events can be changed in the gateway.event_max_body_size field in the ./cfg/platform.values.yaml configuration file.
The size is indicated in megabytes.
Enable ipvs in a cluster for better load distribution
To improve the throughput of OMNI Platform in the cluster, you can enable ipvs mode. To do this, follow the steps below:
Check that ipvsadm is installed on the server by running the command:
sudo ipvsadm --versionAs a result, the following message will be displayed:
ipvsadm v1.31 2019/12/24 (compiled with popt and IPVS v1.2.1)noteIf the message below appears:
Command 'ipvsadm' not found, but can be installed with:
sudo apt install ipvsadm
install with the command
sudo apt install ipvsadm.Call the command:
KUBE_EDITOR=nano kubectl edit configmaps kube-proxy -n kube-systemIn the opened editor find the line mode: '' and write ipvs in quotes.
Exit the editor and save the changes.
Run the command:
kubectl delete $(kubectl get pods -n kube-system -o name | grep kube-proxy) -n kube-systemFinally run the command:
kubectl logs $(kubectl get pods -n kube-system -o name | grep kube-proxy) -n kube-systemThe following line should appear in the output:
I1206 13:59:06.575938 1 server_others.go:271] "Creating dualStackProxier for ipvs"