Profiles and watchlists
Profiles
Profile is an object that contains metadata about a person, person's photo (avatar), activities and a set of samples, including the main sample. A biometric template from the main sample is used by OMNI Agent to search for a profile in the database, and by OMNI Platform - to associate new activities with the appropriate profile.
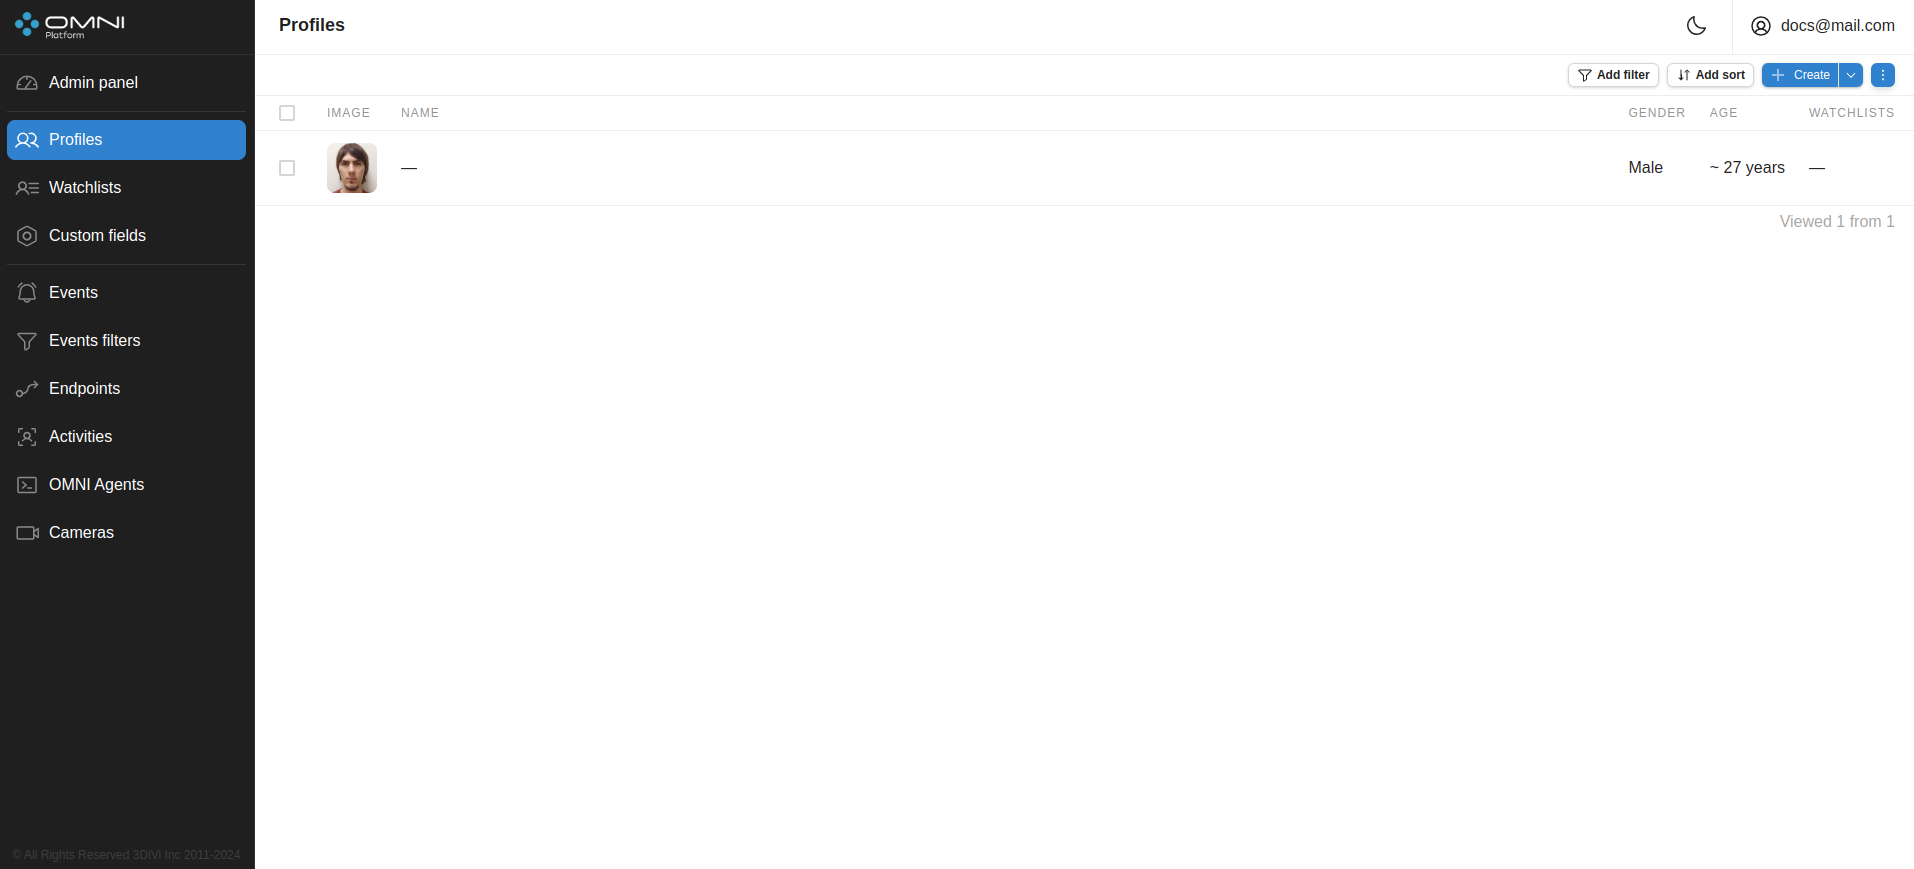
You can access the Profiles page through the side menu or the Profiles widget on the Admin panel.

Create profiles
To create a profile, you need to upload a person's image (avatar) to OMNI Platform and fill in the profile data. In the default profile card, you can specify a name, gender, date of birth and description, and add the created profile to a watchlist.
When the date of birth is specified in the profile card, OMNI Platform automatically calculates the age based on this date. If not specified, the system will calculate and display the age accordingly.
The created profiles will appear in the search index after a certain period of time. By default, this time does not exceed one minute.
If OMNI Agent sends the activity of a person, who does not have a profile in the database, OMNI Platform allows generating a profile directly from the received activity. To do this, just click the Create profile from activity button for a specific activity on the Activities page. In this case, the best shot will automatically be used as the avatar.
Create a single profile
- Click
+ Createbutton at Profiles page. - Upload the image for avatar, fill in the profile data and click
Create.
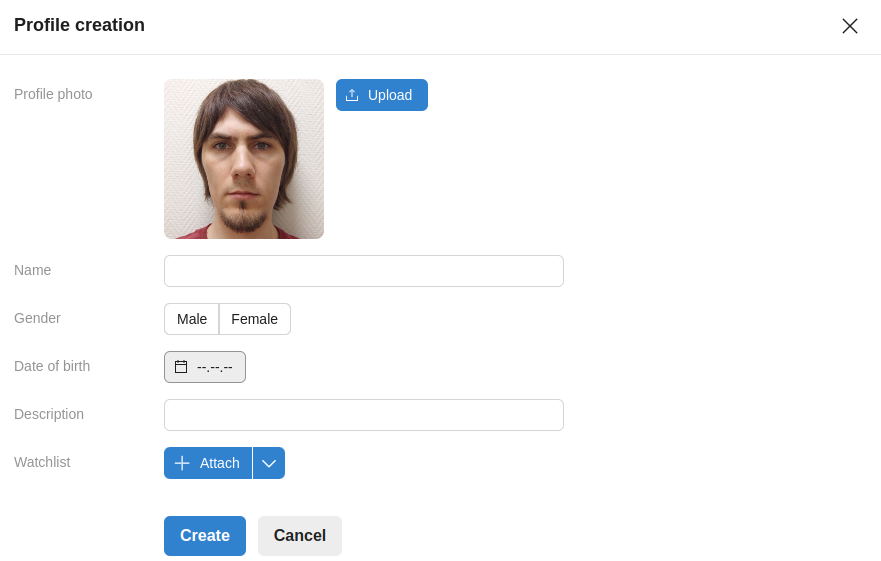
Avatar image should meet the following requirements:
- The image is of good quality, clear, without shadows, bright illumination and glare.
- The image contains only one face.
- The image is full-face.
- The face in the image is in a vertical position.
- We recommend that you do not upload images with a large face inclination angle.
- Facial expression is neutral.
- The eyes of the person in the image are open.
- The image size is no more than 6MB.
- Image format is jpg, png, bmp.
- Image height and width do not exceed 4032 px.
As a result, a profile will be created in the database.
Create multiple profiles
To create up to 25 profiles at once, do the following:
Select Create multiple option of
+ Createbutton.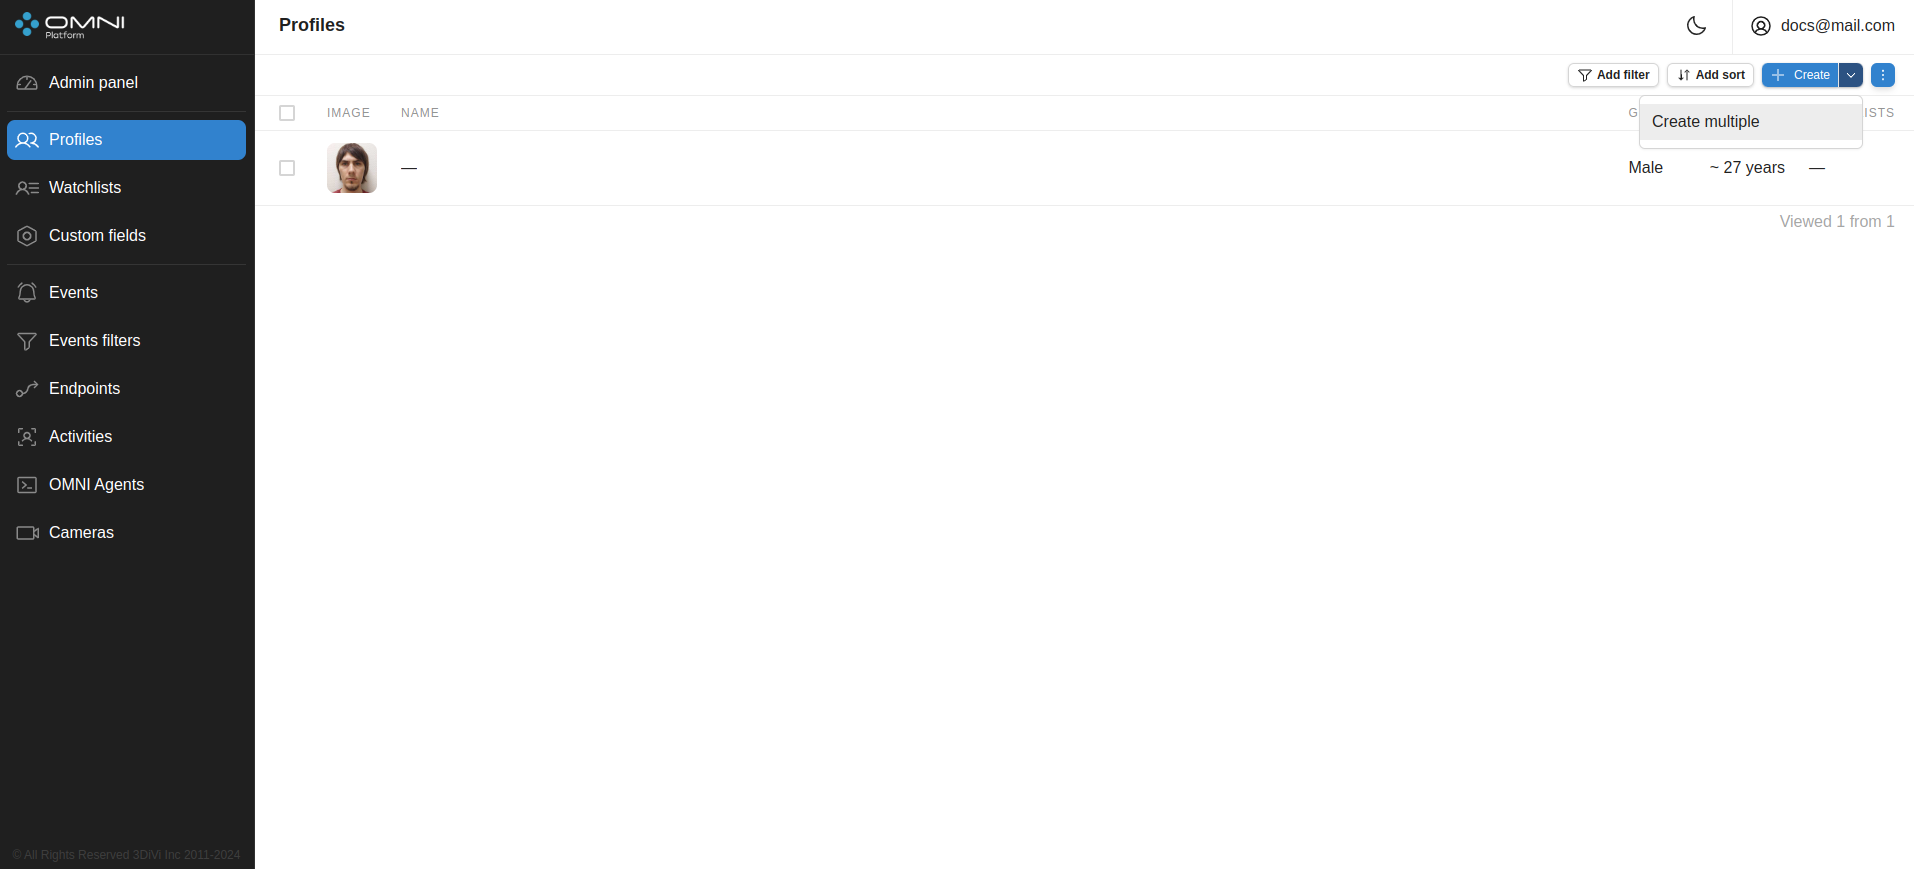
Drag-and-drop several images or select files via system file manager. The image requirements are the same as for creating a single profile.
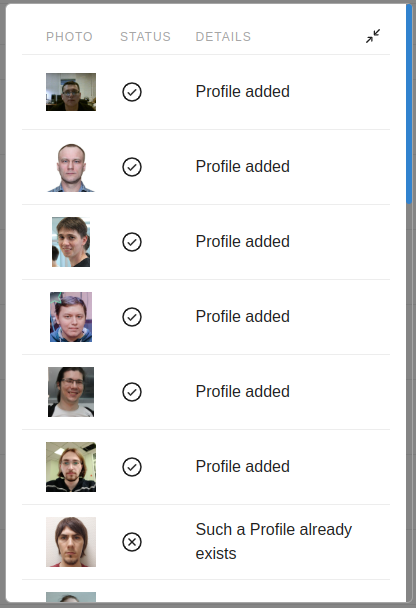
The profiles are created in several steps:
- The uploaded image is checked for the above-mentioned image requirements.
- The uploaded image is checked for duplication.
If the image passes a check, you'll see the message that a new profile is successfully added, otherwise OMNI Platform will return an error note.
To create profiles from your dataset images you can use a special script, included into the OMNI Platform distribution kit. The script accepts a file that contains paths to dataset images, and then sends requests to OMNI Platform to create profiles from these images.
View and edit profiles
Detailed information on each profile is available in its card. To open the profile card, simply click on the profile you are interested in on the Profiles page.
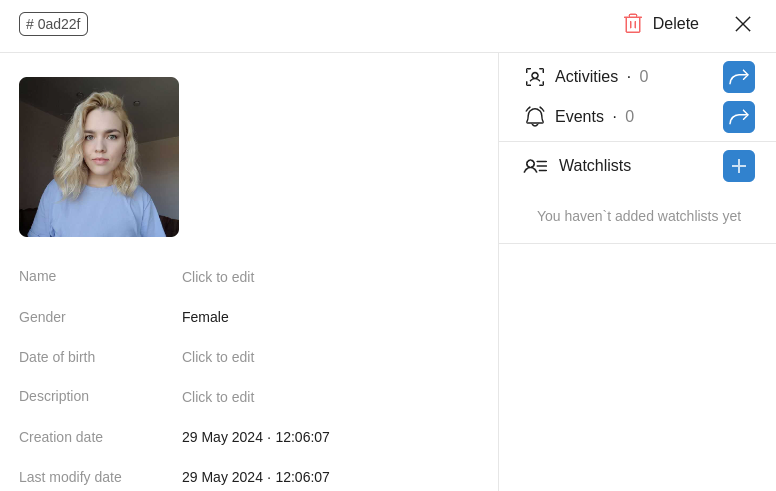
In the upper left corner of the card is a button with a shortened profile ID. To get the full ID, just hover over this button. If you click it, the ID will be copied to the clipboard.
You can change the following fields in the card: avatar, name, gender, date of birth and description. Also, via the card you can add/remove a profile from the watchlist. After making changes, click the Save button.
Delete profiles
Delete a single profile
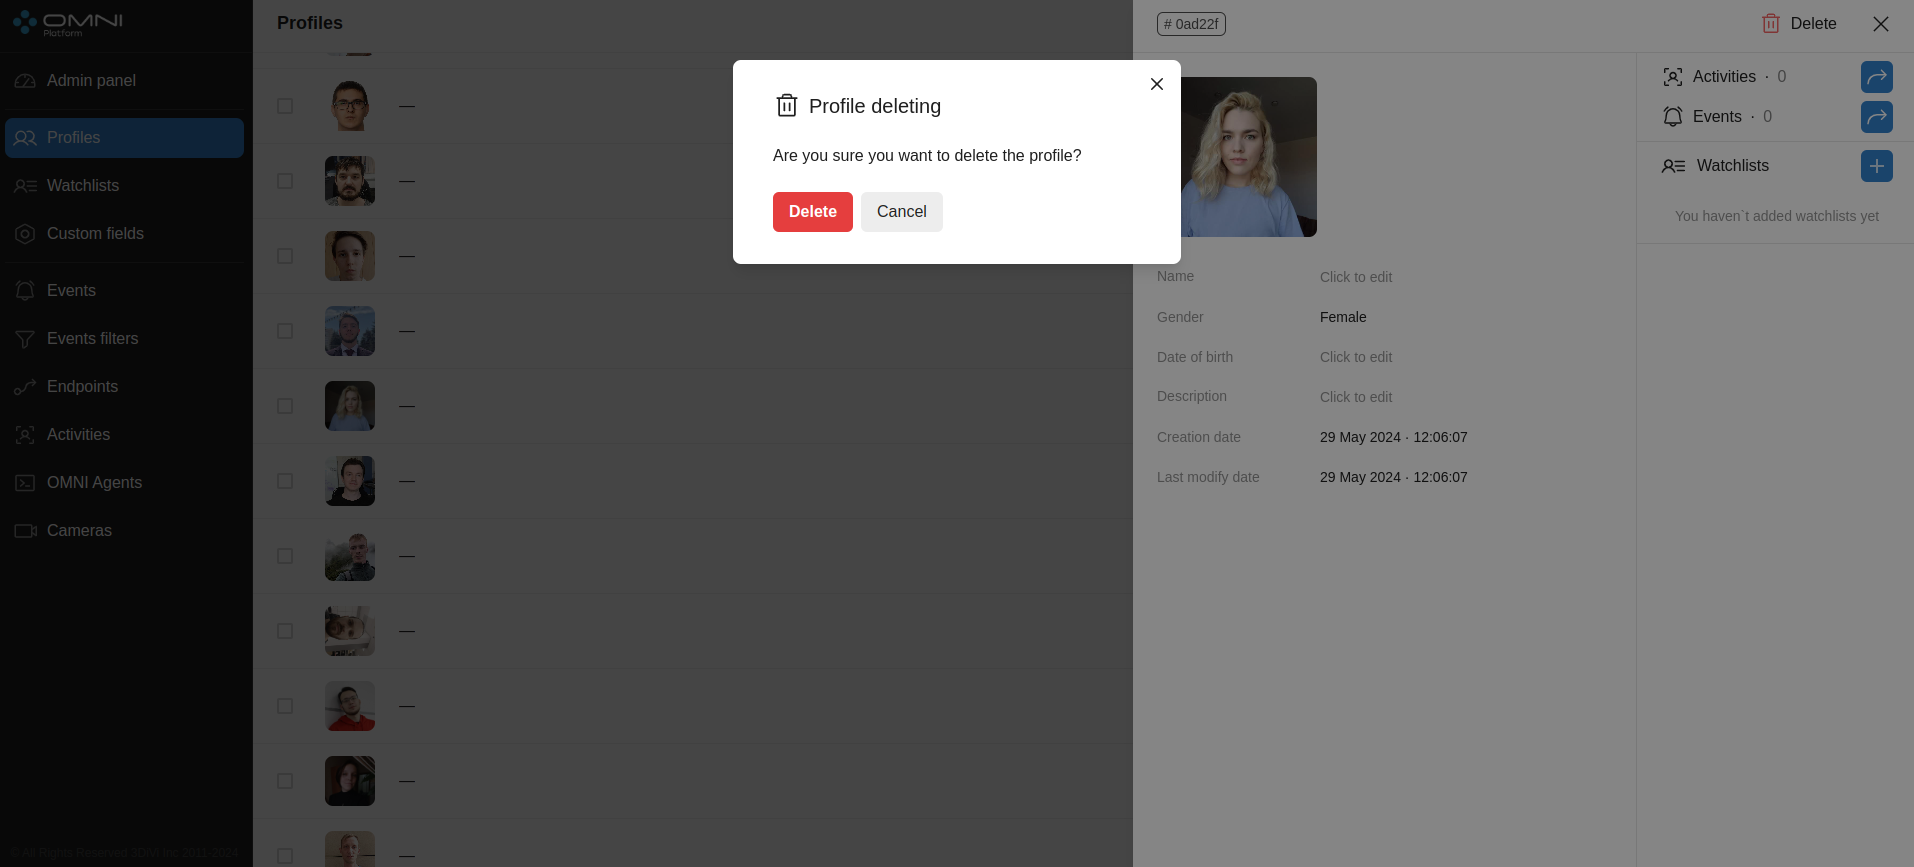
You can delete a profile in the profile card by clicking on the Delete button in the upper right corner.
Delete multiple profiles
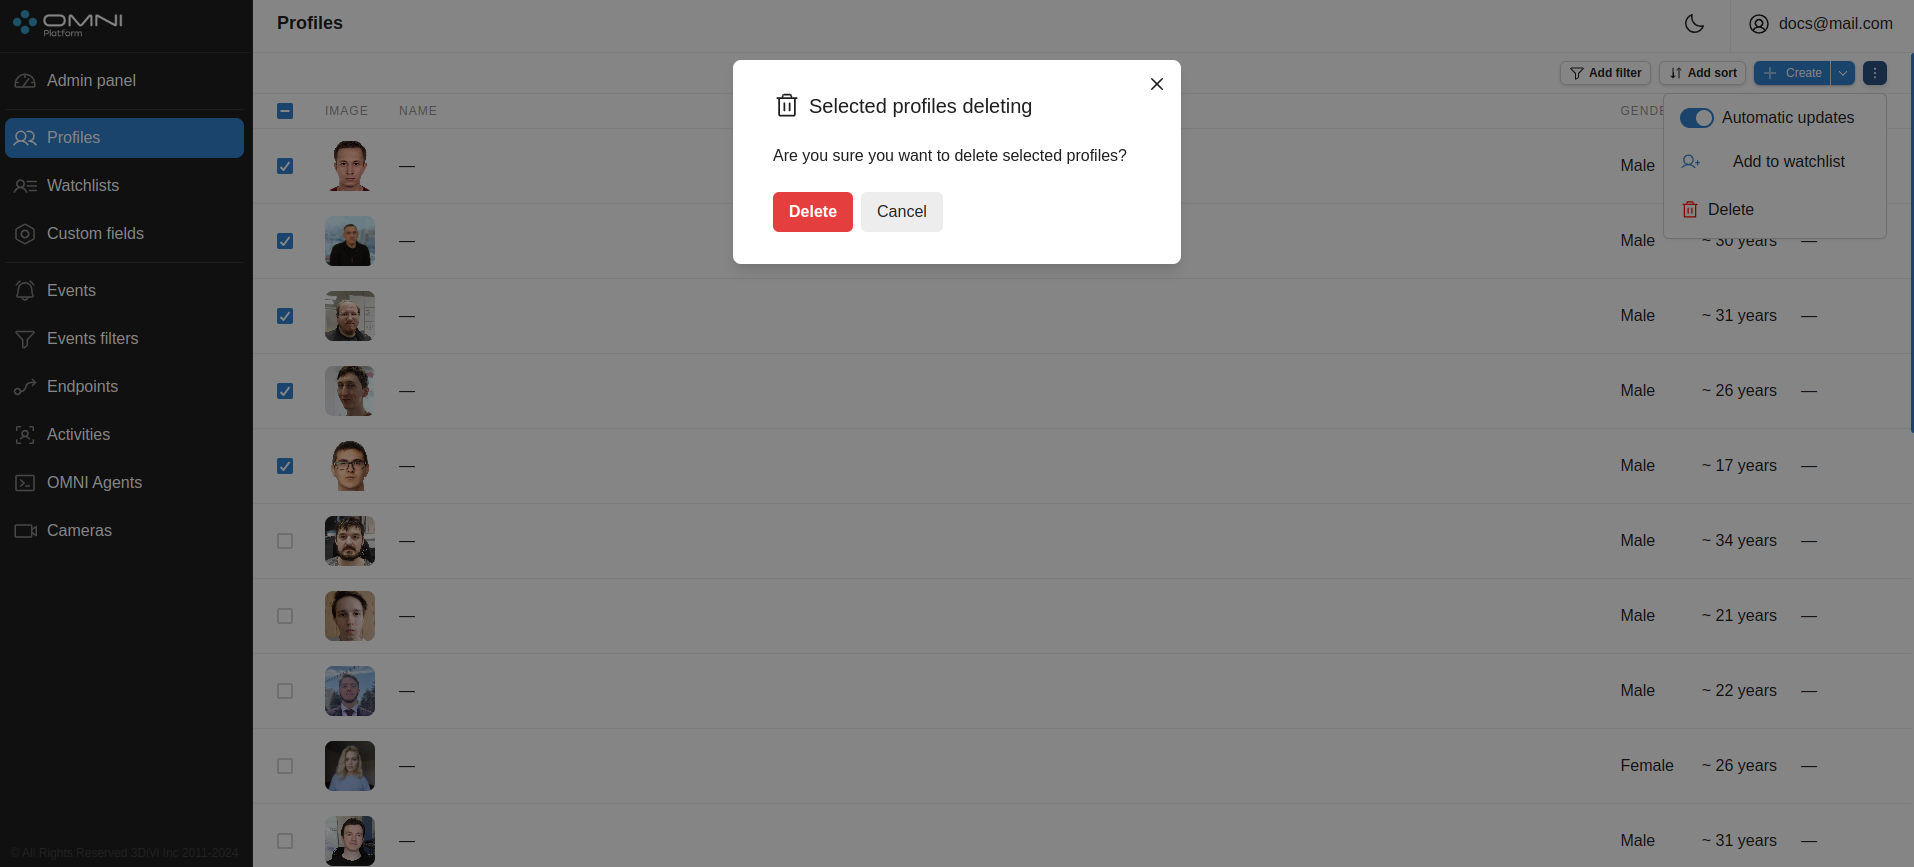
On the Profiles page, select all profiles (via the checkbox in the page header) or certain profiles and click the Delete button.
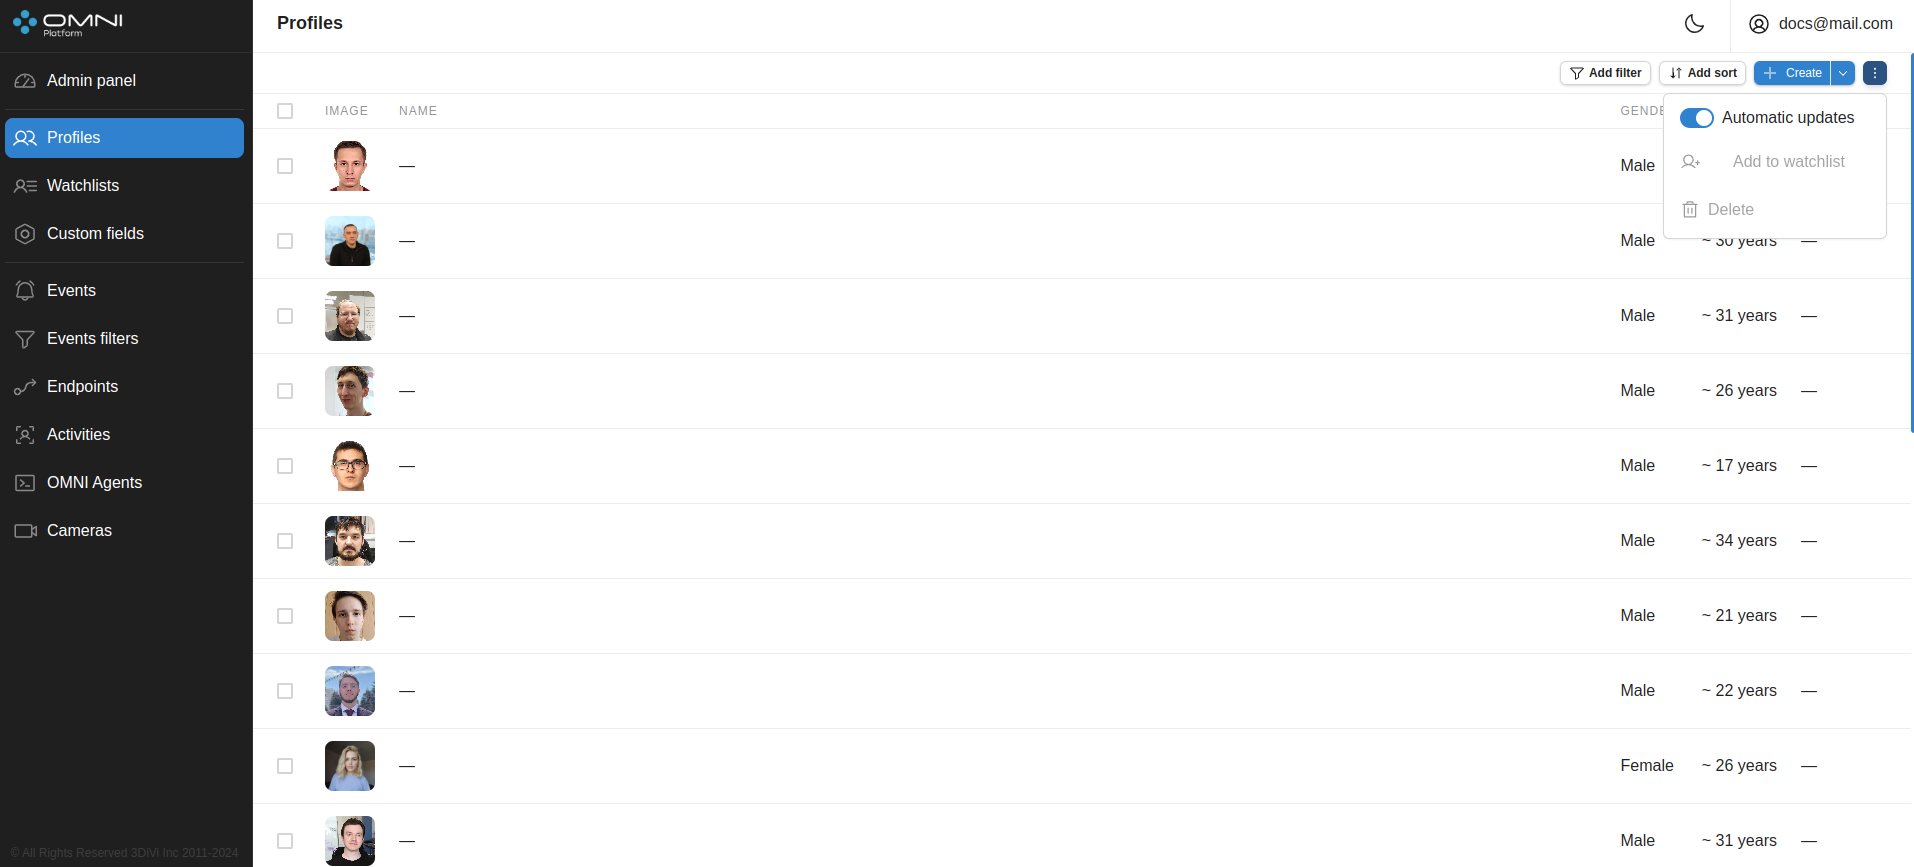
Automatic update
When multiple cameras work simultaneously, new objects are created too often and hinder interactions with already existing ones. In this case you can disable automatic data update.
To disable automatic update, click a toggle button in the table header.
If auto-update is disabled, when a profile is created, a line will appear with a message like "You have () new profiles. Click to update".
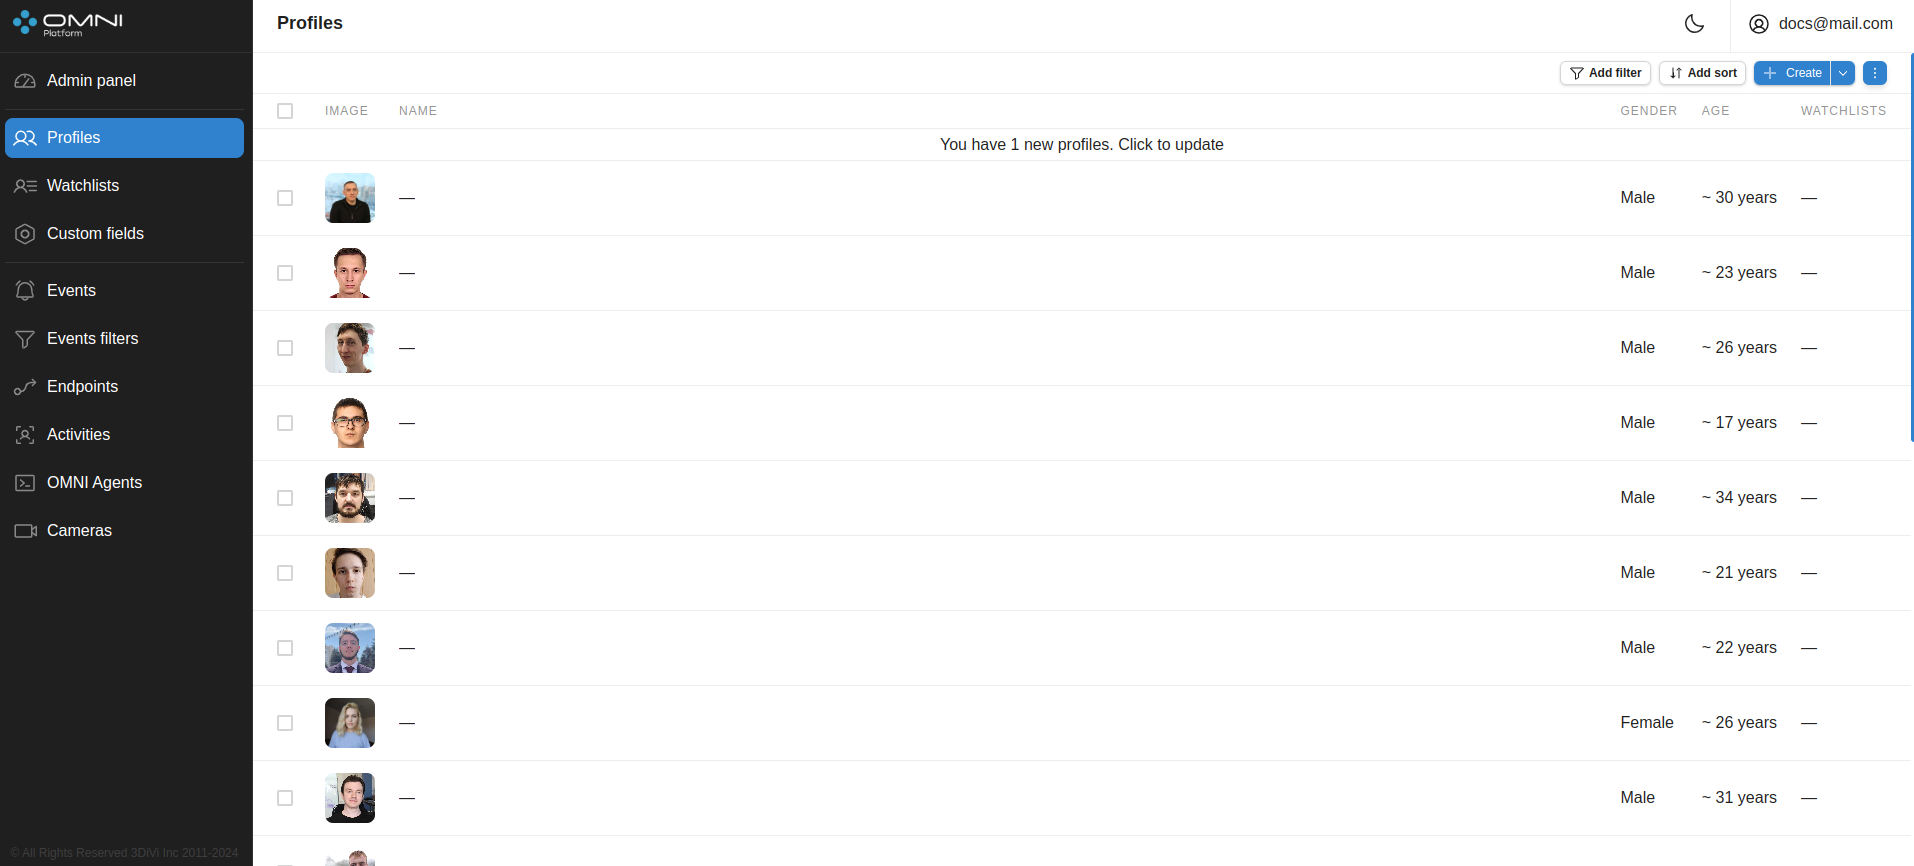
Click this line and OMNI Platform will upload all new data. Automatic update can be enabled by clicking a toggle button or just by updating the page.
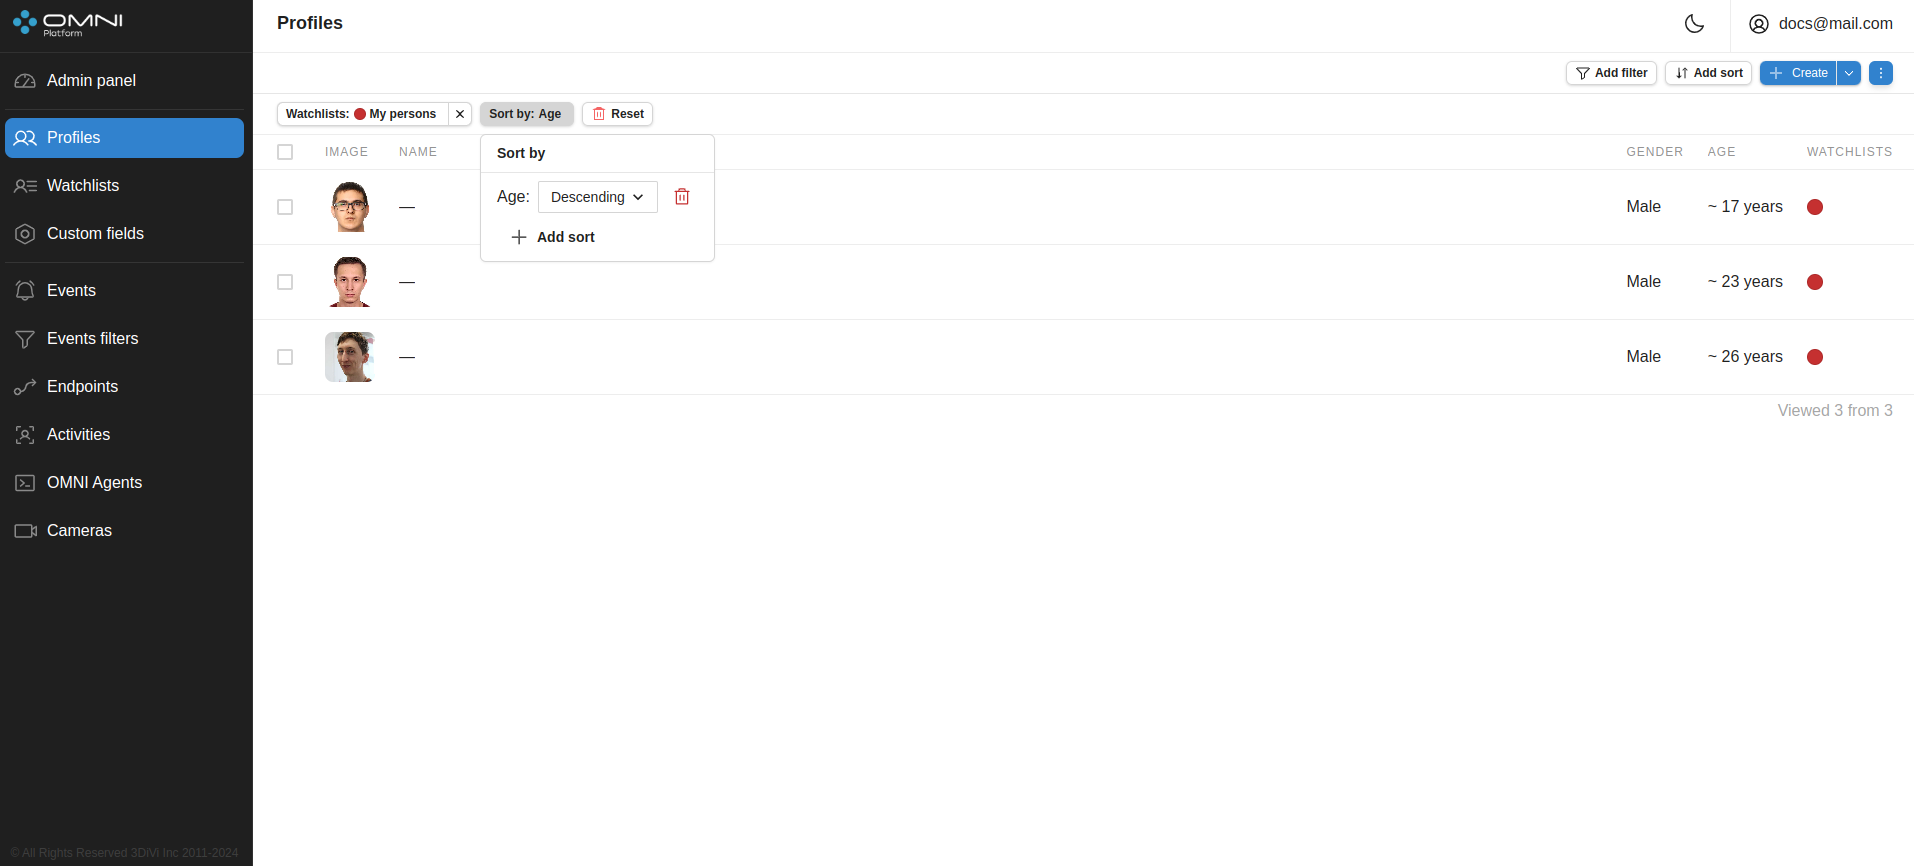
Filters and sorts
OMNI Platform contains a list of filters and sorts for profile searching.Filters
- By avatar
- By profile ID
- By age
- By name
- By description
- By watchlists
- By gender
- Search by photo
Sorts
- By creation date
- By name
- By gender
- By watchlist name
To filter/sort profiles, click on Add filter / Add sort and select one of the parameters from the dropdown list. Once selected, the chosen filter and sort will appear in the top left part of the page.
Watchlists
Watchlist is an object used for profile grouping. It contains a number of profile IDs and watchlist metadata.
You can access the Watchlists page via the side menu.
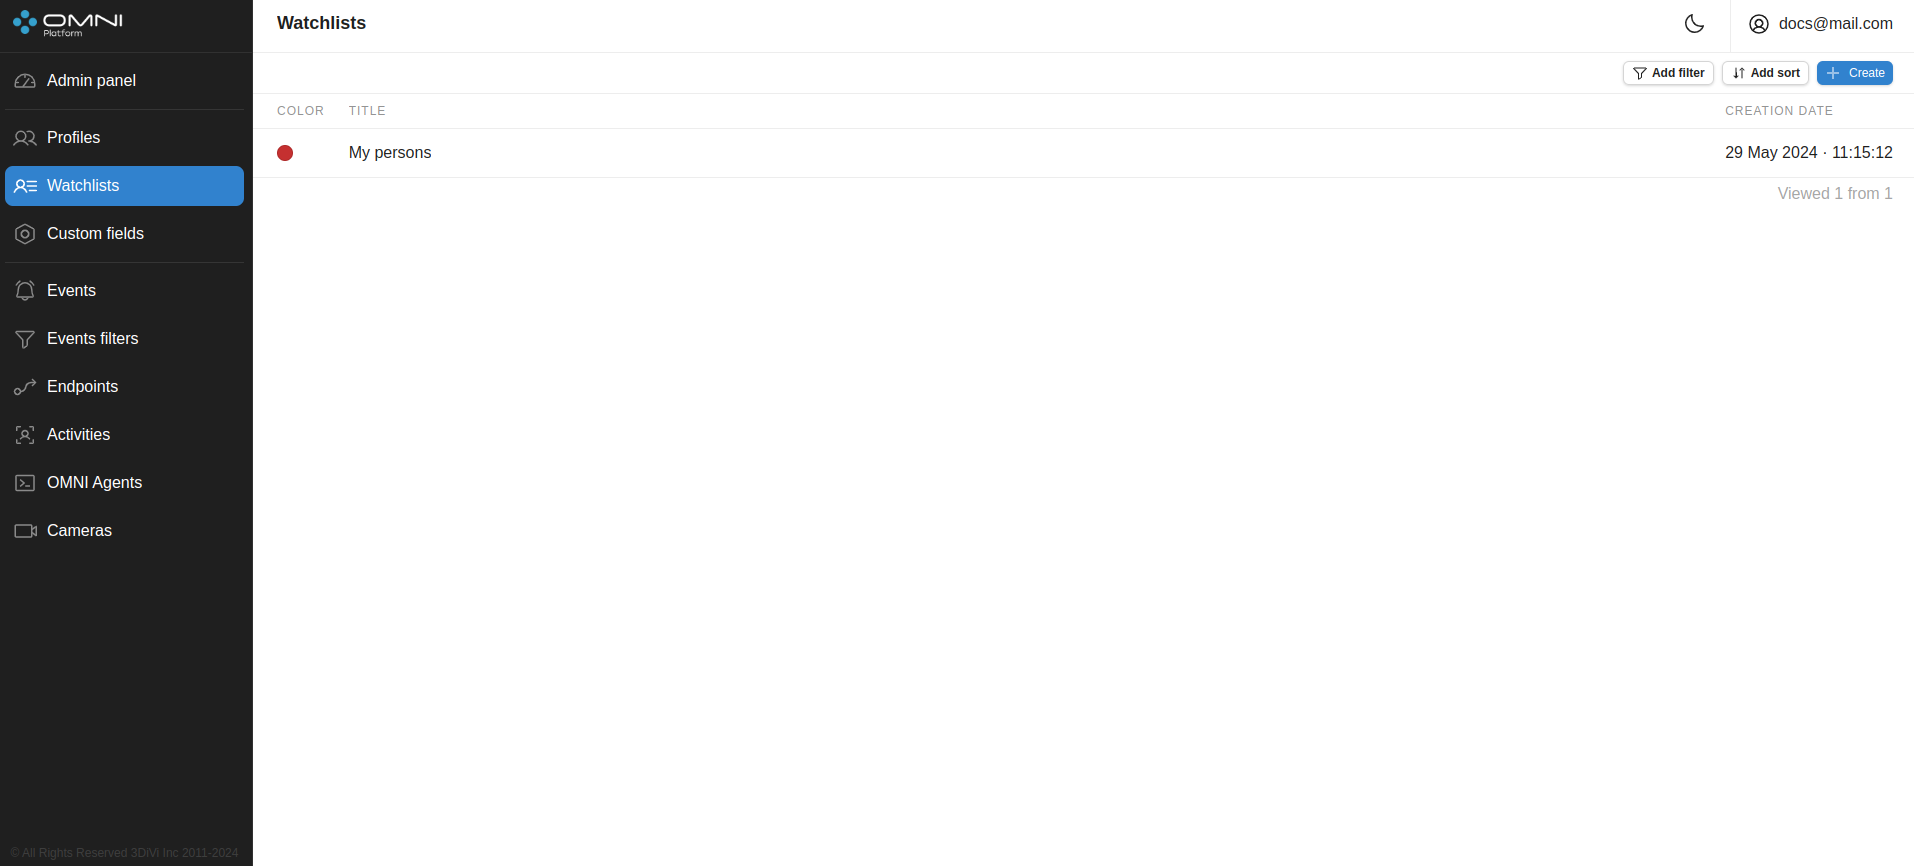
Create watchlists
When creating an account, OMNI Platform automatically creates My persons watchlist with a pre-created and attached trigger. You can add a profile to this watchlist and receive notifications within the system without additional settings.
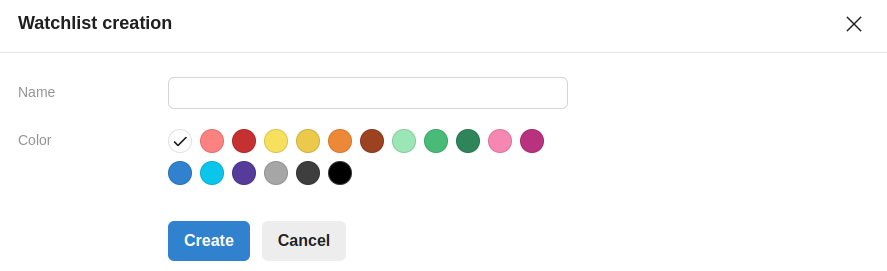
To create a watchlist, do the following:
- Click
+ Createbutton at Watchlists page. - Fill in watchlist name, select a color and click
Savebutton.
Add profiles to a watchlist
To add profiles to a watchlist, do the following:
At the Profiles page choose the profiles to add. To choose all the profiles on the page, put a tick in a checkbox in the table header.
Click
Add to watchlistin the table header and select the watchlist you want to add the selected profiles to.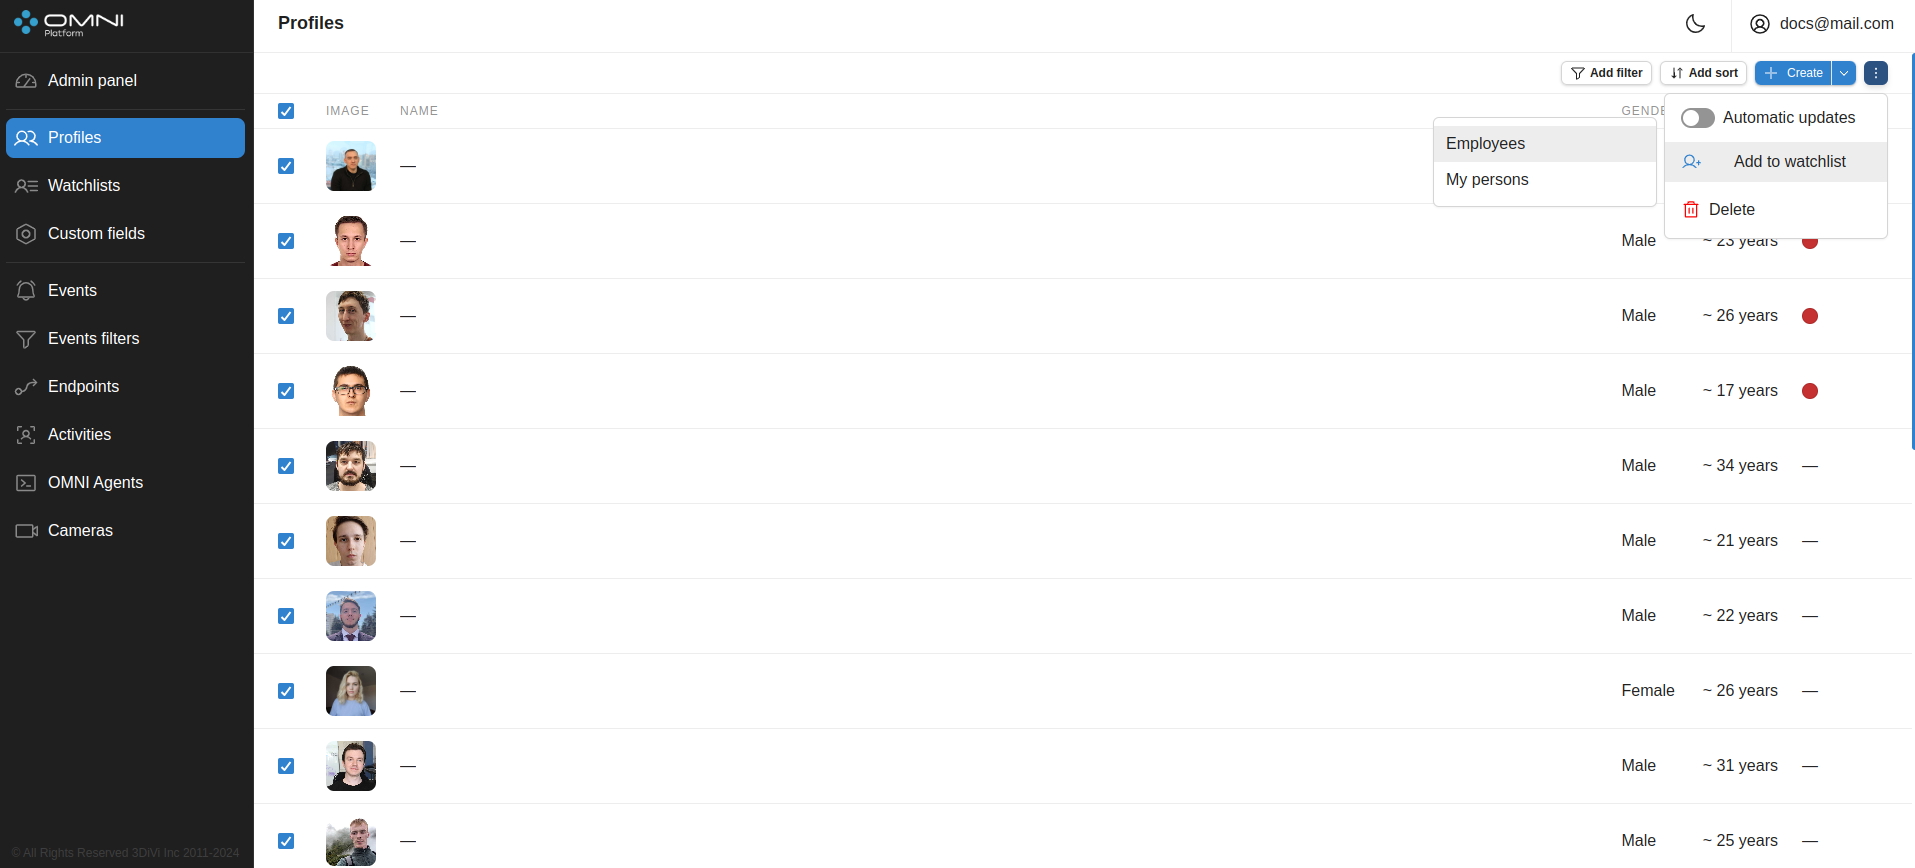
View and edit watchlists
Detailed information on each watchlist is available in its card. To open the watchlist card, click on the certain watchlist at the Watchlists page.

In the upper left corner of the card is a button with a shortened profile ID. To get the full ID, just hover over this button. If you click it, the ID will be copied to the clipboard.
In the card you can change name, color and remove a trigger. To change color or name, edit the appropriate text fields. Note that the removed trigger will be deleted from the database. After changes, click the Save button.
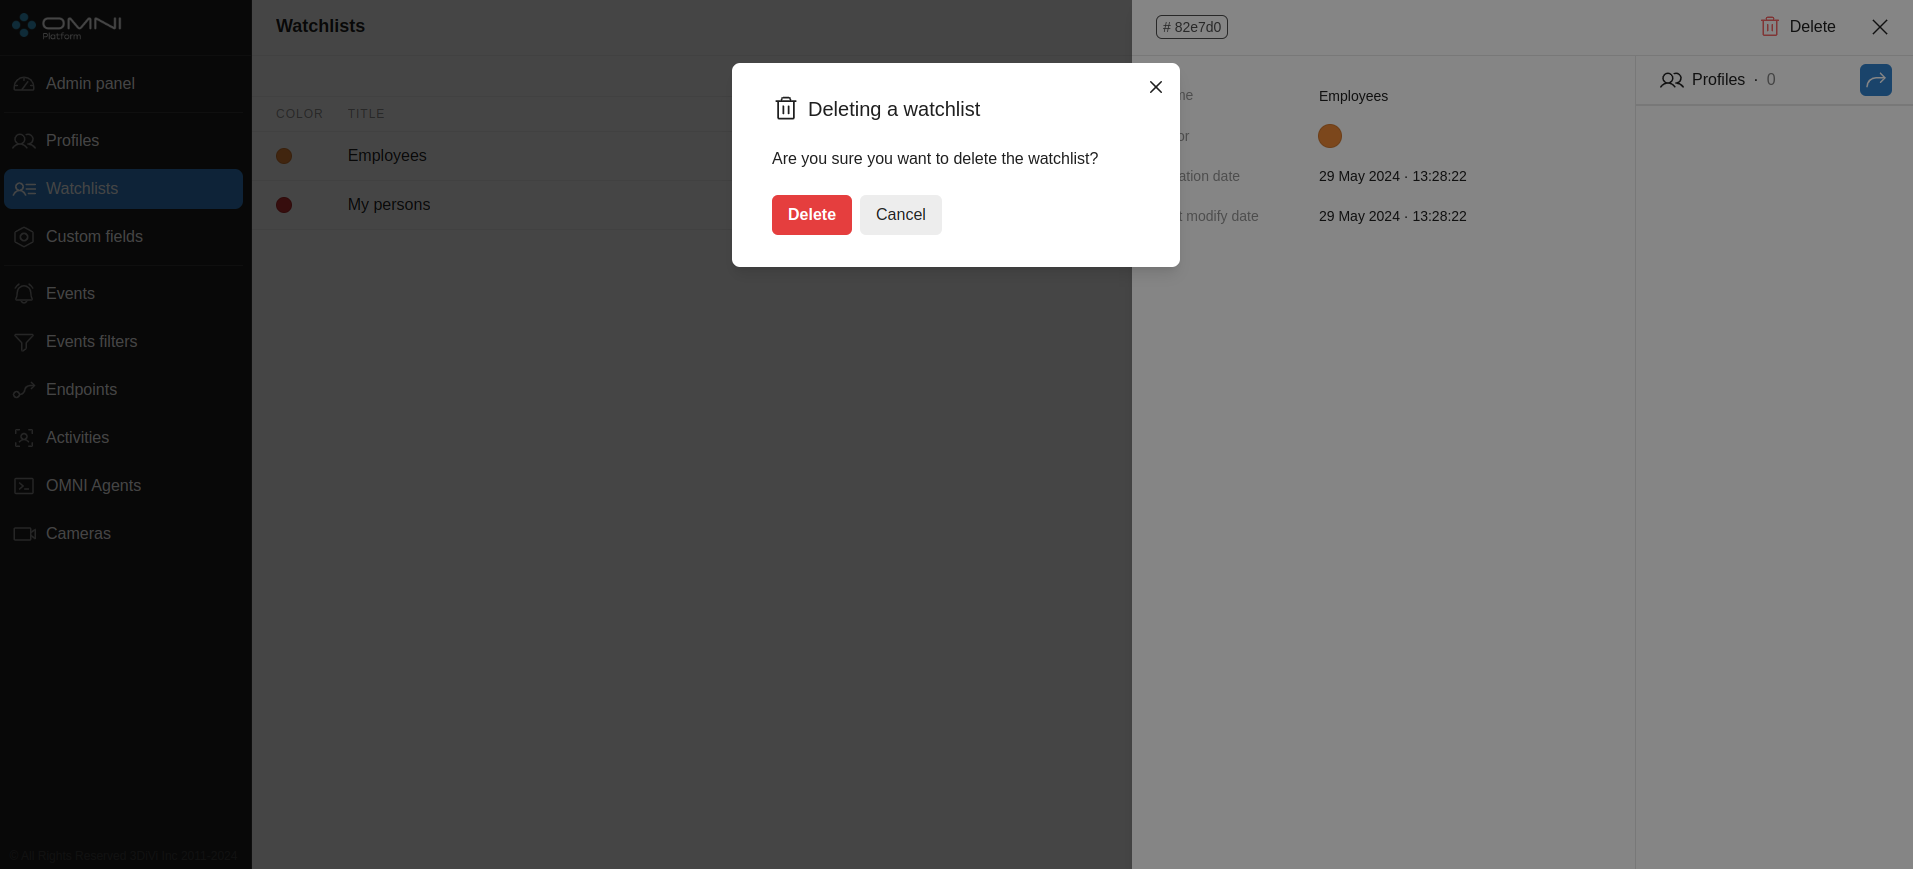
Delete watchlists
You can delete a watchlist in its card by clicking the Delete button in the upper right corner.
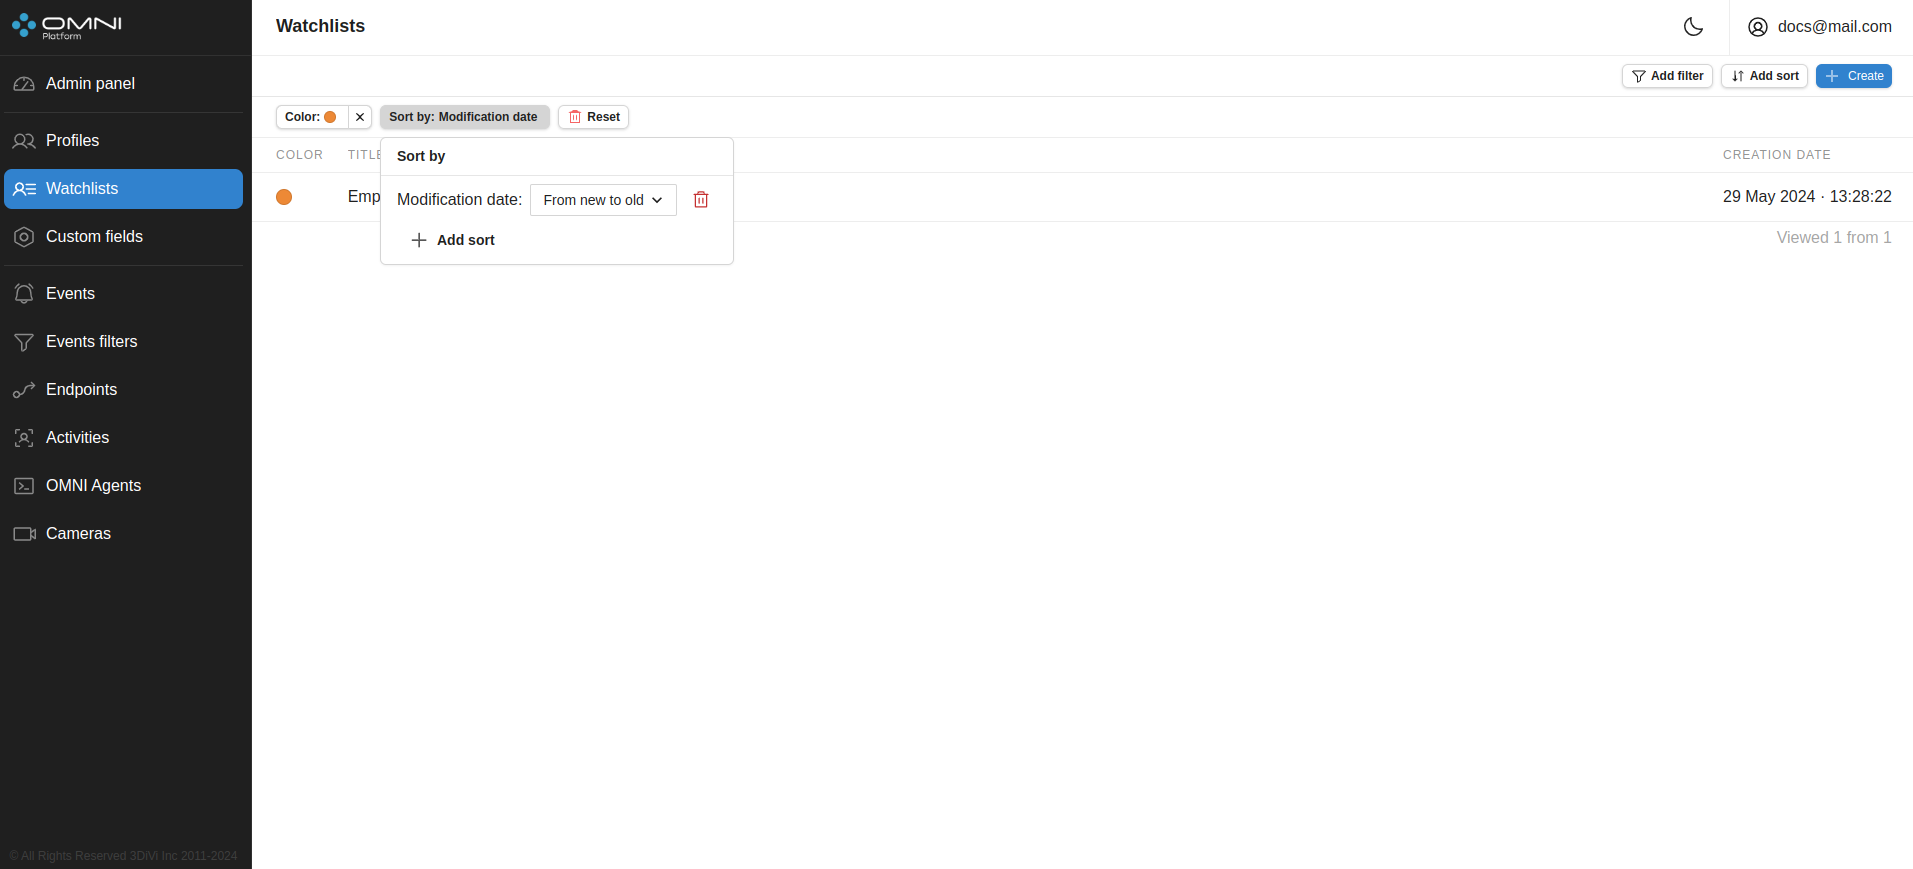
Filters and sorts
OMNI Platform contains a list of filters and sorts for watchlist searching.Filters
- By watchlist ID
- By title
- By color
- By profile ID
Sorts
- By creation date
- By modification date
- By title
To filter/sort watchlists, click on Add Filter / Add Sort and select one of the parameters from the dropdown list. Once selected, the chosen filter and sort will appear in the top left part of the page.