Flutter sample
The sample demonstrates using of the Face SDK Flutter plugin and includes the following functions:
- Capturing images from back/front cameras and face detection
- Face detection on the video stream and check of Active Liveness
Requirements
- Flutter 3.3.0 ≤ version ≤ 3.16.3
- Dart 2.17.0 ≤ version ≤ 3.2.3
- Latest models and Outdated models are installed
- Android or iOS device
Getting started
To run the Flutter Sample, install the "flutter" component using the Face SDK installer or maintenancetool utility:
If Face SDK is not installed, follow the installation instructions Getting Started. The "flutter" component must be selected in the "Selection Components" section.
If Face SDK is installed without "flutter" component (flutter directory is not present in Face SDK root directory), use the utility maintenancetool and install the "flutter" component, by selecting it in the "Selection Components" section.
Connect Android or iOS device to computer
Run the script examples/flutter/scripts/linux.sh or examples/flutter/scripts/windows.bat
Copy the lib folder from the flutter directory to examples/flutter/demo/assets
Build and run the demo application using the console or via Android Studio (see below)
Running the sample from the console
To run the demo application from the console, go to the examples/flutter/demo directory and execute the commands:
flutter pub get
flutter run
Troubleshooting
Use stable-version Flutter 3.3.0 or higher. You can select and download a distribution Flutter for your operating system at the link.
Add the path to the bin directory of the Flutter distribution to the environment variable
PATH. Instructions for adding an environment variable for Linux and MacOS is available at the link, for Windows at the link.
Running the sample through Android Studio
- Open the examples/flutter/demo folder in Android Studio
- In Android Studio:
- Open demo/pubspec.yaml file and click "Pub get" button
- Click "Run" button
Troubleshooting
Use stable-version Flutter 3.3.0 or higher. You can select and download a distribution Flutter for your operating system at the link.
Specify the path to the Flutter distribution in the Android Studio settings: "File" > "Settings" > "Languages & Frameworks" > "Flutter".
Install Flutter and Dart plugins in Android Studio. List of installed plugins and Marketplace for their installation are available in the Android Studio settings: "File" > "Settings" > "Plugins".
Functional description
After starting the application, the start screen and the "Start" button are displayed on the device screen. To switch to the "Detect face on photo" mode, it is necessary to press the "Start" button.
Detecting faces on photo
In the "Detecting Faces On Photo" mode, a preview from the device's camera is displayed on the application screen. The "Take a photo of the document" instruction is displayed at the top of the application screen.
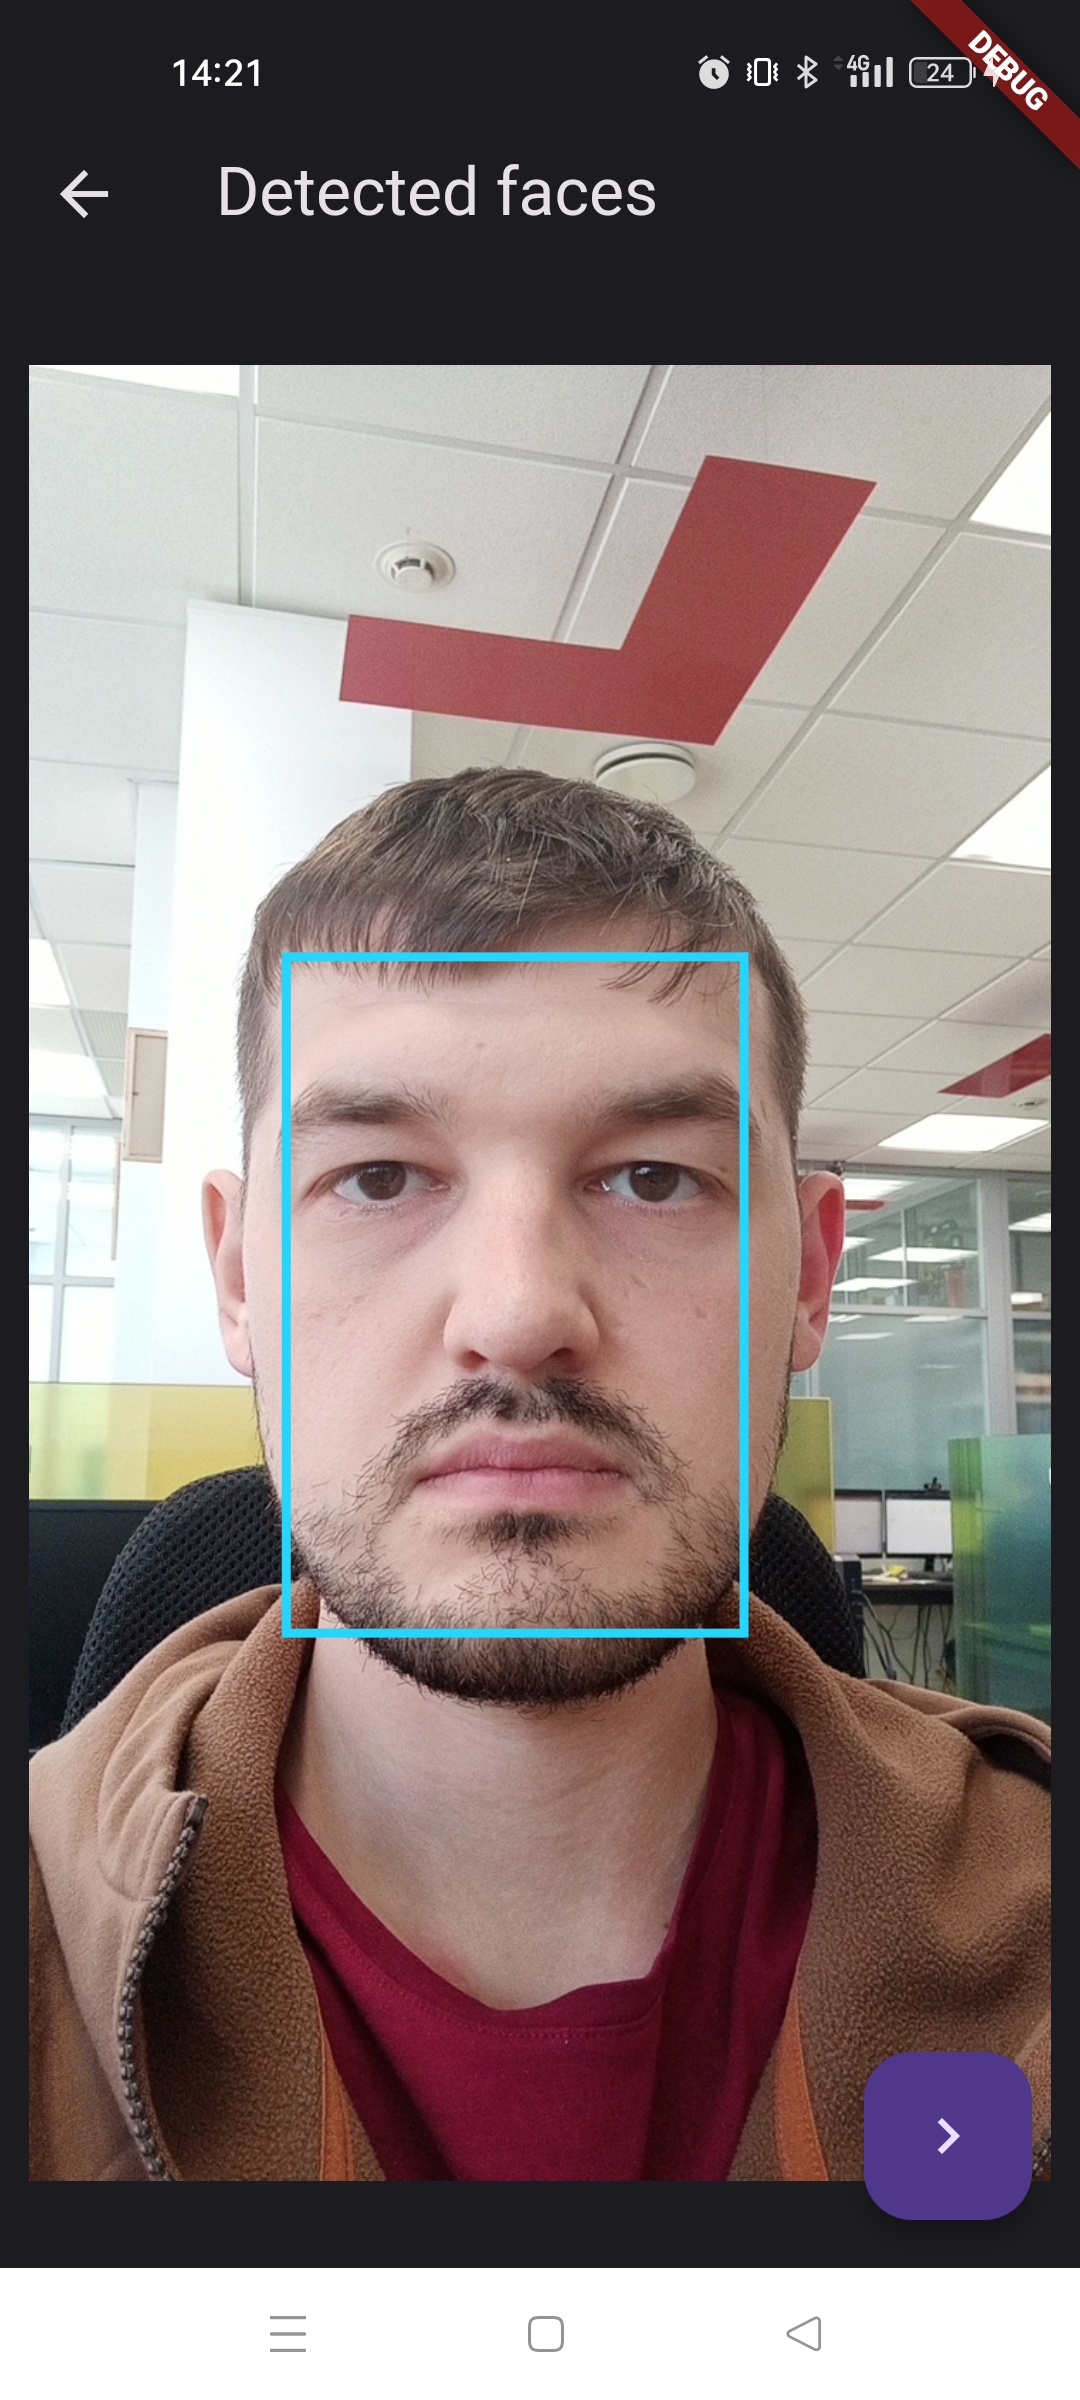
The buttons "Take a photo" (bottom left) and "Change Camera" (bottom right) are displayed at the bottom of the screen. To continue working, take a photo of the document with the face image. Click the "Take a photo" button (bottom left) to take a picture. After that, a photo "Detected faces" will be displayed on the device screen, the detected face will be marked with a bounding box.
After successful face detection, the "Next" button will appear in the photo (bottom right) to switch to the Active Liveness check mode.
Active Liveness
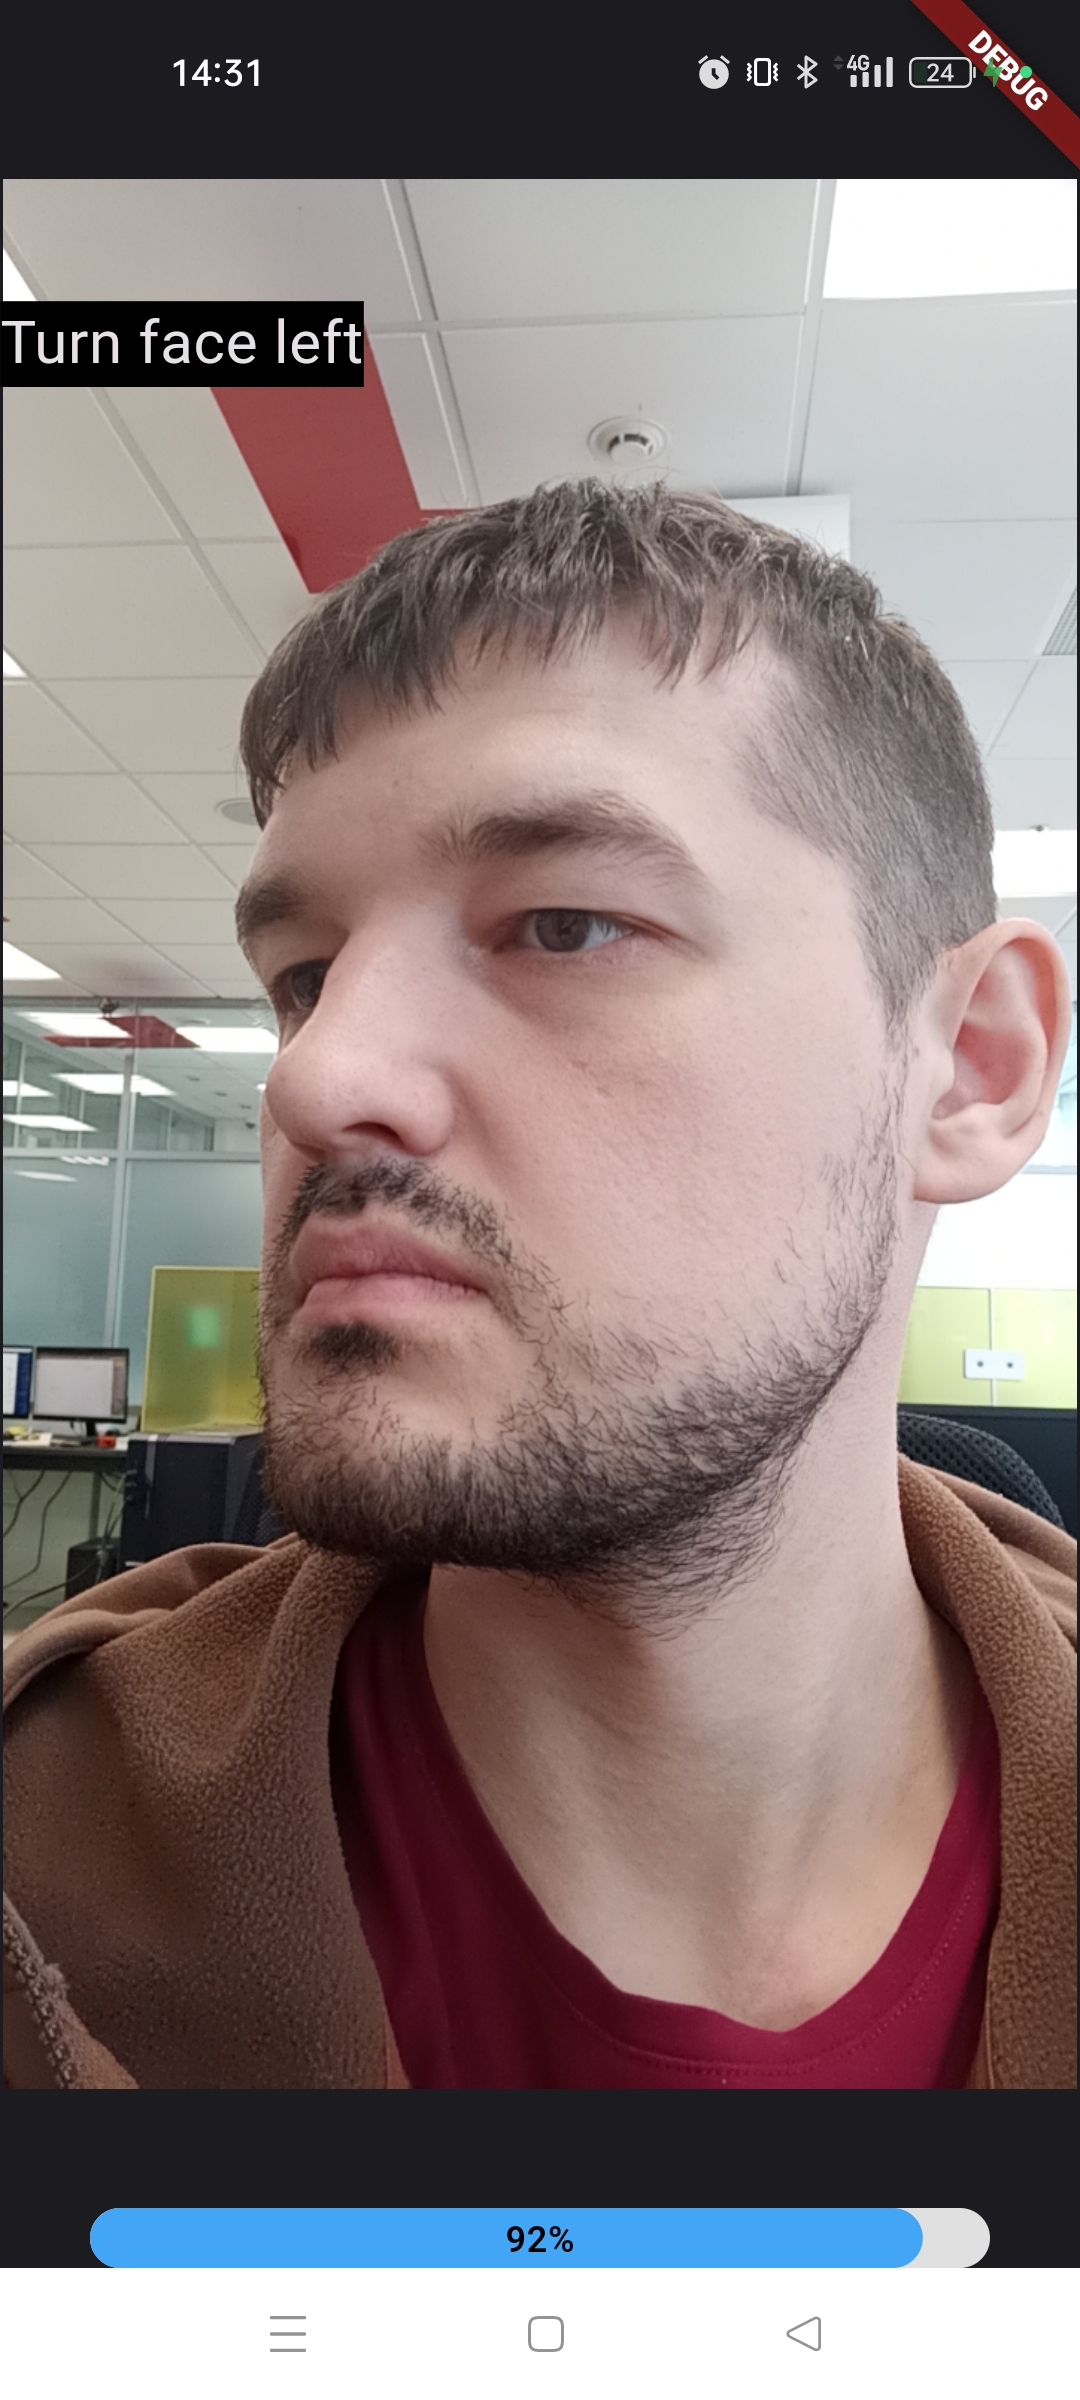
To pass the Active Liveness test correctly, there must be only one face in the camera frame. Active Liveness check starts automatically when a face is detected.
Steps to be taken to pass the Active Liveness test, are displayed in the application as messages at the top of the screen.
The progress indicator of the current check is displayed on the application screen at the bottom.
If the application displays the message "Please, look at the camera", it is necessary to align the position of the face with the camera (angles of inclination of the head from the vertical axis should not exceed 15 degrees).
After passing the Active Liveness test, you will see the verdict "PASSED" or "FAILED" displayed at the top of the application screen and the "Next" button at the bottom right. Press the "Next" button to see the face evaluation results.
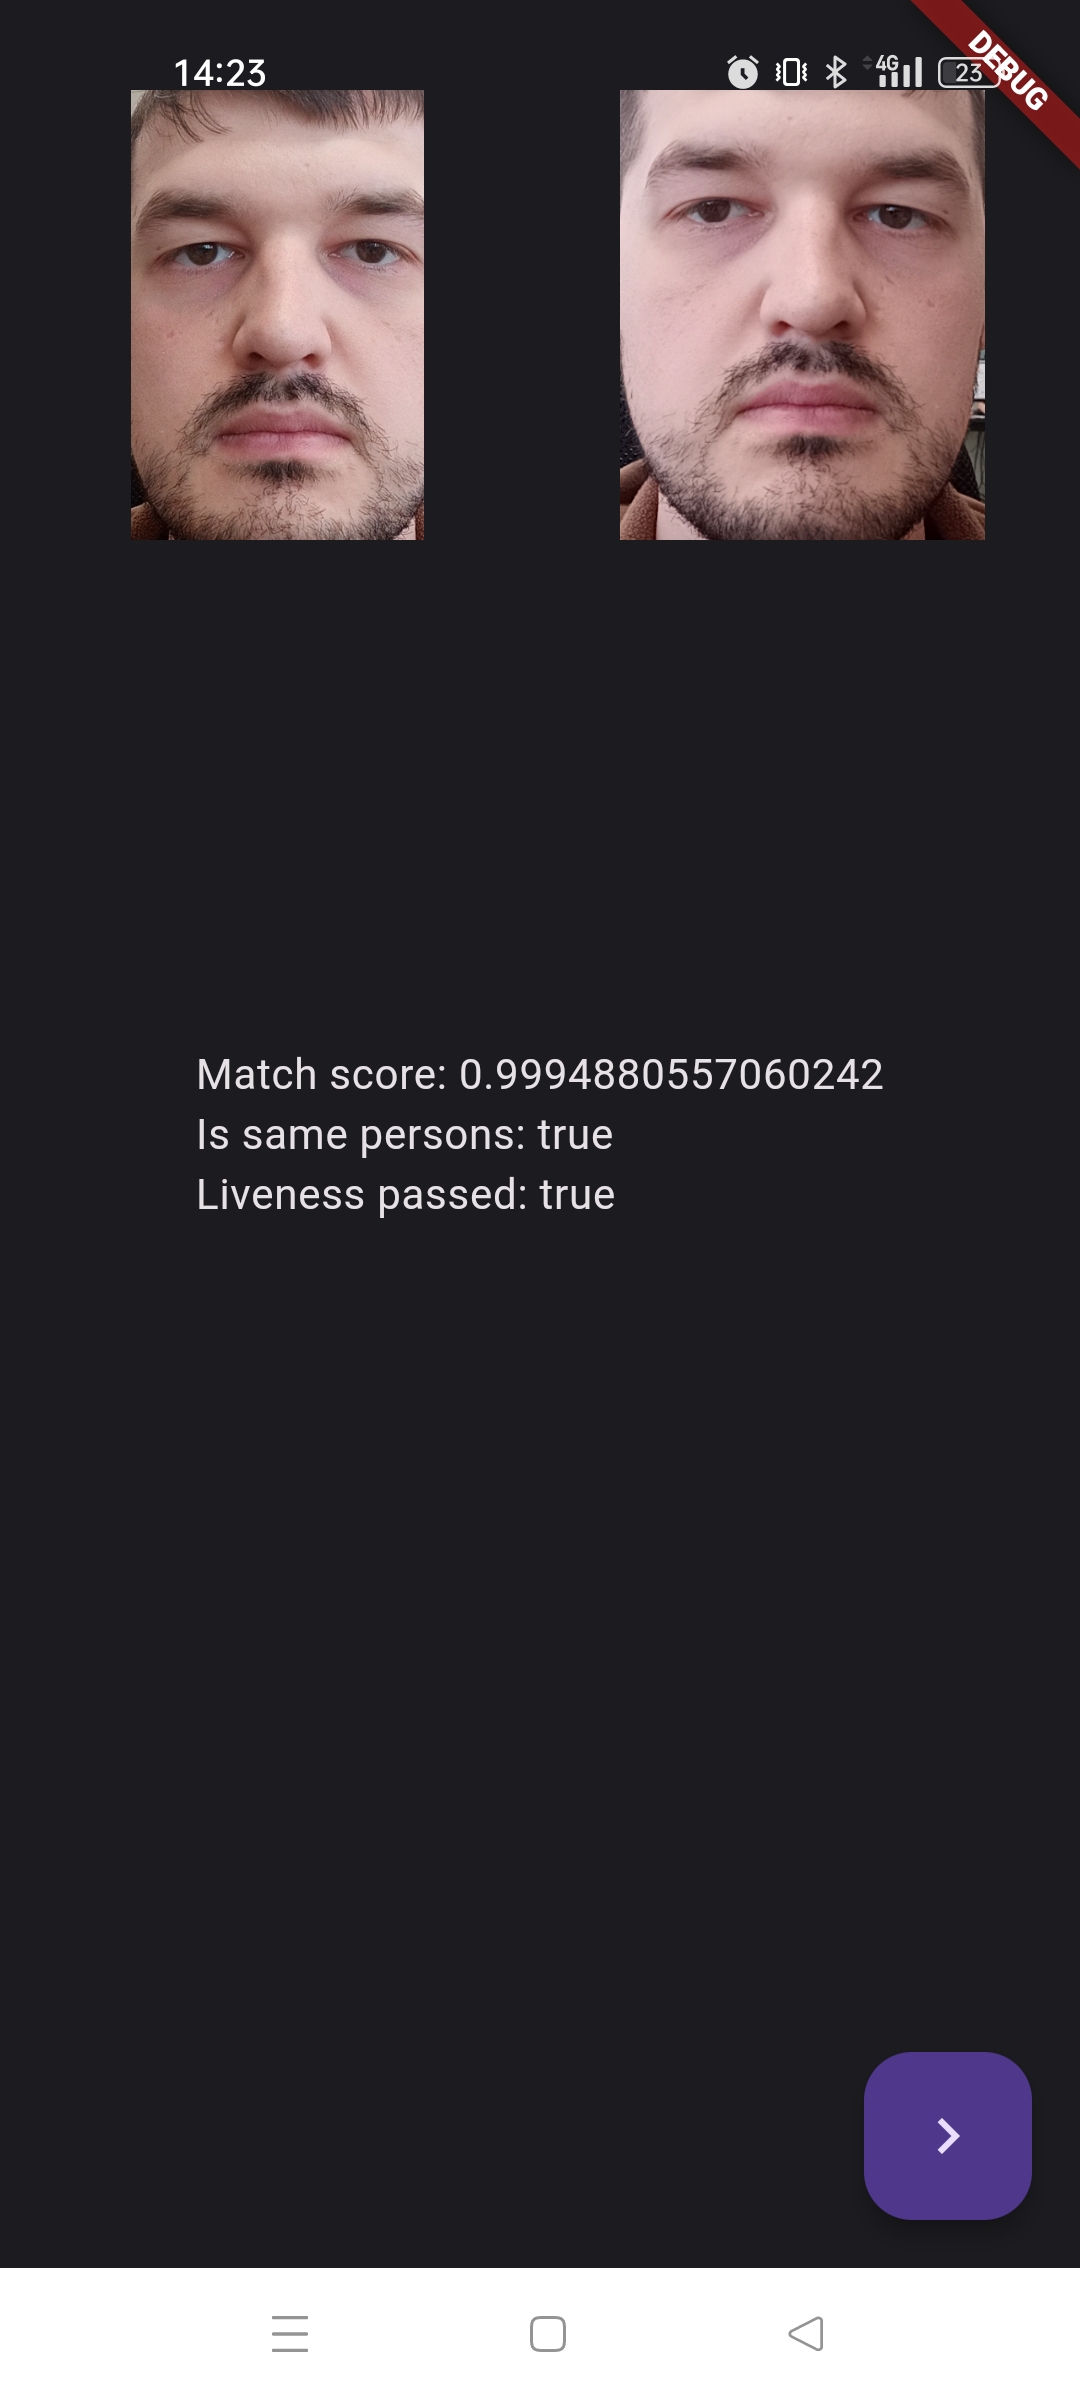
Click on the "Next" button to display the following results on the application screen:
- Match score — Evaluation of the coincidence of the face in the photo and the face that has passed the Active Liveness check. Maximum value 1 means that the faces belong to one person.
- Is same person — The verdict about a person belonging to one person, can be "true" or "false".
- Liveness passed — The verdict about passing the Active Liveness test, can be "true" or "false".
Below the results, click the button "Next" to go to the start screen of the application.