Flutter
Face SDK provides several demo projects that showcase how to work with the Flutter API. Below is a guide on how to launch a demo project, followed by an overview of each demo’s functionality.
Requirements
- Flutter 3.27.0 ≤ version ≤ 3.35.7
- Dart 3.6.0 ≤ version ≤ 3.9.2
- A physical Android or iOS device for running the applications
- Face SDK installed
- The following folders must be present in the Face SDK directory:
- lib
- conf
- share
- flutter
- license (contains a valid license file)
Getting started
To run the Flutter Sample, install the "flutter" component using the Face SDK installer or maintenancetool utility:
If Face SDK is not installed, follow the installation instructions Getting Started. The "flutter" component must be selected in the "Selection Components" section.
If Face SDK is installed without "flutter" component (flutter directory is not present in Face SDK root directory), use the utility maintenancetool and install the "flutter" component, by selecting it in the "Selection Components" section.
Connect a physical Android or iOS device to your computer.
Build and run the demo application either from the command line or using Android Studio (see instructions below).
Run the sample from the console
To run a demo application from the console, navigate to the project directory (examples/flutter/isolates_demo, examples/flutter/processing_block_demo or examples/flutter/demo) and run:
flutter pub get
flutter pub upgrade
flutter run
Troubleshooting
Use stable-version Flutter 3.3.0 or higher. You can select and download a Flutter distribution for your OS here.
Add the path to the bin directory of the Flutter distribution to the environment variable
PATH.Instructions for adding an environment variable:
- for Linux and MacOS,
- for Windows.
Run the sample through Android Studio
- Open the project folder (examples/flutter/isolates_demo, examples/flutter/processing_block_demo or examples/flutter/demo) in Android Studio
- In Android Studio:
- Open demo/pubspec.yaml file and click "Pub get" button.
- Click the "Run" button.
Troubleshooting
Use stable-version Flutter 3.3.0 or higher. You can select and download a Flutter distribution for your OS here.
Specify the path to the Flutter distribution in the Android Studio settings: "File" > "Settings" > "Languages & Frameworks" > "Flutter".
Install Flutter and Dart plugins in Android Studio. List of installed plugins and Marketplace for their installation are available in the Android Studio settings: "File" > "Settings" > "Plugins".
Demo Projects
There are currently three demo projects available:
Flutter Isolates Demo (examples/flutter/isolates_demo) — The primary and most up-to-date demo. It uses the Processing Block API and asynchronous modules implemented with Flutter Isolates. This is the recommended starting point.
Processing Block Demo (examples/flutter/processing_block_demo) — A simplified example demonstrating how to work with Processing Blocks.
Legacy Flutter Demo (examples/flutter/demo) — The original Flutter demo, now somewhat outdated as it relies on Legacy API modules. Recommended only if you specifically need to use Active Liveness functionality.
Isolates Demo
After launching the sample, the device screen displays a start screen with a "Start" button. Press the "Start" button to enter the Face Detection mode.
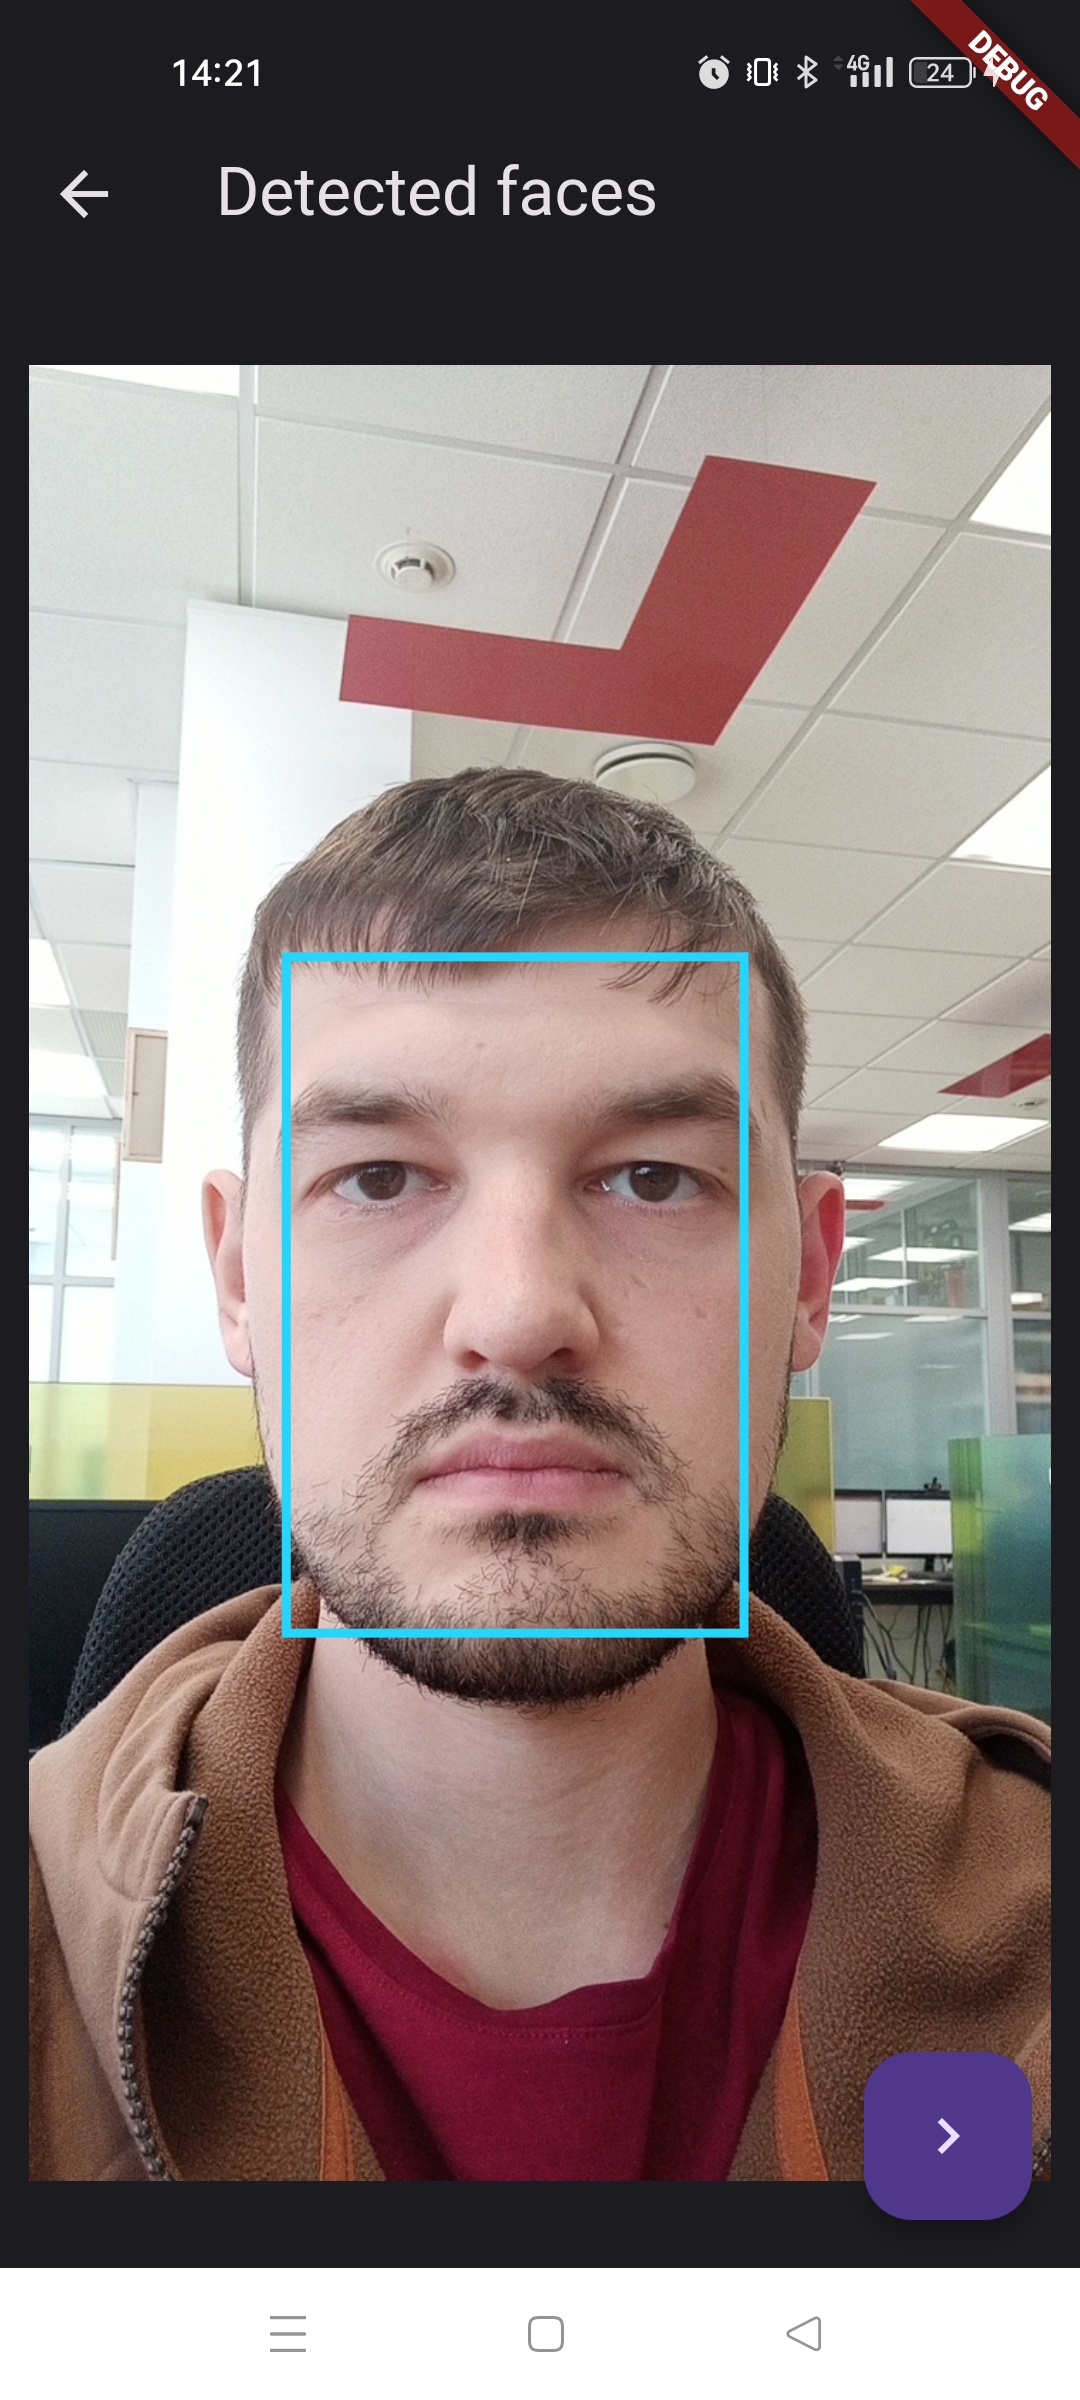
Face detection on photo
In the "Detecting Faces On Photo" mode, the device screen displays a preview from the device camera. At the top of the screen, there is an instruction "Take a photo of the document". At the bottom of the screen, there are buttons "Take a photo" (bottom left) and "Change Camera" (bottom right).
To continue, you need to photograph a document with a facial image. Press the "Take a photo" button (bottom left) to take a picture; the app will automatically evaluate image quality. Afterward, the screen displays the captured photo with the detected face highlighted by a bounding box (bbox).
Once a face is detected and the quality check passes, a "Next" button (bottom right) appears, allowing you to continue to the Liveness Check mode.
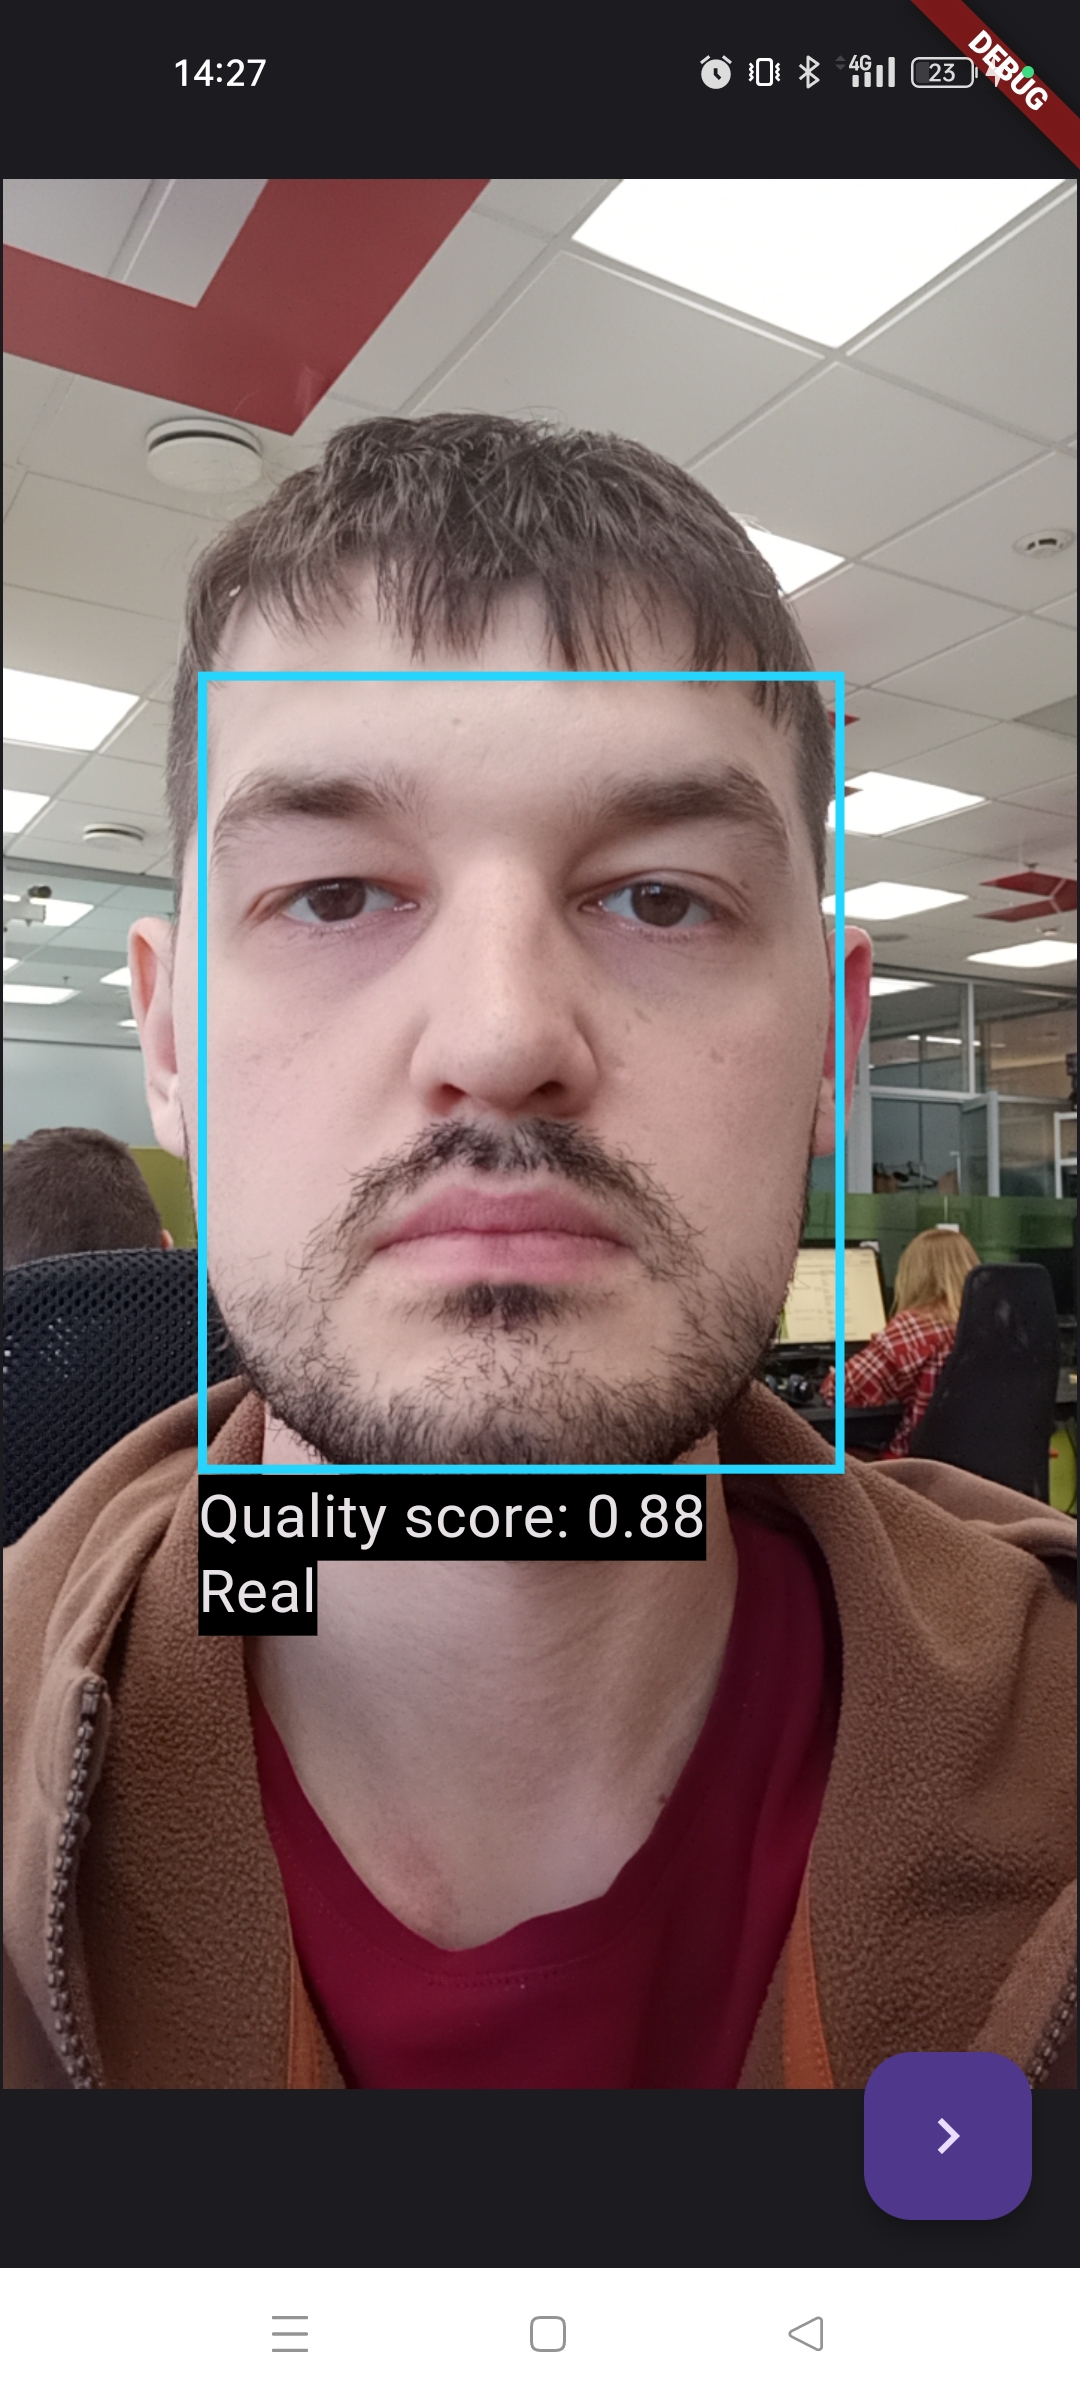
Liveness check
For the Liveness check to work correctly, only one face should be visible in the camera frame. The check starts automatically as soon as a face is detected.
During the process, a bounding box appears around the face, along with the current Liveness status and image quality metrics displayed beneath it.
After the check completes, the Liveness status will update to “Real” or “Fake”. A Next button (bottom right) will then appear, allowing you to proceed to the face assessment results.
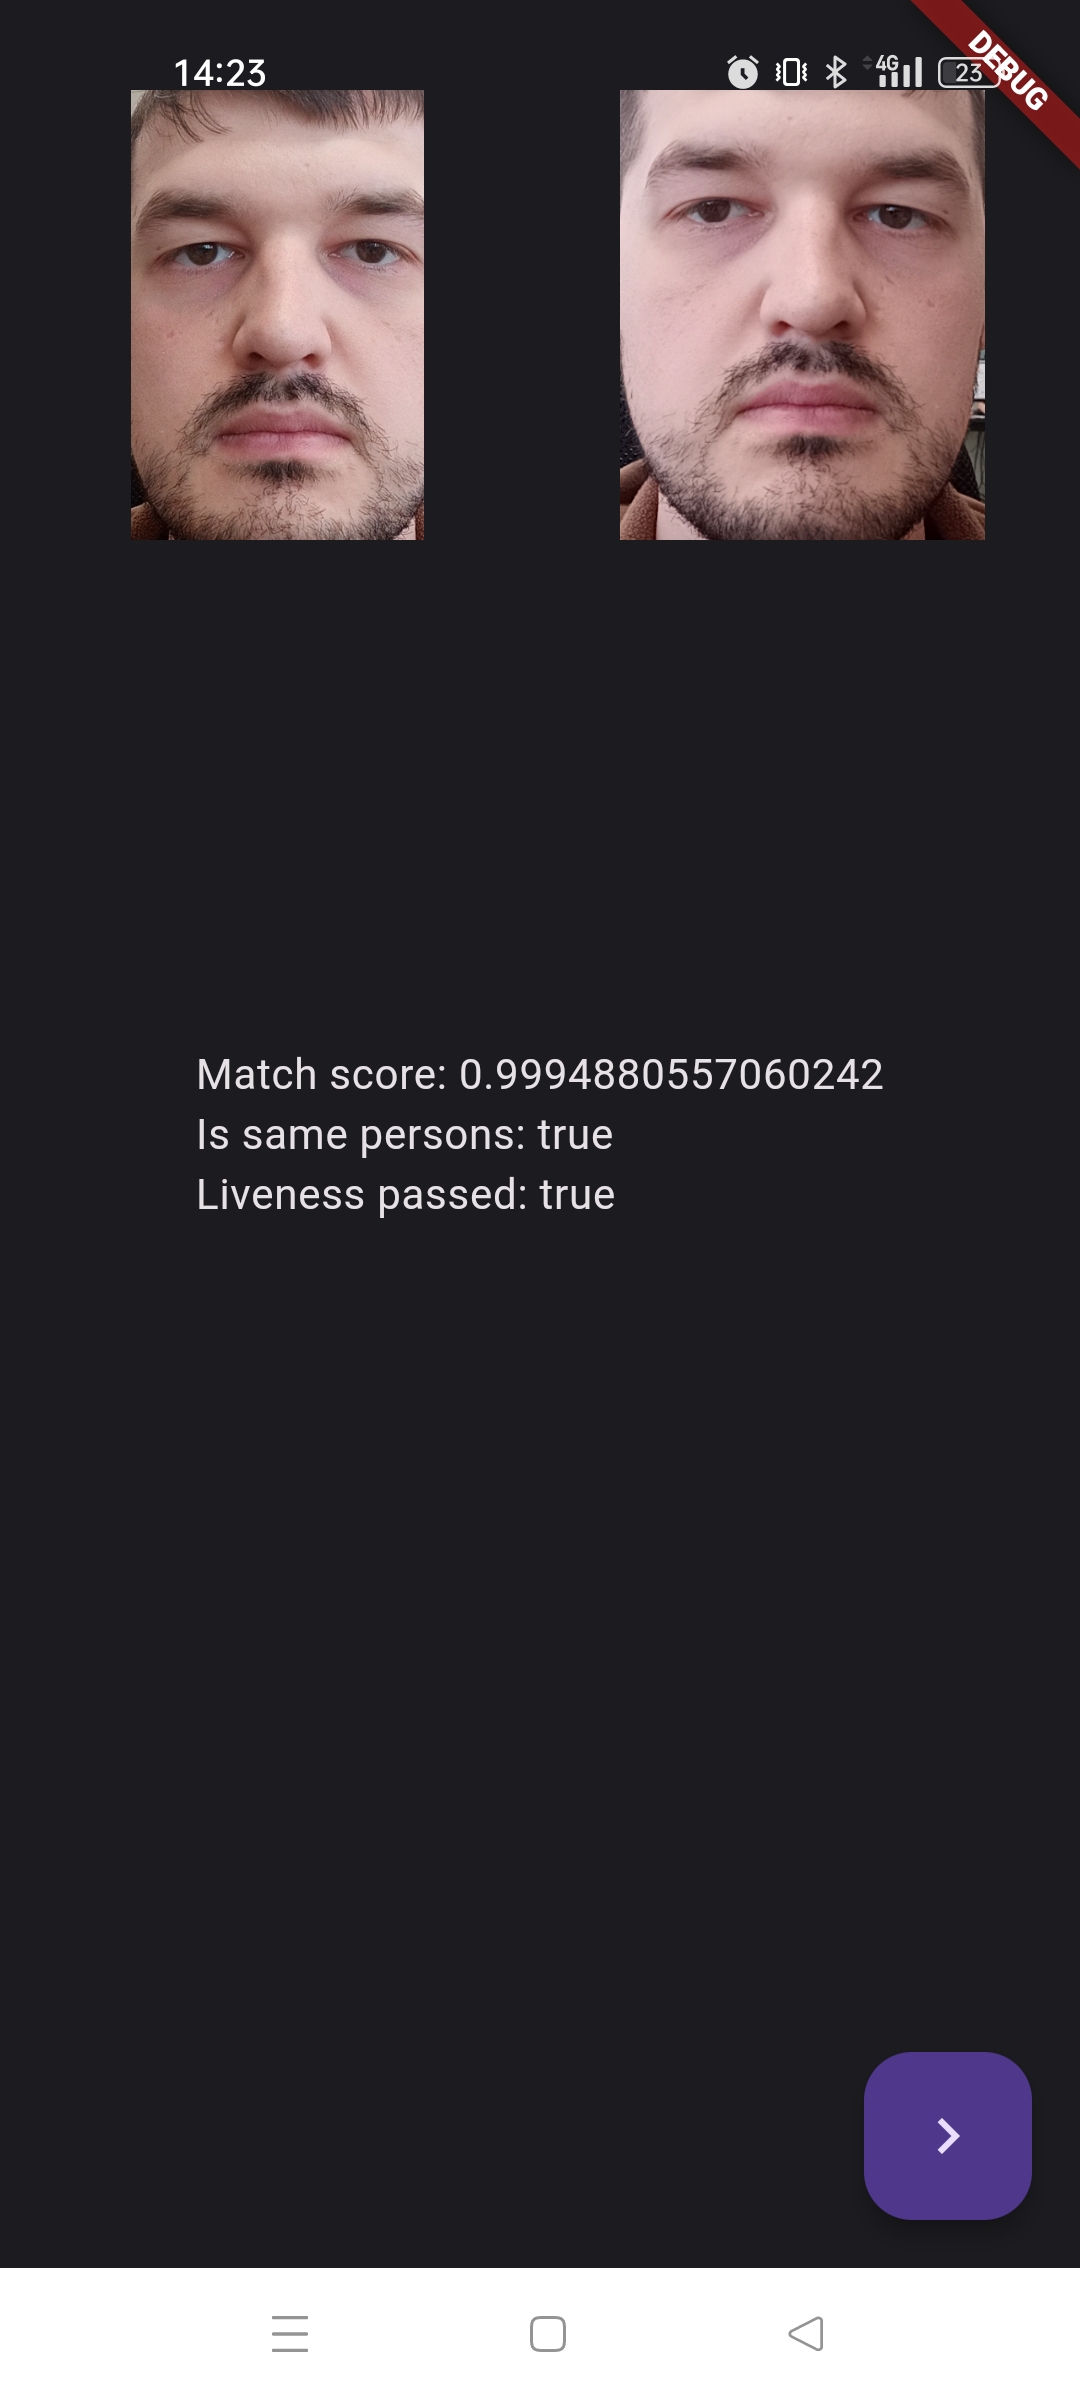
After tapping the "Next" button, the device displays the following results:
Match score: Indicates how closely the face in the photo matches the face from the Liveness check. A value of 1 means the faces belong to the same person.
Is same person: Shows whether the faces belong to the same person (true or false).
Liveness passed: Indicates whether the Liveness check was successful (true or false).
A "Next" button appears below the results. Pressing it returns you to the start screen.
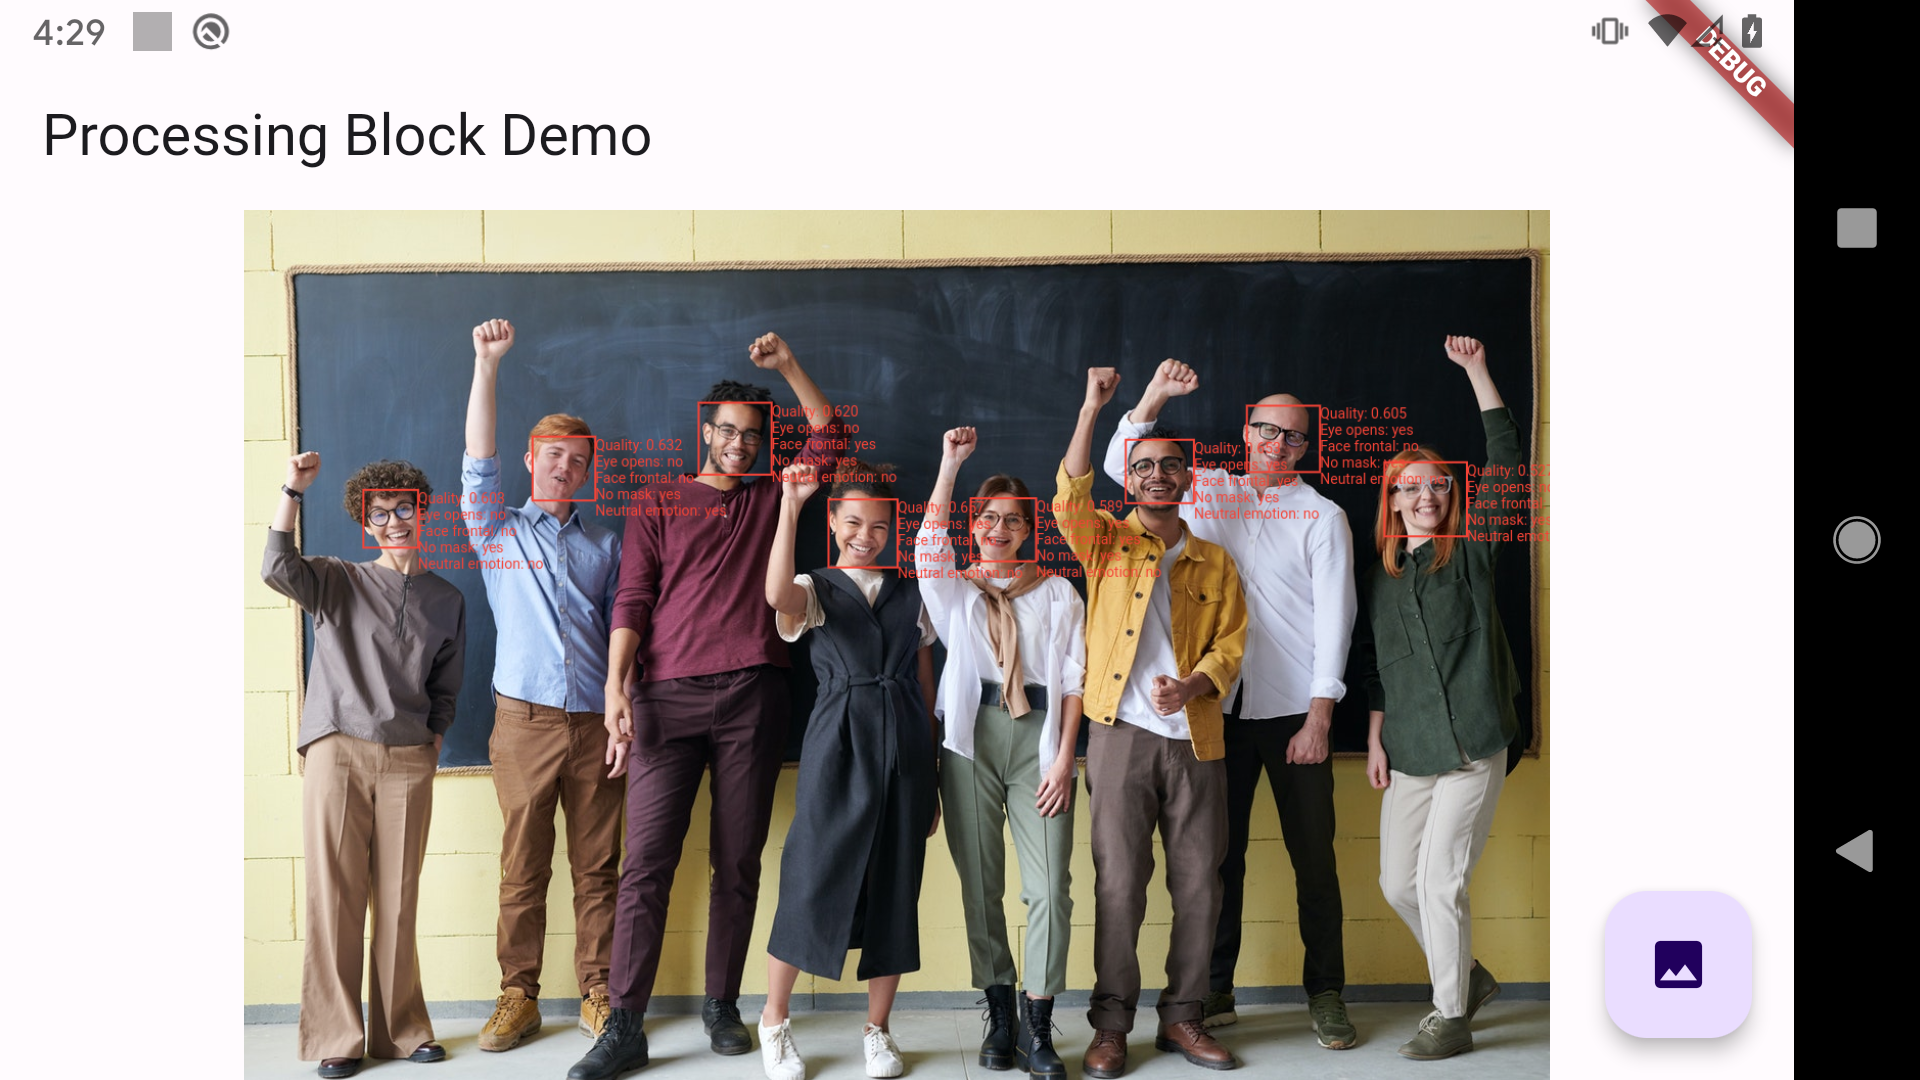
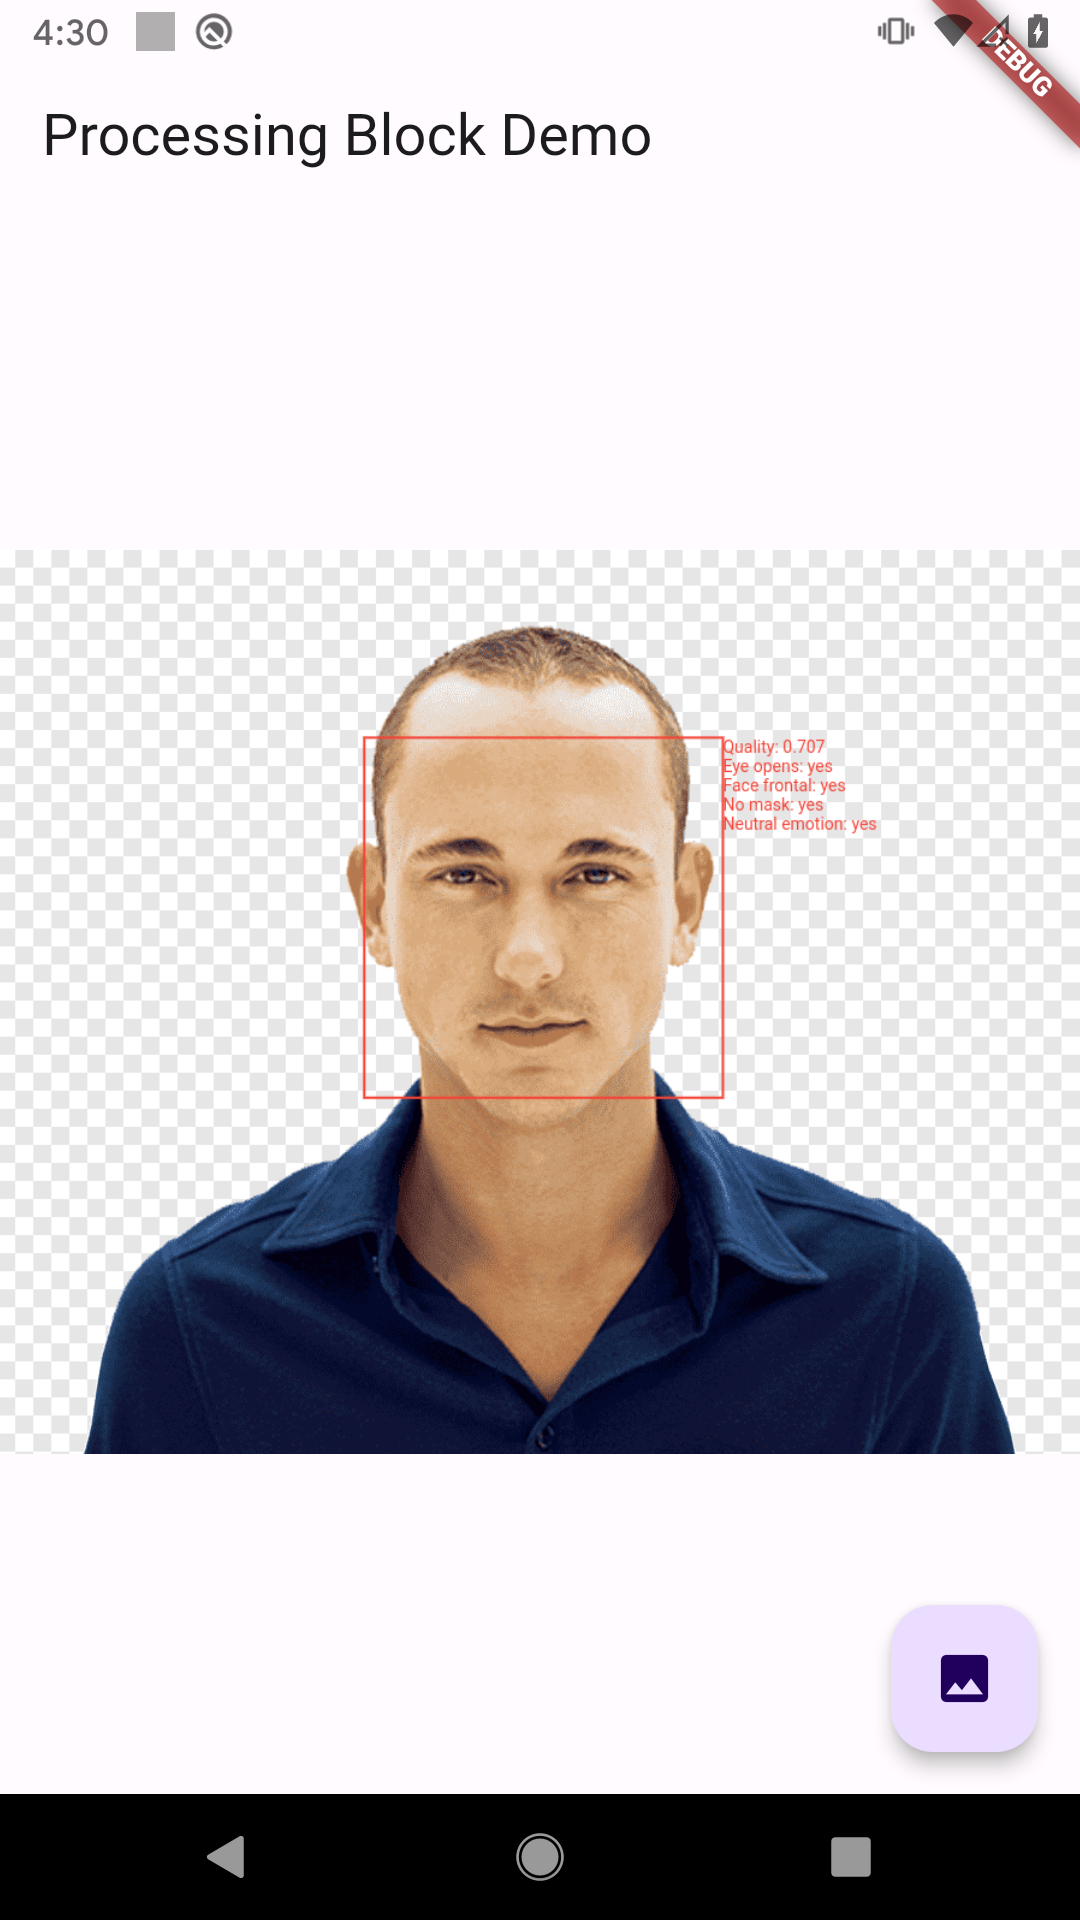
Processing Block Demo
After the sample is launched, you'll see the start screen and a button with image selection from the gallery on the device screen. Wait for the initialization to complete, then tap the gallery button to enter Image Quality Evaluation mode.
Image Selection
The device gallery opens, allowing you to choose an image.
Image Quality Assessment
Once an image is selected, the app detects any faces within it and performs a quality assessment for each detected face.
Legacy Demo
After launching the application, the start screen with a "Start" button appears. Tap "Start" to enter Face Detection mode.
Face detection on photo
In the "Detecting Faces On Photo" mode, a preview from the device's camera is displayed on the application screen. The "Take a photo of the document" instruction is displayed at the top of the application screen.
At the bottom of the screen, the app displays "Take a photo" (bottom left) and "Change Camera" (bottom right) buttons. To proceed, capture a photo of the document containing a face by tapping "Take a photo". The app will then display the captured image with the detected face highlighted using a bbox.
Once face detection is successful, a "Next" button (bottom right) appears, allowing you to proceed to the Active Liveness check mode.
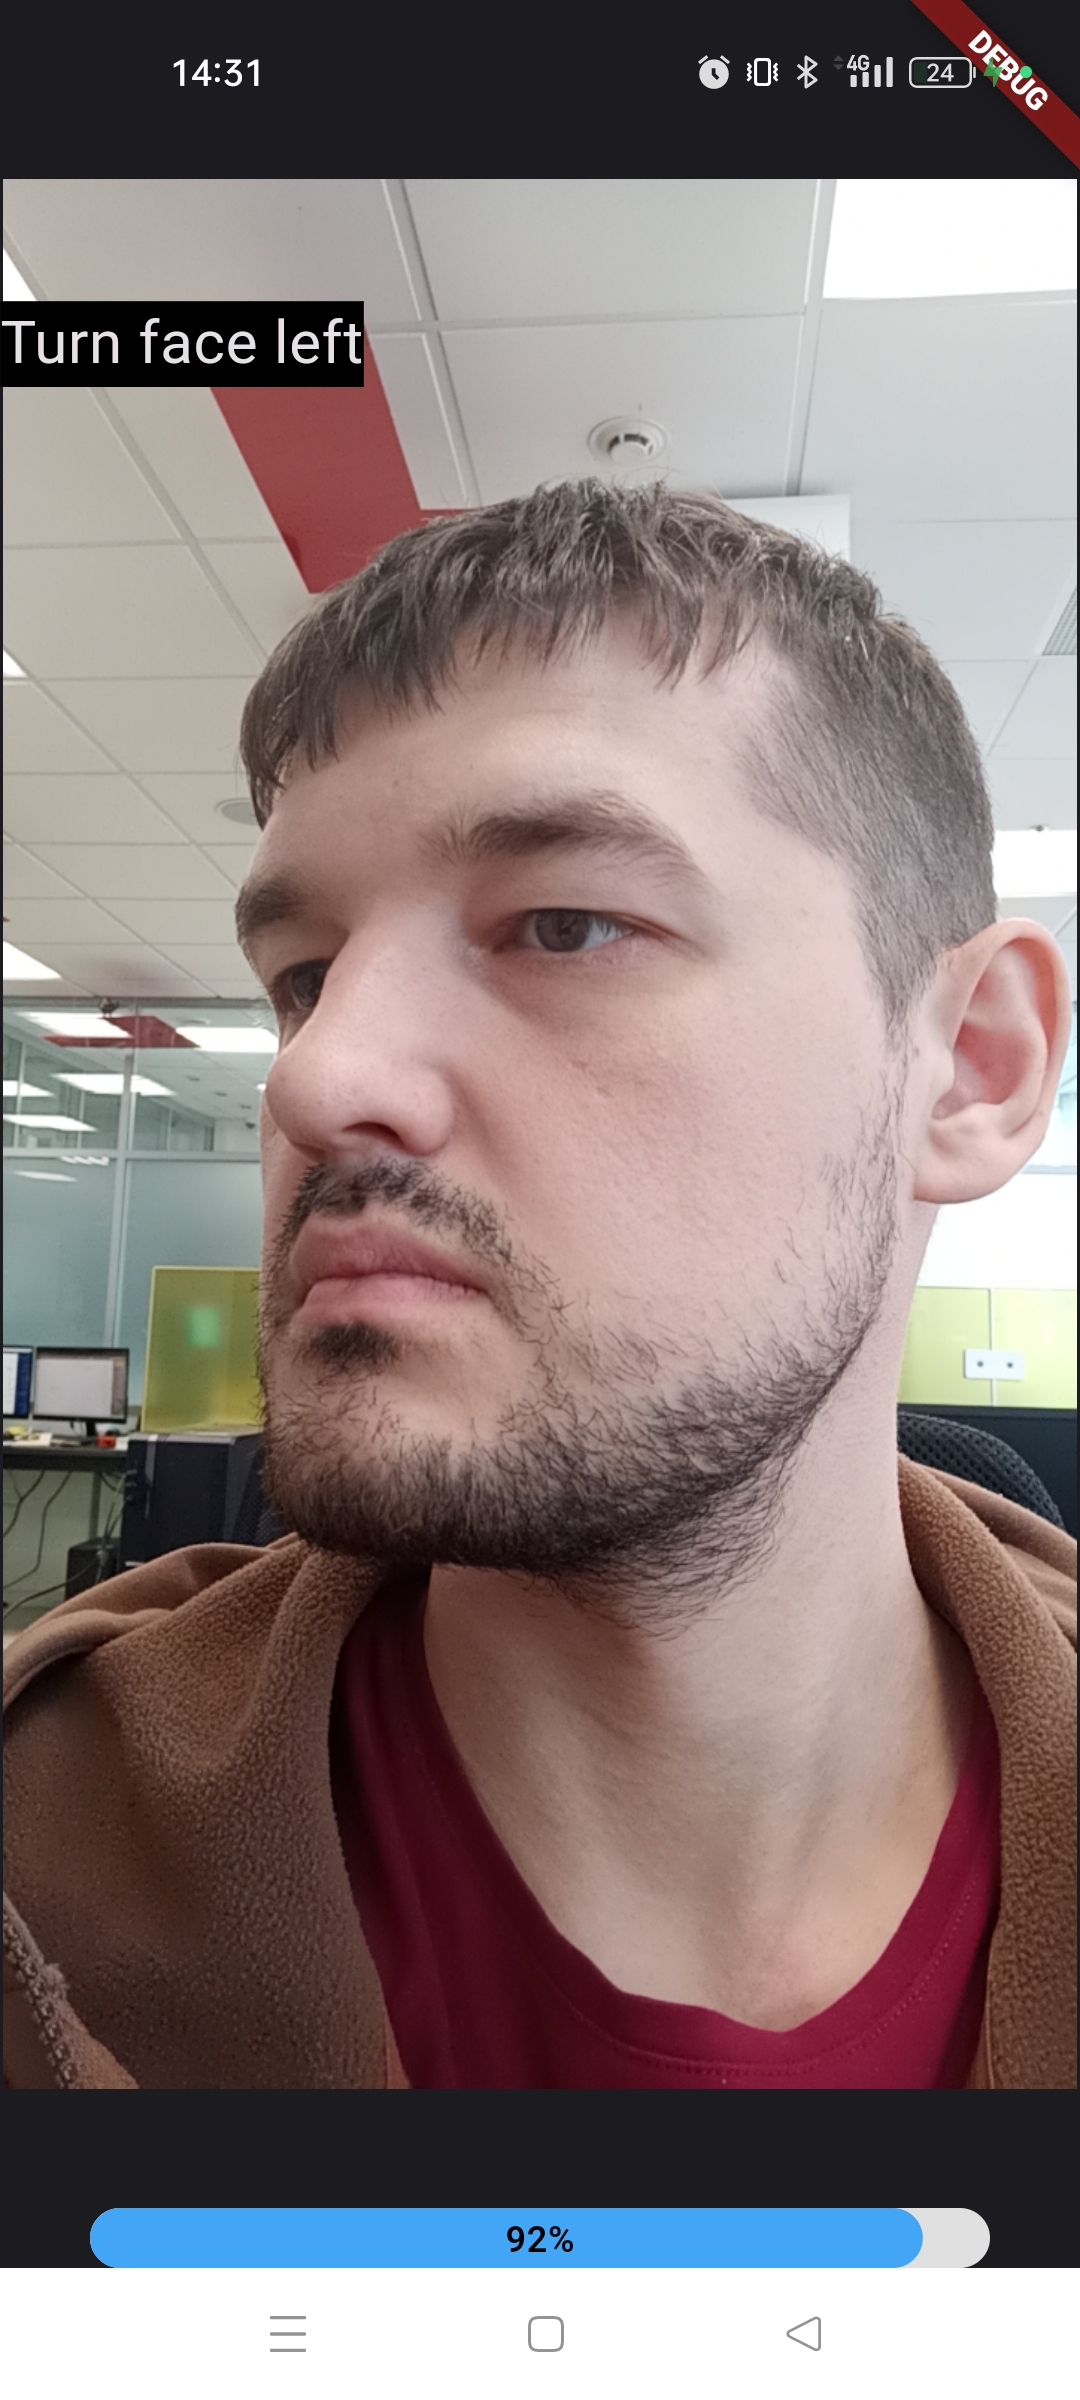
Active Liveness
To pass the Active Liveness test correctly, there must be only one face in the camera frame. Active Liveness check starts automatically when a face is detected.
Steps to be taken to pass the Active Liveness test, are displayed in the application as messages at the top of the screen.
The progress indicator of the current check is displayed on the application screen at the bottom.
If the application displays the message "Please, look at the camera", it is necessary to align the position of the face with the camera (angles of inclination of the head from the vertical axis should not exceed 15 degrees).
After passing the Active Liveness test, you will see the verdict "PASSED" or "FAILED" displayed at the top of the application screen and the "Next" button at the bottom right. Press the "Next" button to see the face evaluation results.
Click on the "Next" button to display the following results on the application screen:
- Match score: Measures how closely the face in the photo matches the face from the Active Liveness check. A value of 1 indicates the faces belong to the same person.
- Is same person: Indicates whether the faces belong to the same person (true or false).
- Liveness passed: Shows whether the Active Liveness test was successfully passed (true or false).
Click the "Next" button below the results to return to the application’s start screen.