Configuration
You can configure OMNI Agent through the dashboard or by editing files from OMNIAgent folder available at the address:
- Linux: ~/.local/share/OMNIAgent
- Windows: %LocalAppData%/OMNI Agent
Configuration files for editing are located in the config folder. For your convenience, configuration files with default settings are available for review in the config.default folder. Note that any value changed in config files takes precedence over the default configuration.
The following basic settings can be modified through the dashboard or by editing config/run_params.json and config/log_params.json configuration files.
After adding or changing values in the configuration files, restart OMNI Agent.
Multi camera
Connecting the additional video stream (camera)
OMNI Agent supports connection to multiple video streams (cameras).- To connect an additional video stream via the OMNI Agent dashboard, click Add a camera on the cameras page and specify the IP/USB camera.
- To add an additional video stream to OMNI Agent by editing the configuration file, follow the steps below:
- In the config/run_params.json configuration file, create a new camera object in the
web_camsarray. To do this, simply copy the already existing camera object from theweb_camsarray. - Specify the IP address or ID of the new connected camera in the stream parameter of the new camera object. For USB cameras, you additionally need to specify the frame size: width and height.
- Run and activate the OMNI Agent.
- In the config/run_params.json configuration file, create a new camera object in the
As a result, the OMNI Agent will transfer data to OMNI Platform from two video streams (cameras).
To connect and operate additional video streams, you will need a machine with the following design characteristics:
- CPU: number of cores = 1 core + 3 x number of video streams @3GHz with AVX support. When one of the modules (face/body) is disabled, 1 CPU core is removed. In this case, the number of cores = 1 + 2 x number of video streams.
- RAM: 1GB + 1 GB x number of video streams. The amount of free RAM required is specified. If one of the modules (face/body) is disabled, the thread multiplier is expected to decrease by 25%. In this case, the amount of RAM = 1GB + 0.75GB x number of video streams.
- HDD: 3GB free space.
Video files
To run OMNI Agent for processing video files, follow the steps below:
Connect OMNI Agent to OMNI Platform (launch the Agent, enter the server URL, and the email and password of your OMNI Platform account).
At Add a Camera page enter 123 in the URL field of IP camera.
Close OMNI Agent by closing the terminal.
Open config/run_params.json configuration file:
- Windows: %LocalAppData%\OMNIAgent\config\run_params.json
- Linux: ~/.local/share/OMNIAgent/config/run_params.json
Enable "lock_cam_on_module_creation" field.
"lock_cam_on_module_creation": trueIn the "web_cams" section, in the "stream" field, specify the path to the video file.
Add the fields below:
- "is_benchmark_camera": true
- "is_nonlocking_camera": true
Specify values for "title" and "real_name" fields (optional). An example of the filled -in “web_cams” section for running OMNI Agent to process a video file:
"web_cams": [
    {
        "color_camera": {
            "creationDate": "2023-12-12T08:32:30.879147+00:00",
            "frame_crop": {
                "height": 1,
                "width": 1,
                "x": 0,
                "y": 0
            },
            "id": "c59fe4cb-5e9a-4bcb-a34b-e88879d1d692",
            "lastModified": "2023-12-12T08:32:30.879109+00:00",
            "real_name": "",
            "stream": "/home/stranger/Downloads/test_video_office.mp4",
            "title": "test_vid",
            "type": "IP",
            "is_benchmark_camera": true,
            "is_nonlocking_camera": true
        }
    }
]tipThe path in the "stream" field must contain only Latin letters and numbers. When filling out the field on Windows, use backslashes:
"C:\\Users\\vikki\\Desktop\\test_video_office.mp4".Run OMNI Agent.
OMNI Agent will stop after video file processing is completed. Processing results in the format of processes and/or events will be transferred to OMNI Platform or third-party service via webhooks.noteFor stable operation of OMNI Agent, it is not recommended to process multiple video files at the same time.
Proxy server
Setting via dashboard
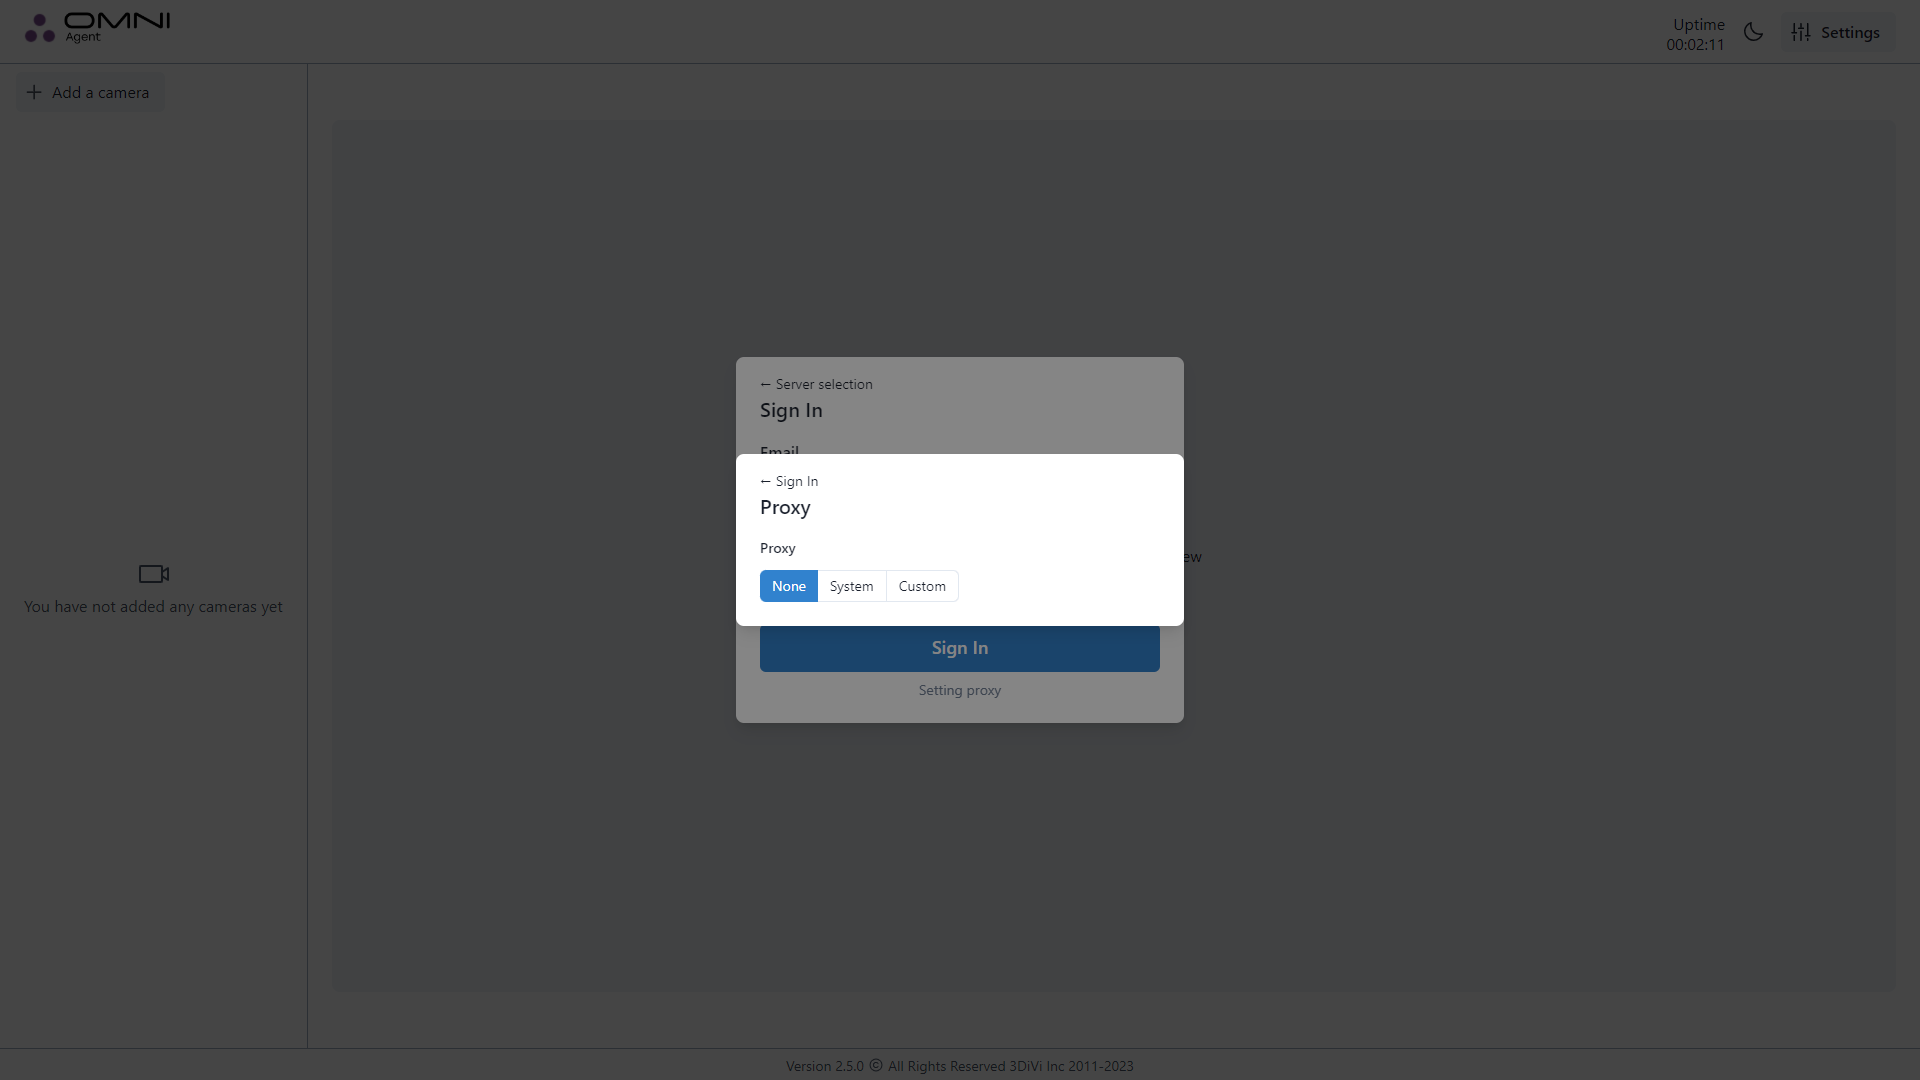
If the user gets access to the Internet through a proxy server, this connection should also be enabled to install and configure OMNI Agent. To use a proxy server, click on Settings icon at OMNI Agent dashboard and select a system or custom proxy server in the opened tab. When choosing a custom proxy server, enter its address in a special field. After changes are completed, click the Save button.
Port of web configurator
Setting through configuration file
You can configure all parameters specified in this section by editing config/run_params.json.
By default, the web configurator runs on port 8080. To change the port, add the http_server_port: (int) field in the configuration file and specify the desired port for opening the web configurator.
Data retransmission
When the connection is failed, the data sent by Agent is saved in a special storage. When the connection is restored, this data is resent to the server.
Open the configuration file TDV/tdv_connection_params.json and provide values for the following variables:
resend_on_success_count: int – number of packets to resend. The default value is 15.data_keeper_max_bytes: int64 – the maximum number of bytes in the storage. The default value is 68719476736 (64GB).
Сropping of original frames
To optimize the processing of video streams and video files, you can transfer not the original, but cropped frames (crops) to OMNI Agent. Crop parameters (coordinates of the upper left corner, width and height of the crop) are indicated in normalized coordinates.
Cropping is recommended so that OMNI Agent does not waste resources processing static objects on the sides of the original frame (for example, a wall, a cabinet, etc.).
Setting through configuration file
To configure cropping, open the configuration file config/run_params.json and add a new object to the web_cams field:
frame_crop:x: float – X coordinate of the upper left corner in normalized coordinates of the original framey: float – Y coordinate of the upper left corner in normalized coordinates of the original framewidth: float – Crop width in normalized coordinatesheight: float – Crop height in normalized coordinates
For example, the web_cams field with the image crop fields filled in will look like this:
{
        "web_cams": [
        {
            "color_camera": {
                "creationDate": "2023-10-12T09:41:42.789486+00:00",
                "id": "7da98714-ae35-4832-834b-83cf82e4fe7a",
                "lastModified": "2023-10-12T09:47:38.190009+00:00",
                "real_name": "",
                "stream": "rtsp://guest:q2w3e4r5t@192.168.122.154/stream",
                "title": "rtsp://192.168.122.97:554",
                "type": "IP"
                "frame_crop": {
                    "x": 0.2,
                    "y": 0.3,
                    "width": 0.3,
                    "height": 0.25
                }
            }
        }
    ]
}
Setting via dashboard
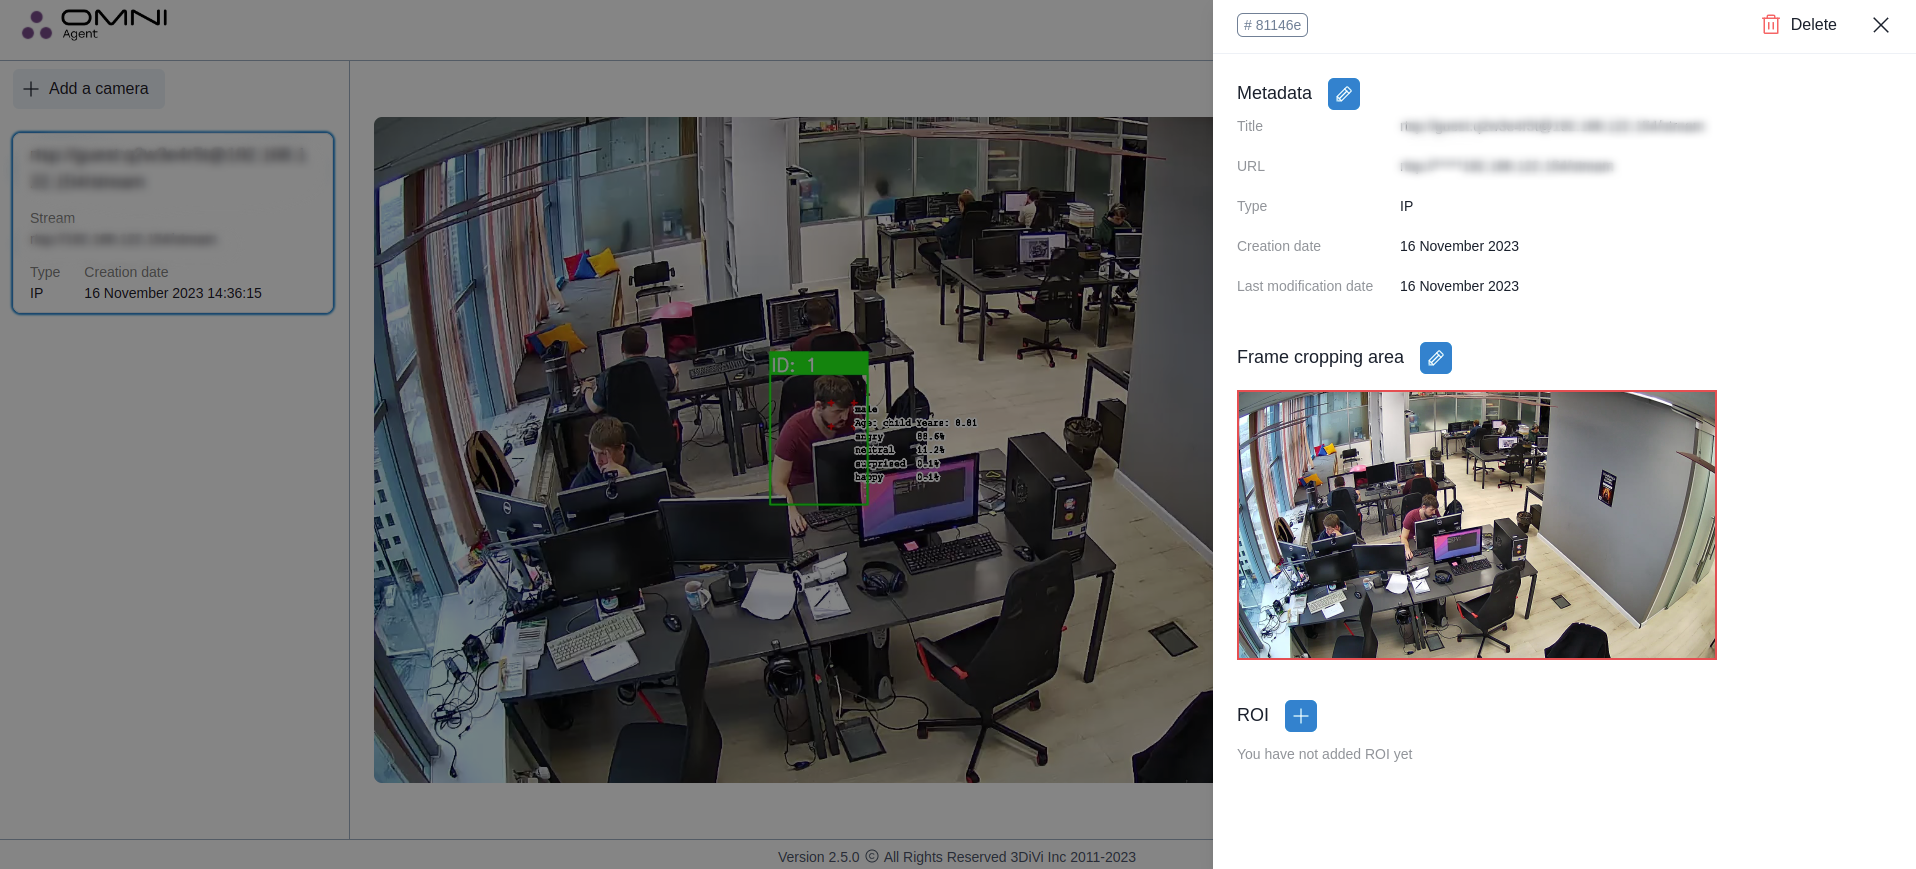
To crop the original frame via the dashboard, click on the Gear sign in the upper right corner of the camera card. On the opened tab click on the Edit icon in the Frame cropping area section.
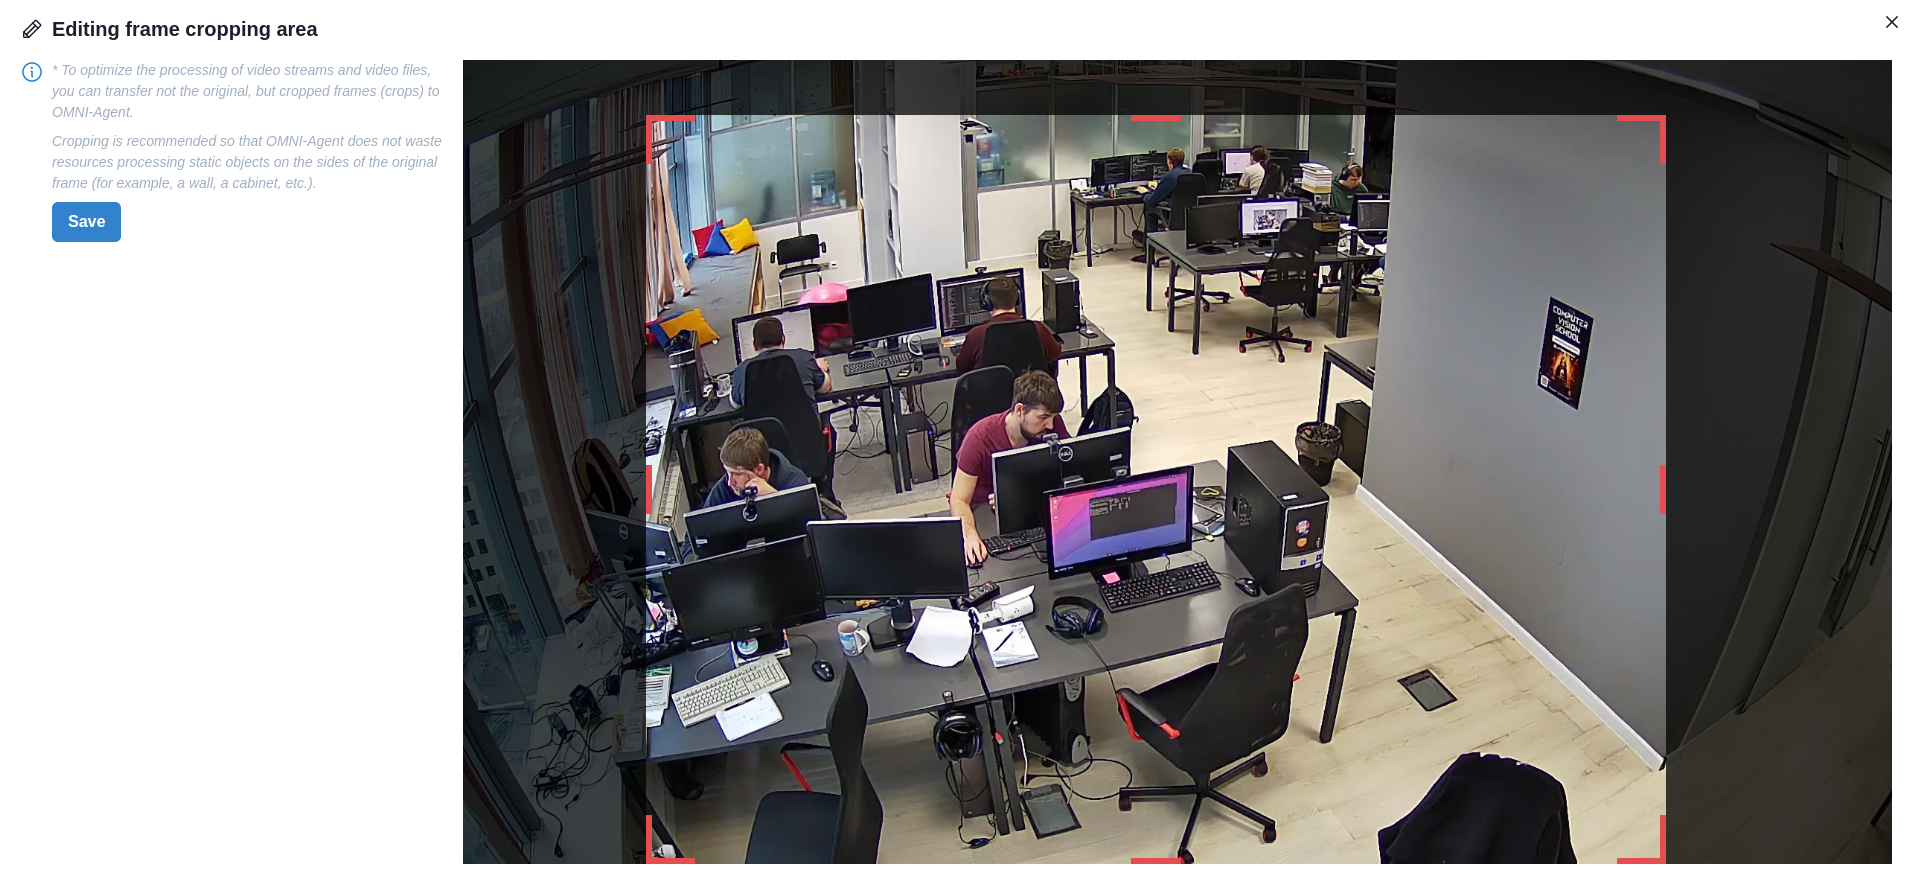
This will take you to a page where you can resize the original camera preview by dragging the red edges of the image. After editing, click Save.
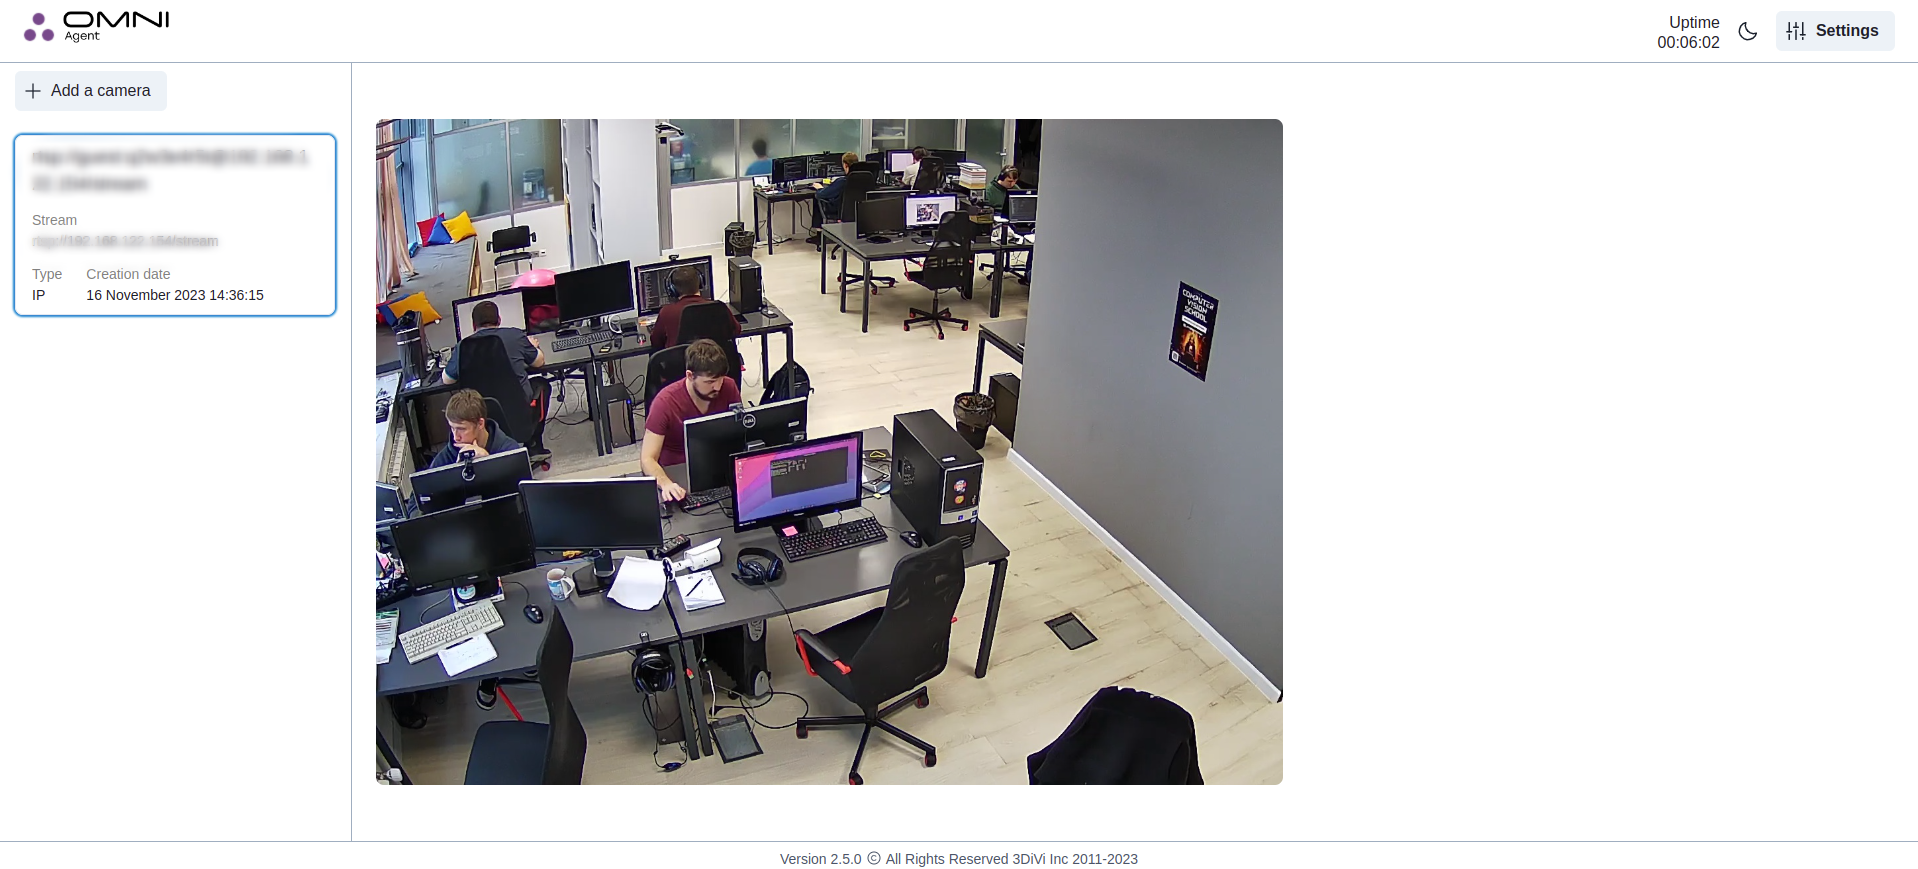
As a result, a preview of the new sizes will be displayed in the dashboard.
GPU usage
Using CUDA for acceleration
To boost the performance of OMNI Agent using GPU, open the configuration file config/run_params.json and enable the use of CUDA:
Enable CUDA for face detector:
pipelines.face.video_worker_override_parameters.use_cuda: bool –true(enabled),false(disabled)
Enable CUDA 10 support for face detector (use_cuda must be true):
pipelines.face.video_worker_override_parameters.use_legacy: bool –true(enabled),false(disabled)
Enable CUDA for facial recognition:
pipelines.face.recognizer_override_parameters.use_cuda: bool –true(enabled),false(disabled)
Enable CUDA 10 support for facial recognition (use_cuda must be true):
pipelines.face.recognizer_override_parameters.use_legacy: bool –true(enabled),false(disabled)
Enable CUDA for body detector:
pipelines.body_detector.use_cuda: bool – true (enabled), false (disabled). You need to manually put this field in config/run_params.json.
Enable CUDA for human action recognition (HAR):
pipelines.action_recognition.use_cuda: bool – true (enabled), false (disabled). You need to manually put this field in config/run_params.json.
To use CUDA in all tasks except working with faces, you can enable the use_cuda_onnx field in config/run_params.json.
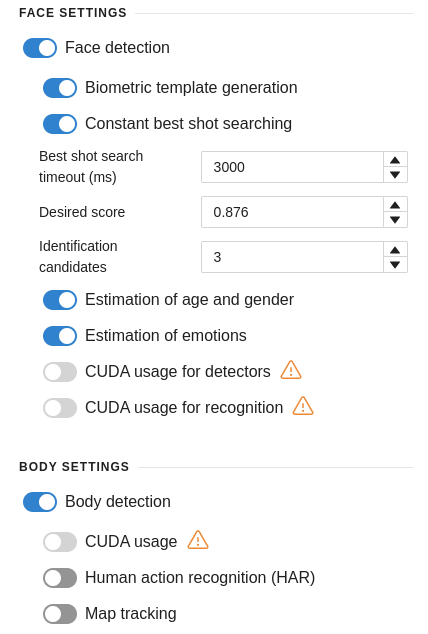
Setting via dashboard
You can enable CUDA for face detection, facial recognition and simultaneously for body detection and HAR in OMNI Agent dashboard settings.
Logging
You can view the logs in the logfile_*.log file in the log folder. To change the logging level, go to the log_params.json configuration file and set a value for the sev_level(string) parameter. Available logging levels: TRACE, DEBUG, INFO, WARNING, ERROR, FATAL (listed in ascending order of importance).
Traces
To analyze the processing results and identify arisen problems, it is possible to save a highly detailed processing log. We call this log a trace.
To enable/disable trace collection, open the log_params.json configuration file, find the traces object, set the values for enable (trace enabling, true/false) and trace_interval_in_msec (trace collection interval, integer).
When trace recording is enabled, OMNI Agent will write to the console a message like
"Starting to write the trace...", "Trace written: " <UUID>
After the last message, a new file is written with a name equal to the written UUID.
Received traces are saved in the subdirectory available at the address:
- Linux: ~/.local/share/OMNIAgent/Traces
- Windows: %LocalAppData%/OMNI Agent/Traces
The corresponding files conform to the BSON format when reading from the second byte.