Notifications
Notification is an object used to notify the user about activities related to profiles that have been added to watchlists.
Create Notifications
Notification is automatically generated when the system receives activity that satisfies the trigger condition. For a certain watchlist this condition is as follows: the biometric data of received activity match the biometric data of a profile from this watchlist.
To provide auto-generation of notifications, follow the instructions below:
- Create a profile and a watchlist
- Add the profile to the created watchlist
- Attach a trigger to the watchlist
- Attach an endpoint to the trigger
As a result, when a person from this watchlist is detected by OMNI Agent, you'll receive an instant notification on this event.
If a notification is generated, but you don't receive pop-up, email or webhook notifications, make sure that a trigger has an endpoint attached.
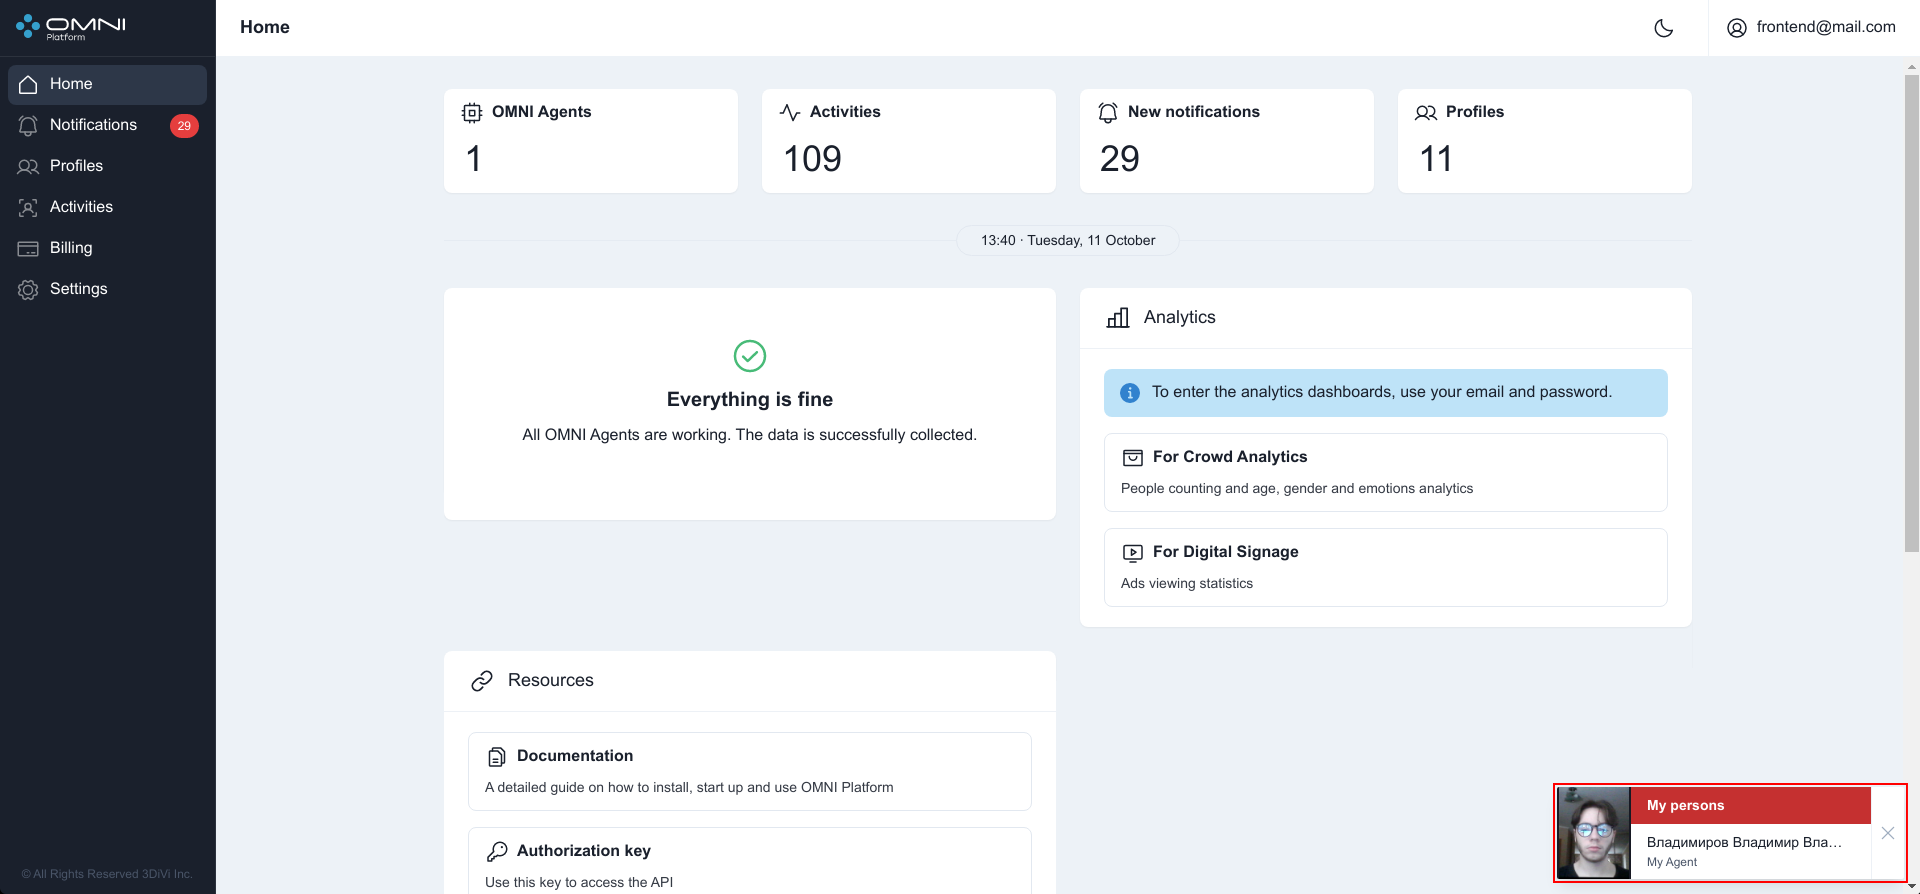
Pop-Up Notifications
Pop-up notification is a pop-up window at lower right side of web interface that shows brief information about a notification: photo (or profile avatar if the agent was in anonymous mode), profile name, agent name and watchlist.This notification lasts for 30 seconds, then disappears. By clicking on the pop-up notification itself, you'll be redirected to Notifications page. No pop-up notifications are displayed at Notifications page.
Pop-up notifications when the agent is in the anonymous mode:
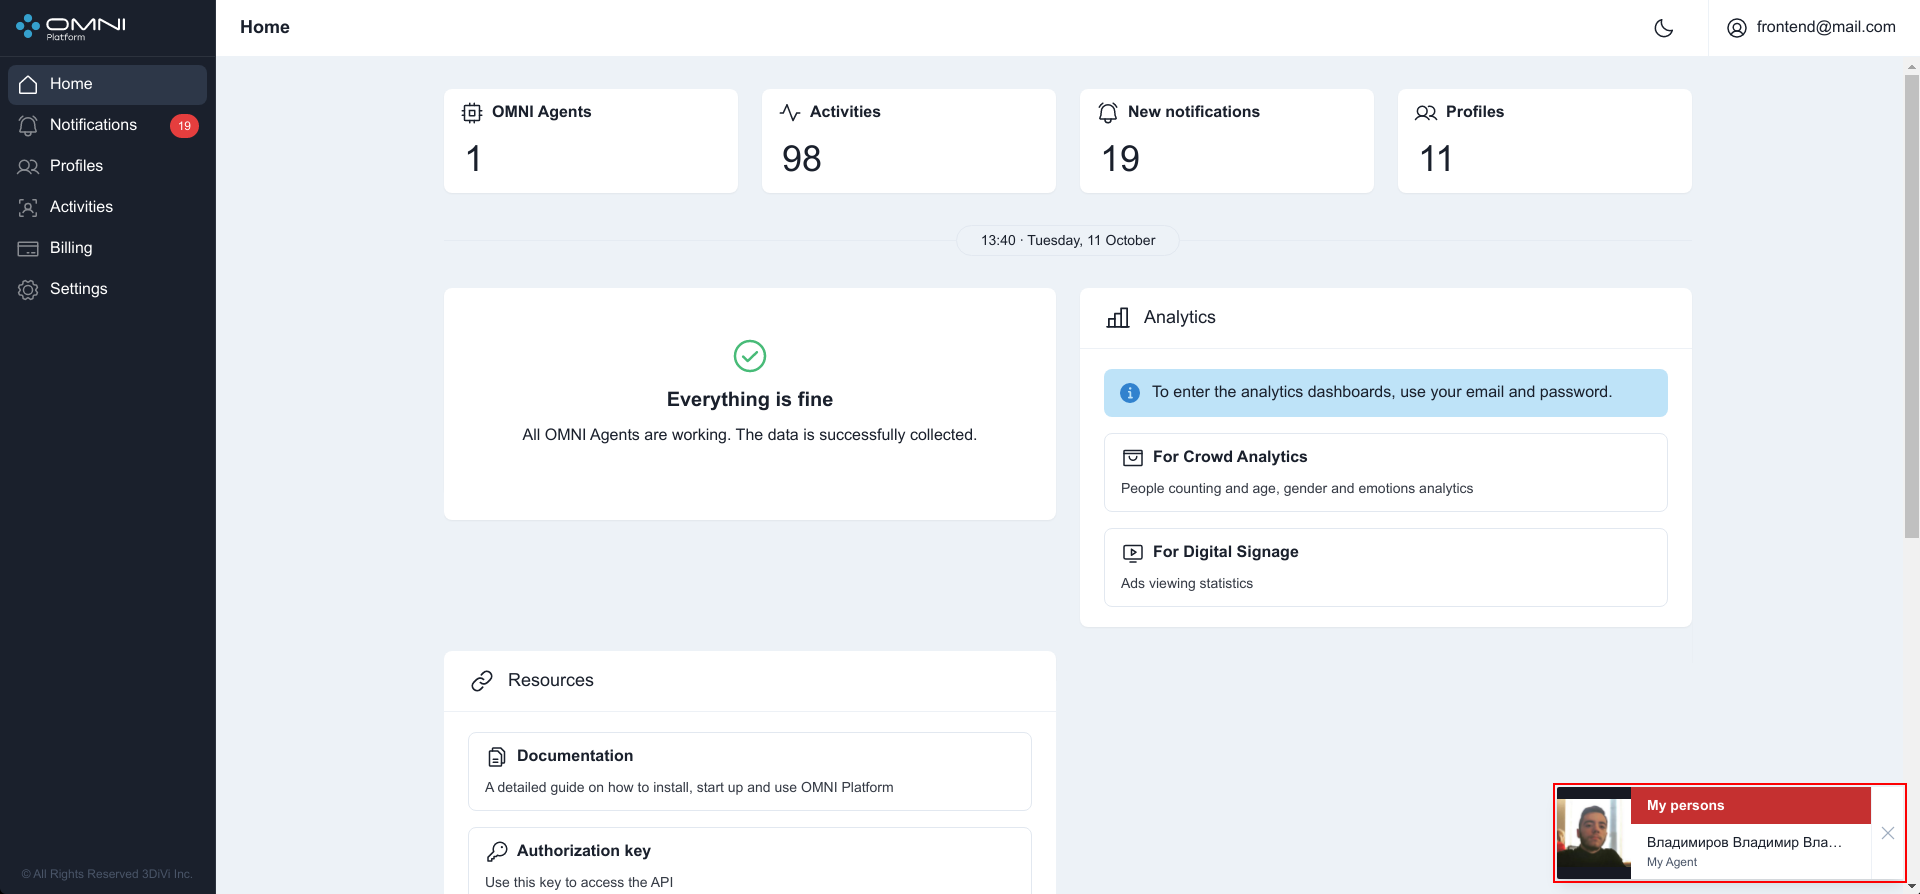
Pop-up notifications when the agent isn't in the anonymous mode:
View Notifications
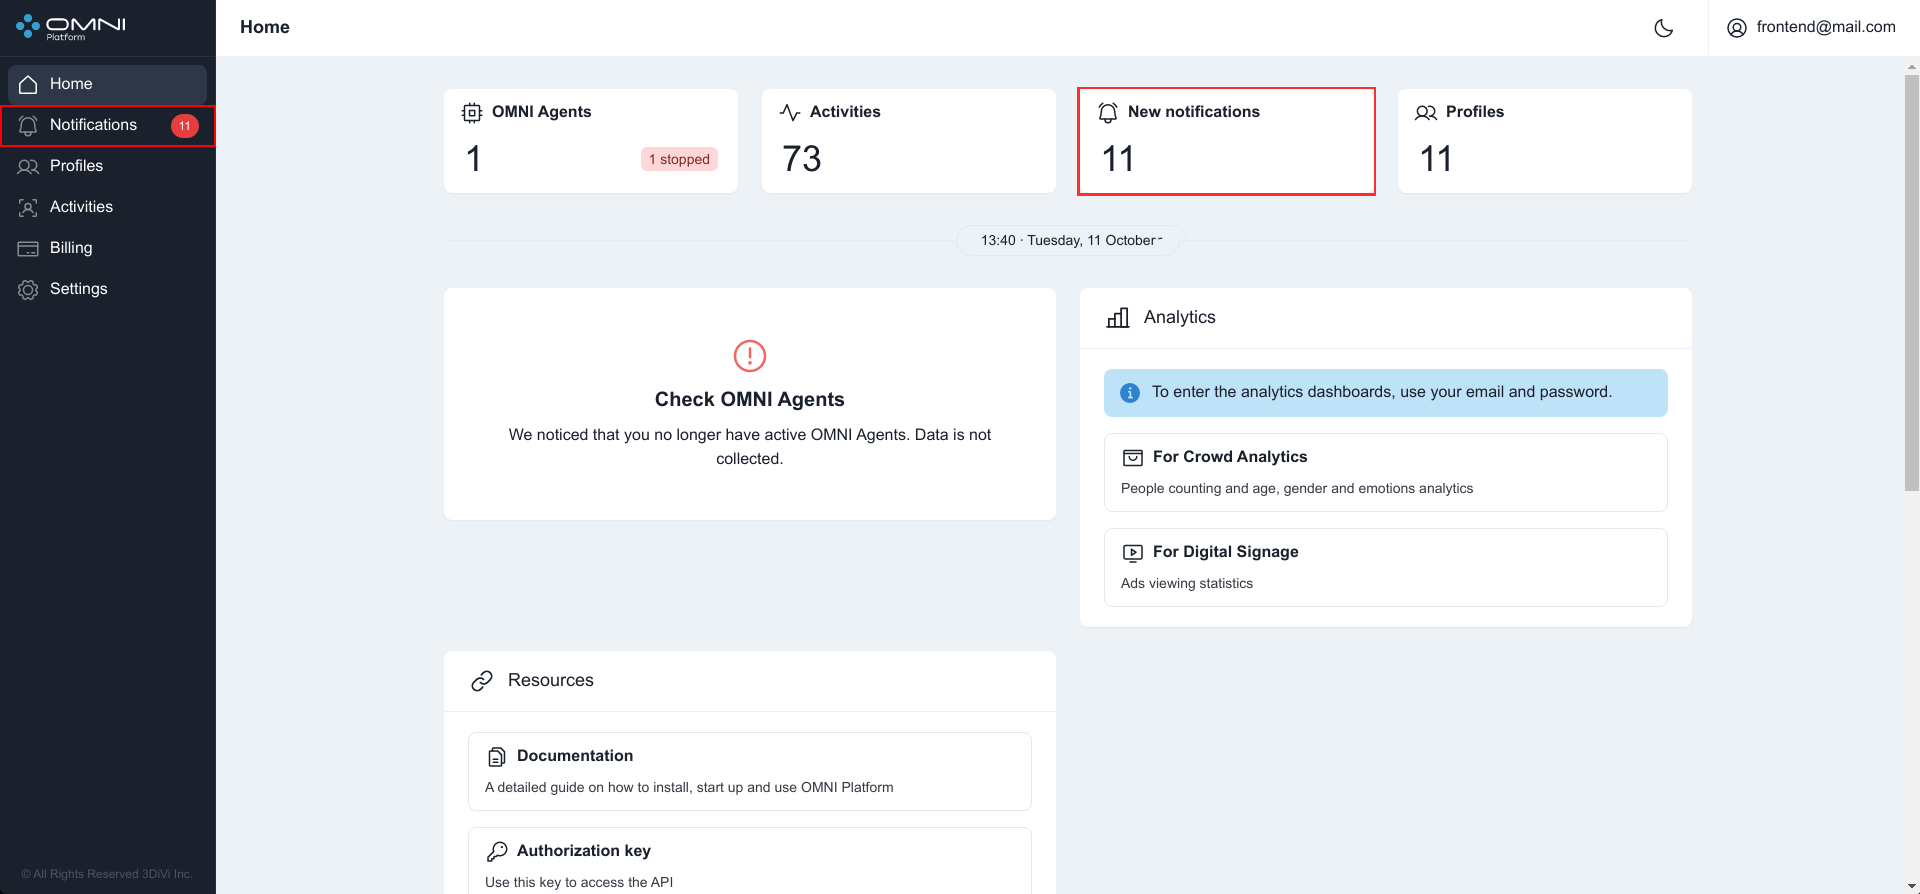
To view the existing activities, open Notifications page via web interface sidebar menu or through New Notifications quick view panel at home page.
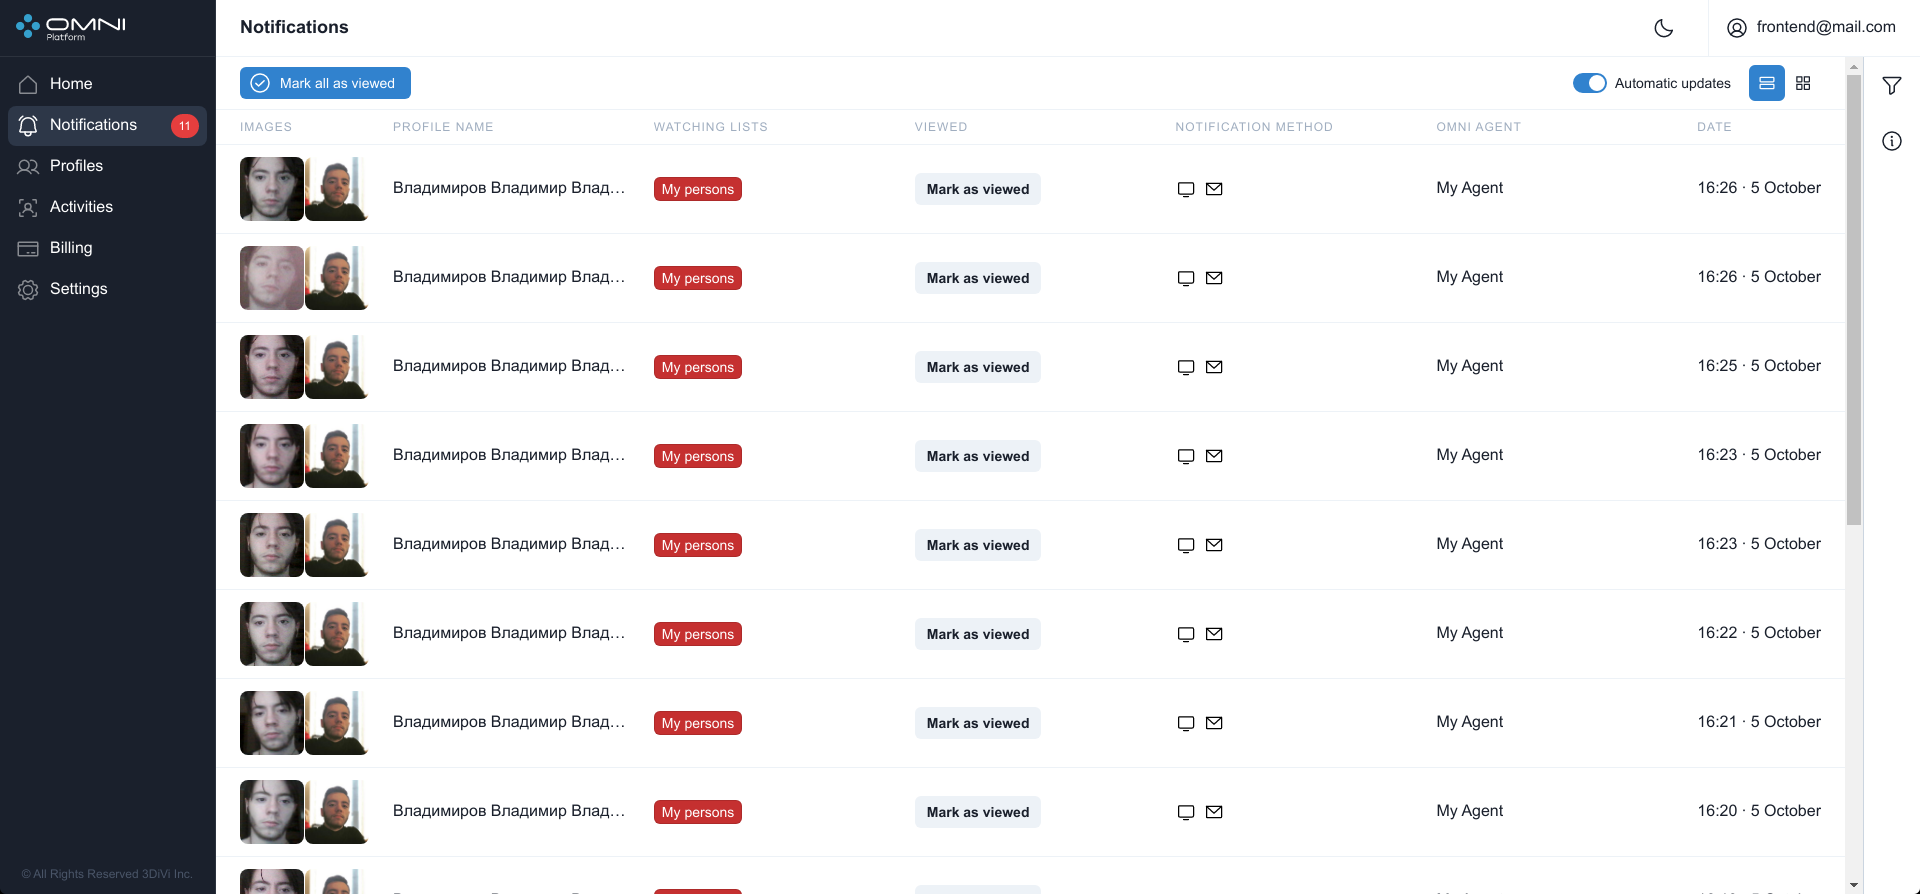
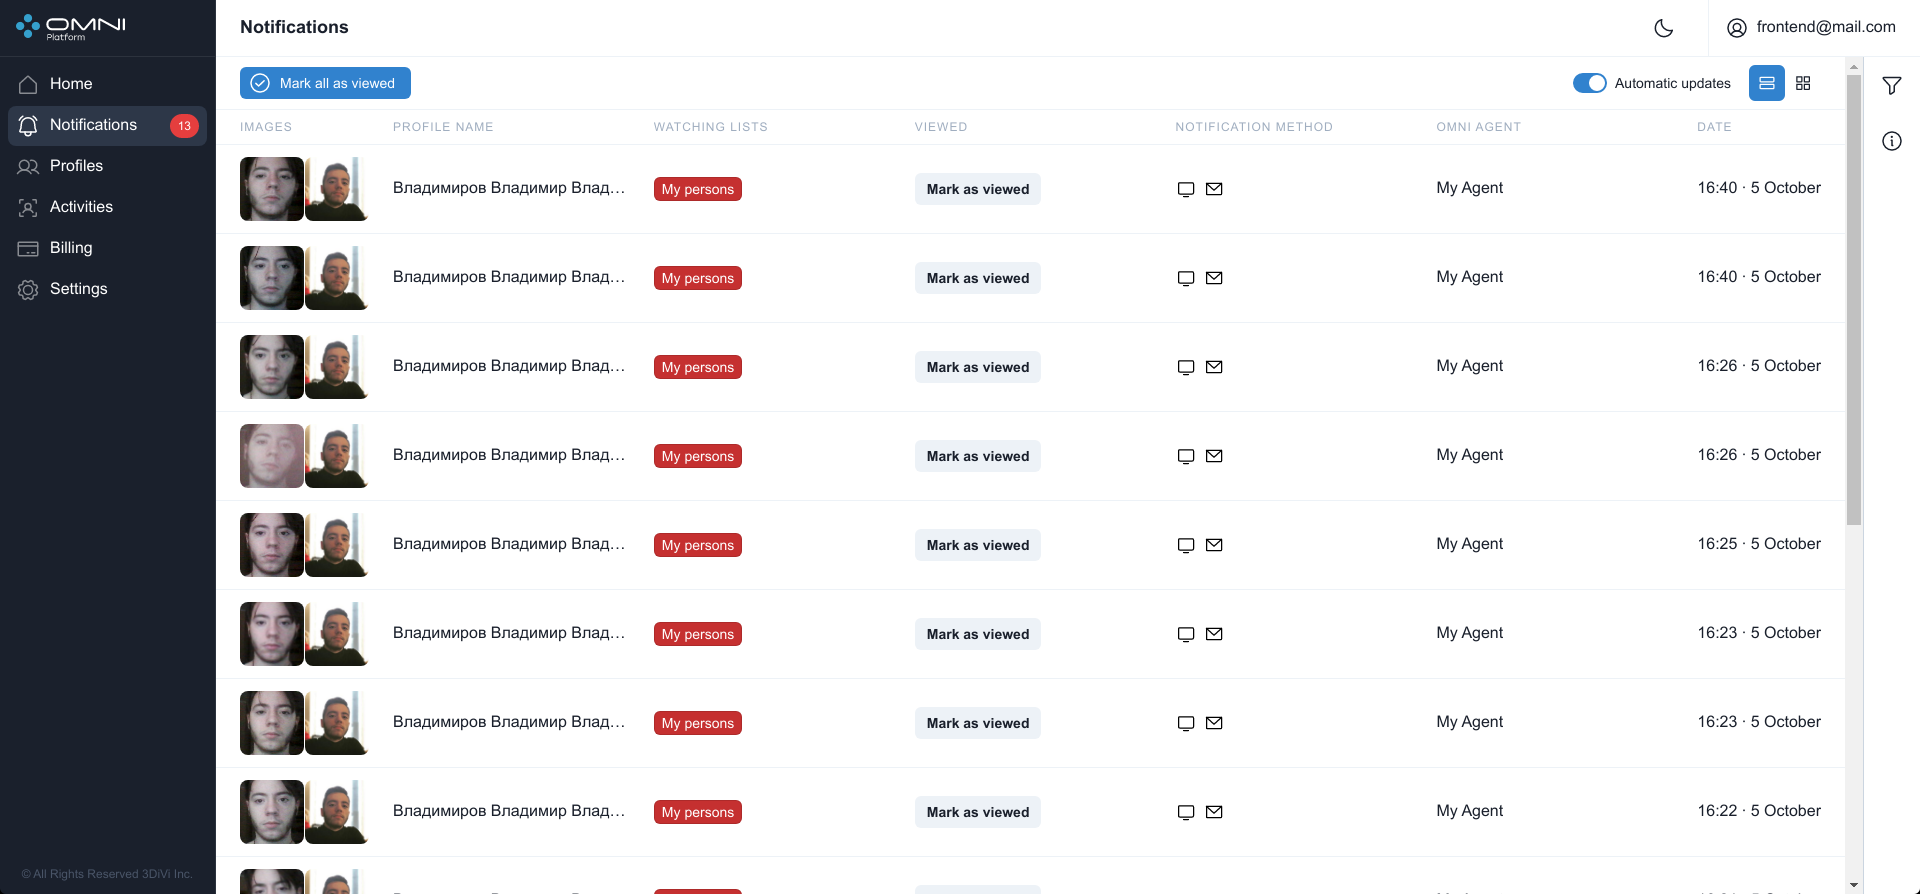
Web interface displays notifications in two ways: table view and tile view. To switch the view, click on View button at the top right side of Notifications page. The active View button will be highlighted in blue.
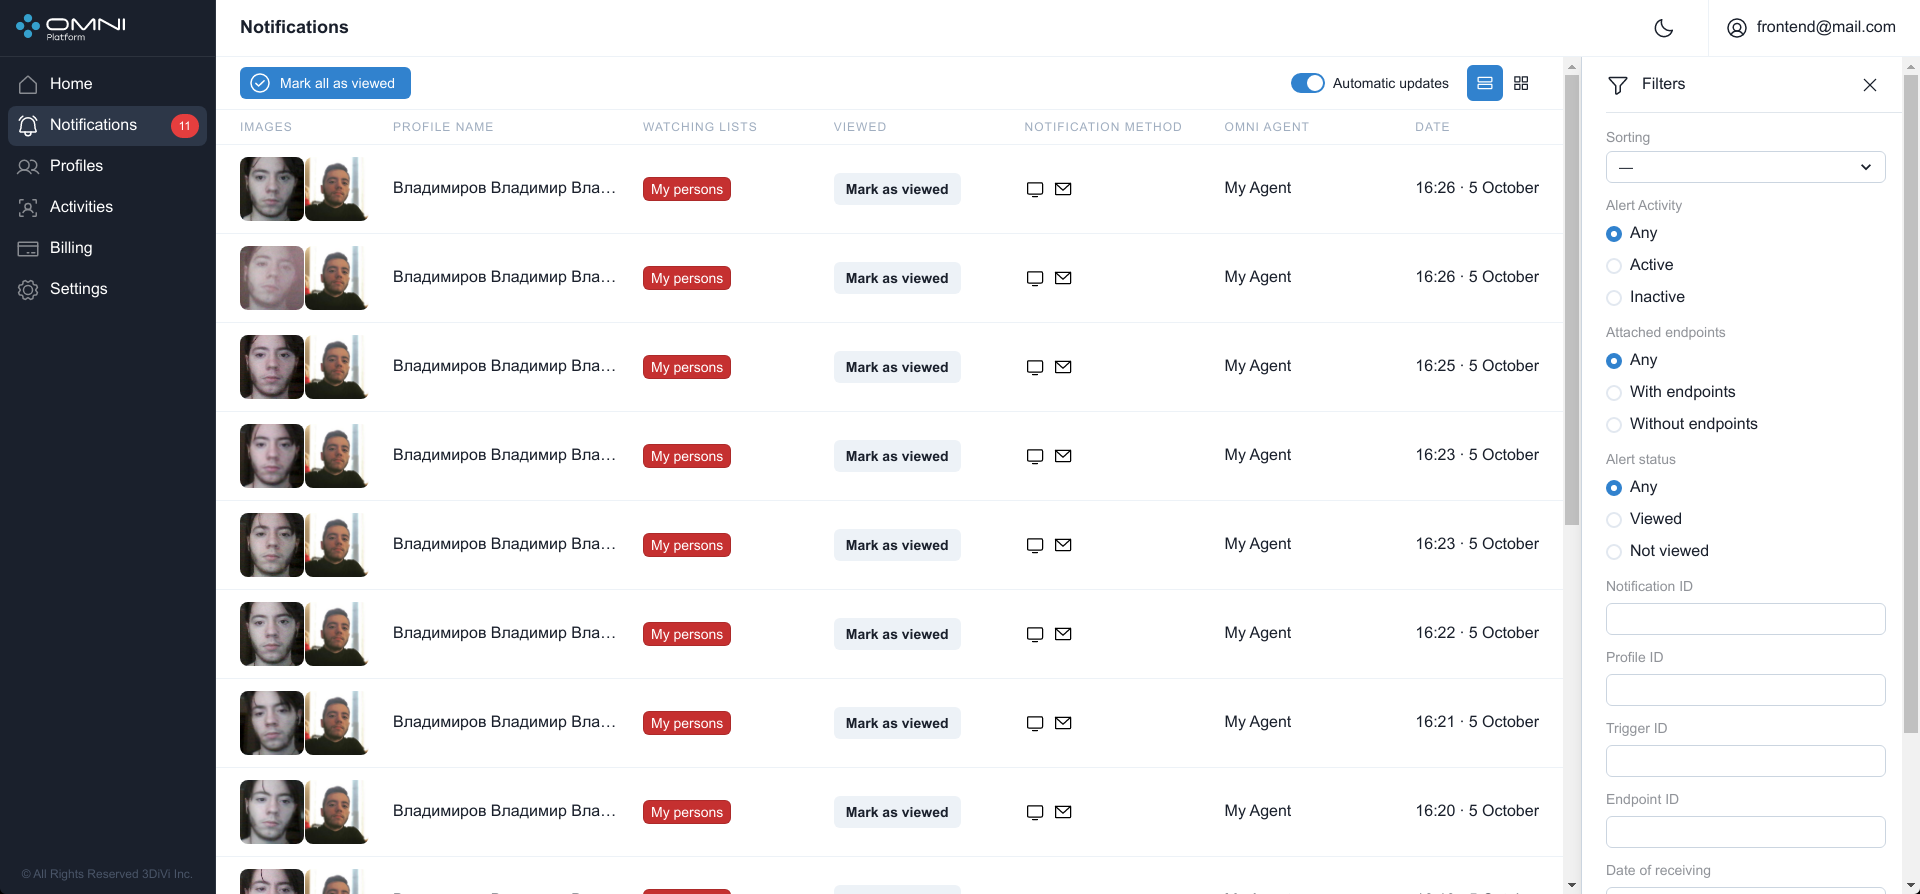
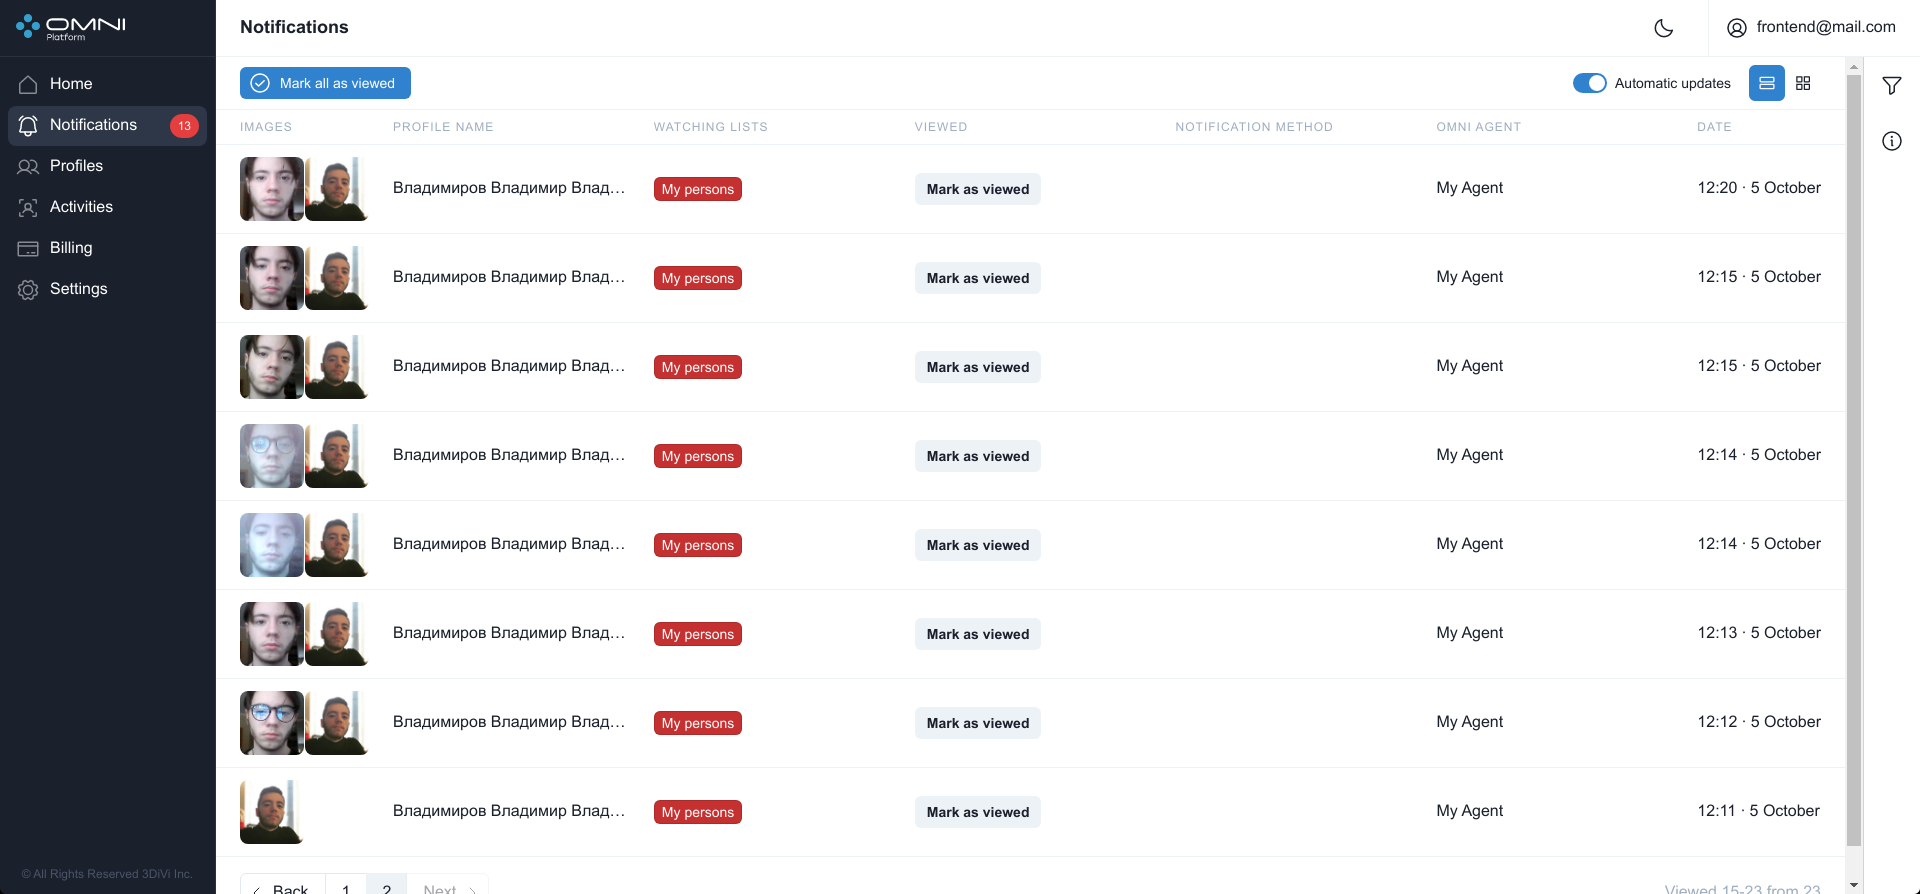
Click the table view button and notifications will be displayed as a table:
Click the tile view button and notifications will be displayed as tiles:
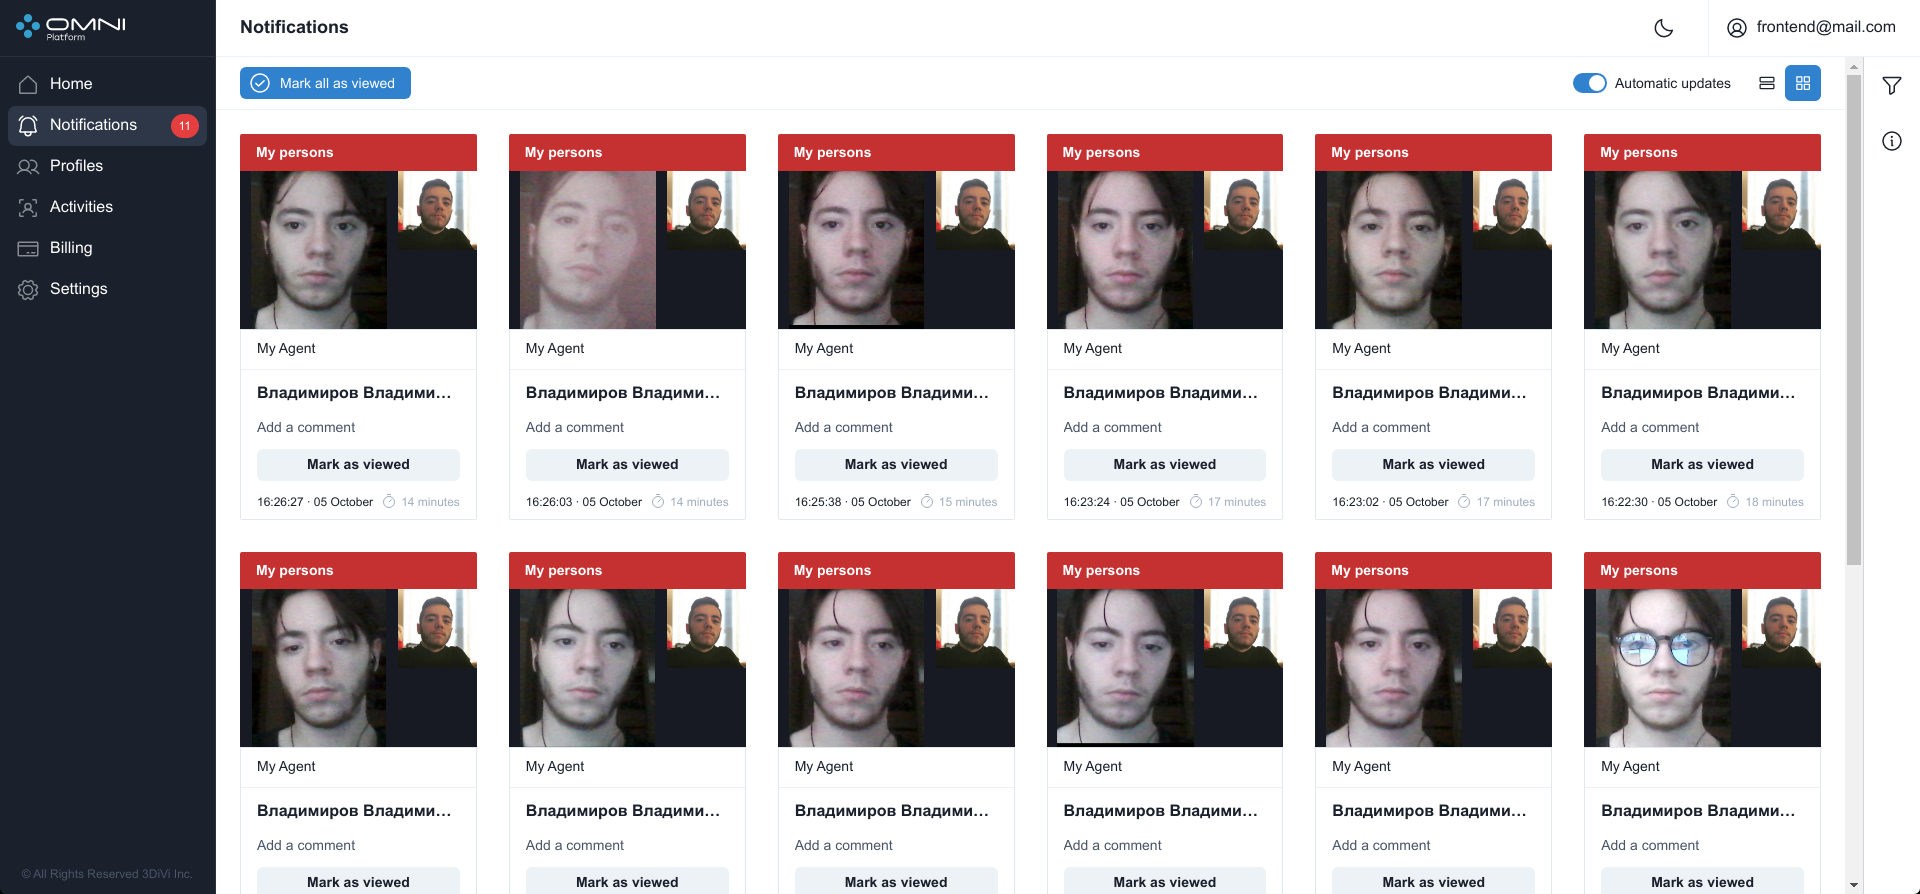
Displayed notification data:
- Images of body and face taken from the activity and profile avatar. The images of body and face from the activity are shown if the images of sufficient quality are taken. The possible reasons for image missing: OMNI Agent works in the anonymous mode or a person's face or body did not get into the frame.
- Watchlist name
- Agent name
- Description (only for tile view). Allows to add or edit a profile description.
- Icons of endpoints where the notification was sent to (only for table view).
- Button to mark notifications as read
- Creation date
Automatic Update
When multiple OMNI Agents work simultaneously, new objects can be created by the system too often, so they can hinder interactions with previously created objects. In this case you can disable automatic data update.
To disable automatic update, click the toggle button in the header of Notifications page.
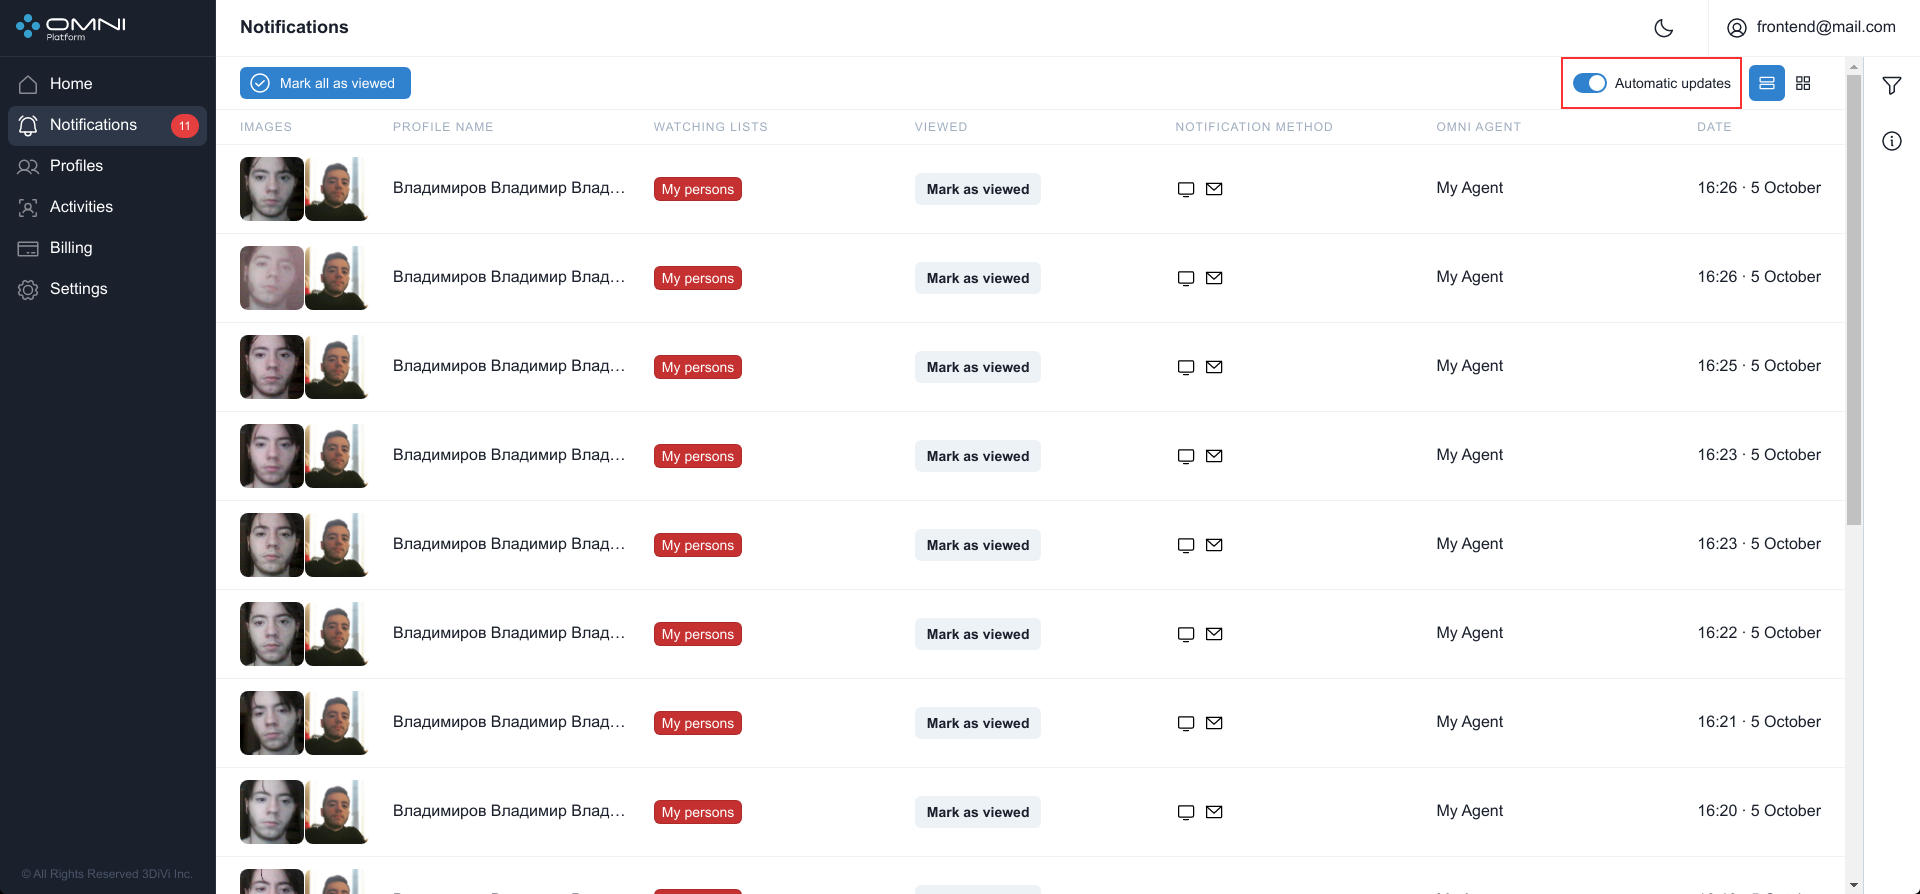
When new notifications are received with automatic update disabled, a button with a counter of notifications, created since automatic update was stopped, will appear under the heading of the Notifications table.
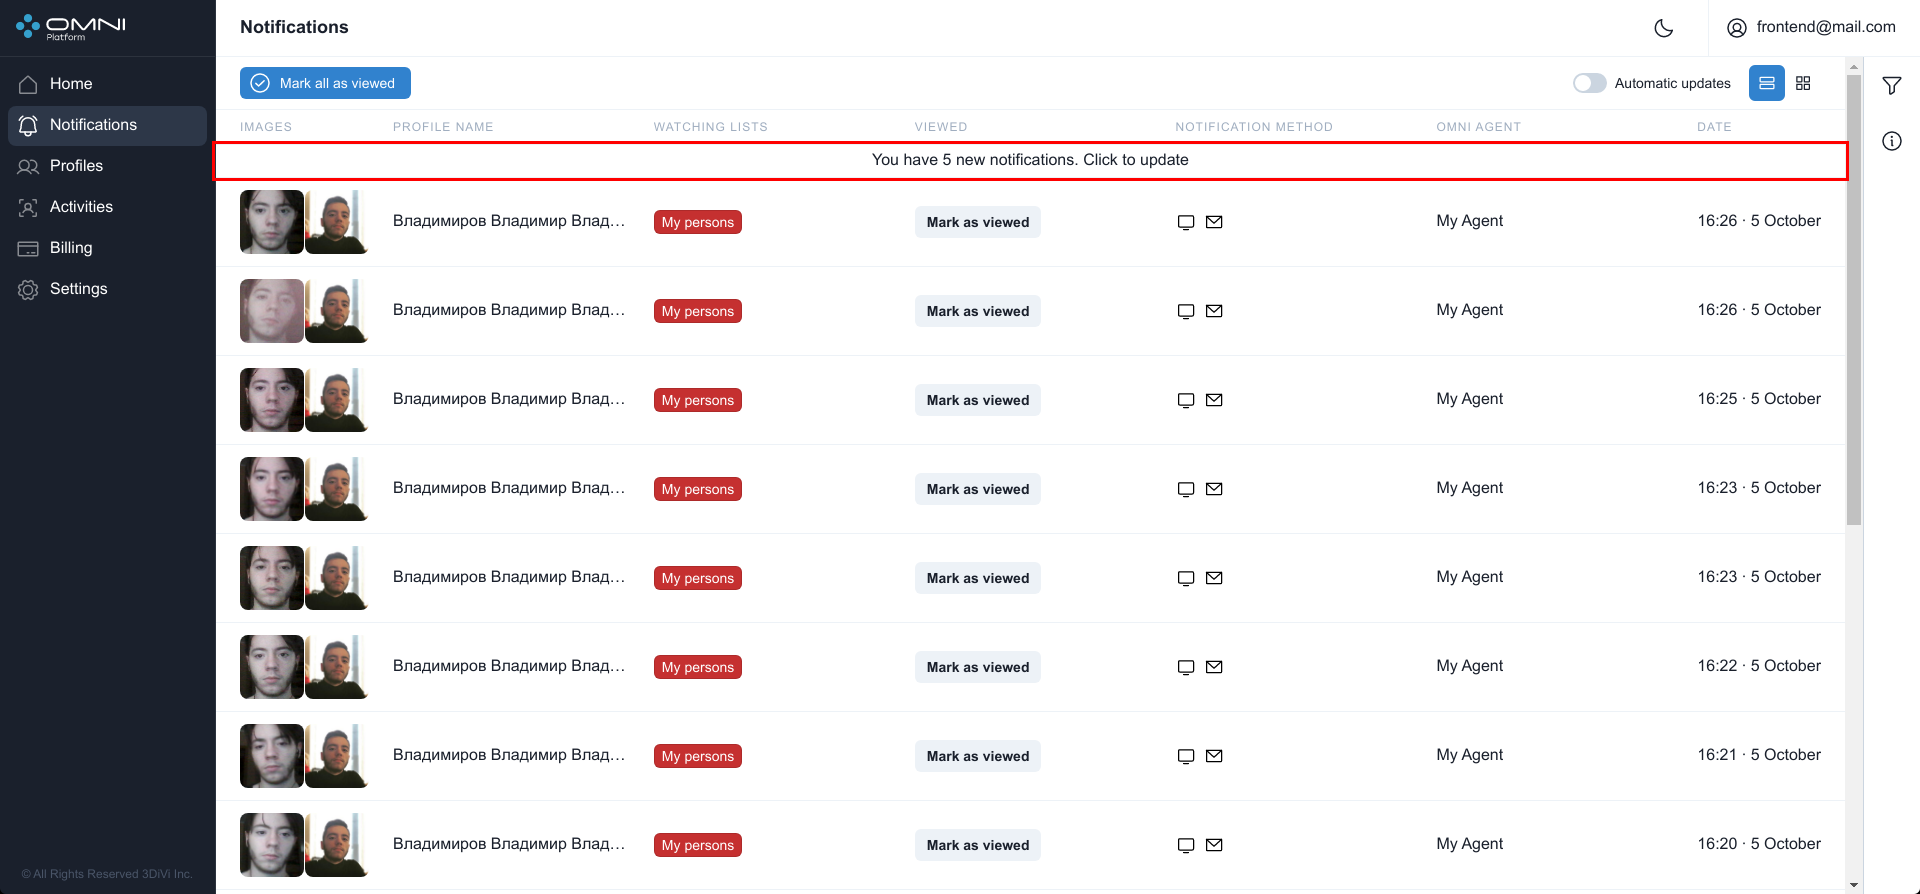
Click this button and the system will upload all new data.
Automatic update can be enabled by clicking a toggle button or just by updating the page.
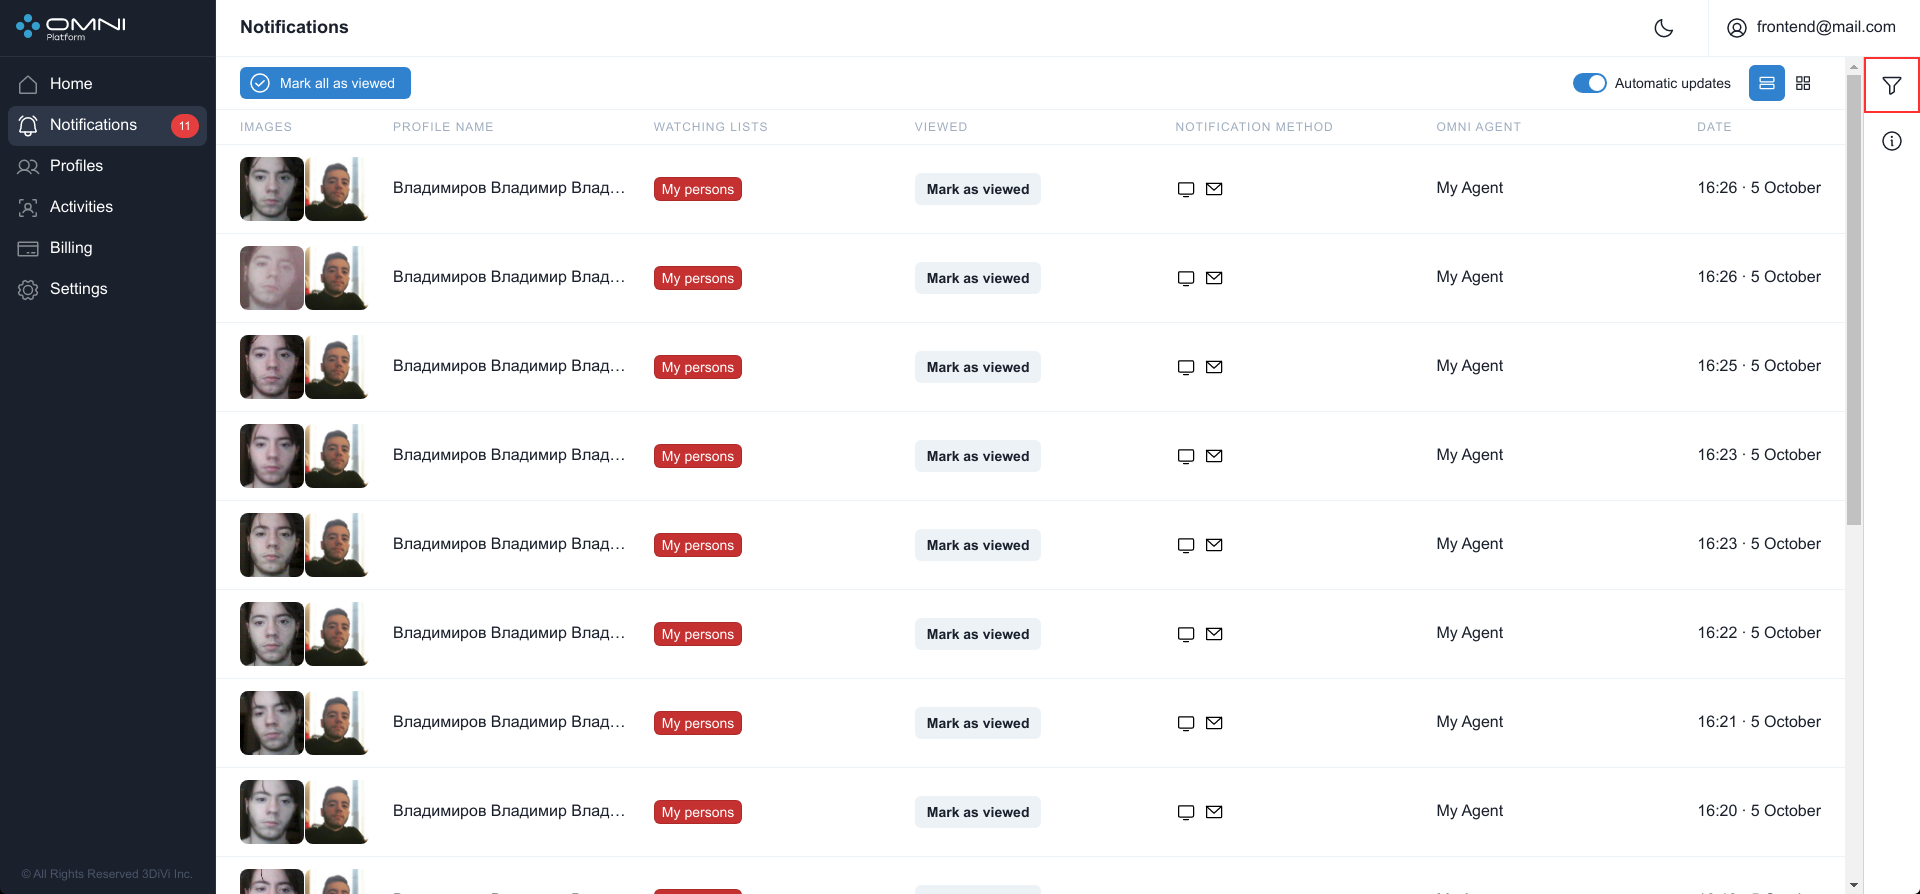
Filtering and Sorting
The system contains a list of filters and sorting options for notification searching. Notifications are filtered by the following parameters:
- Notification activity
- Endpoints
- Notification status
- Notification ID
- Trigger ID
- Endpoint ID
- Creation date
- Modification date
Notifications are sorted by the following parameters:
- Creation date
- Modification date
To configure filters, click Filtering icon at the top right side of web interface under Account button.
Fill in the appropriate fields in the opened tab. IDs can be copied from object cards.