Agents
Agent is an object used to display OMNI Agent data: current status, name, creation date and last update date.
Create Agent
Agent is created automatically after installation and sign in to OMNI Agent.

View Agents
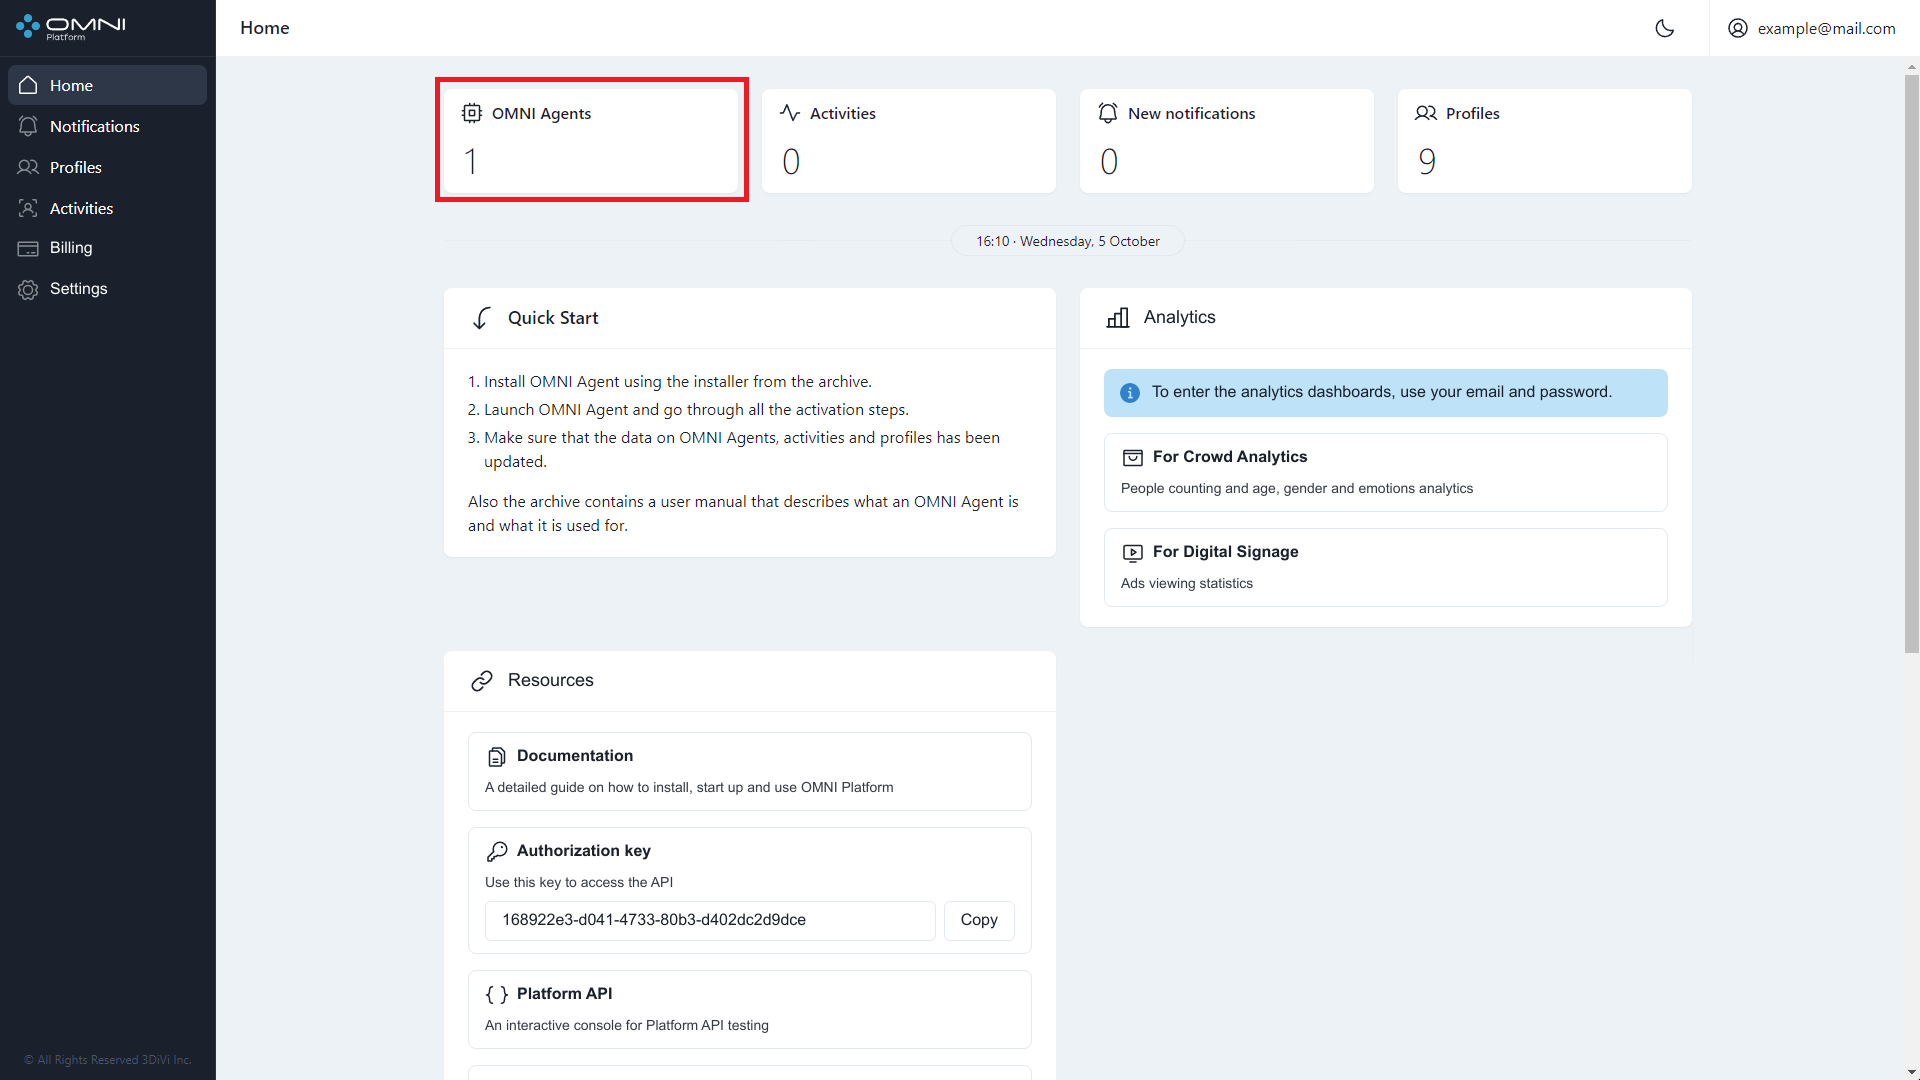
To view existing agents, do the following:
- Open OMNI Agents section via OMNI Agents quick view panel at home page.
Or through Settings section.
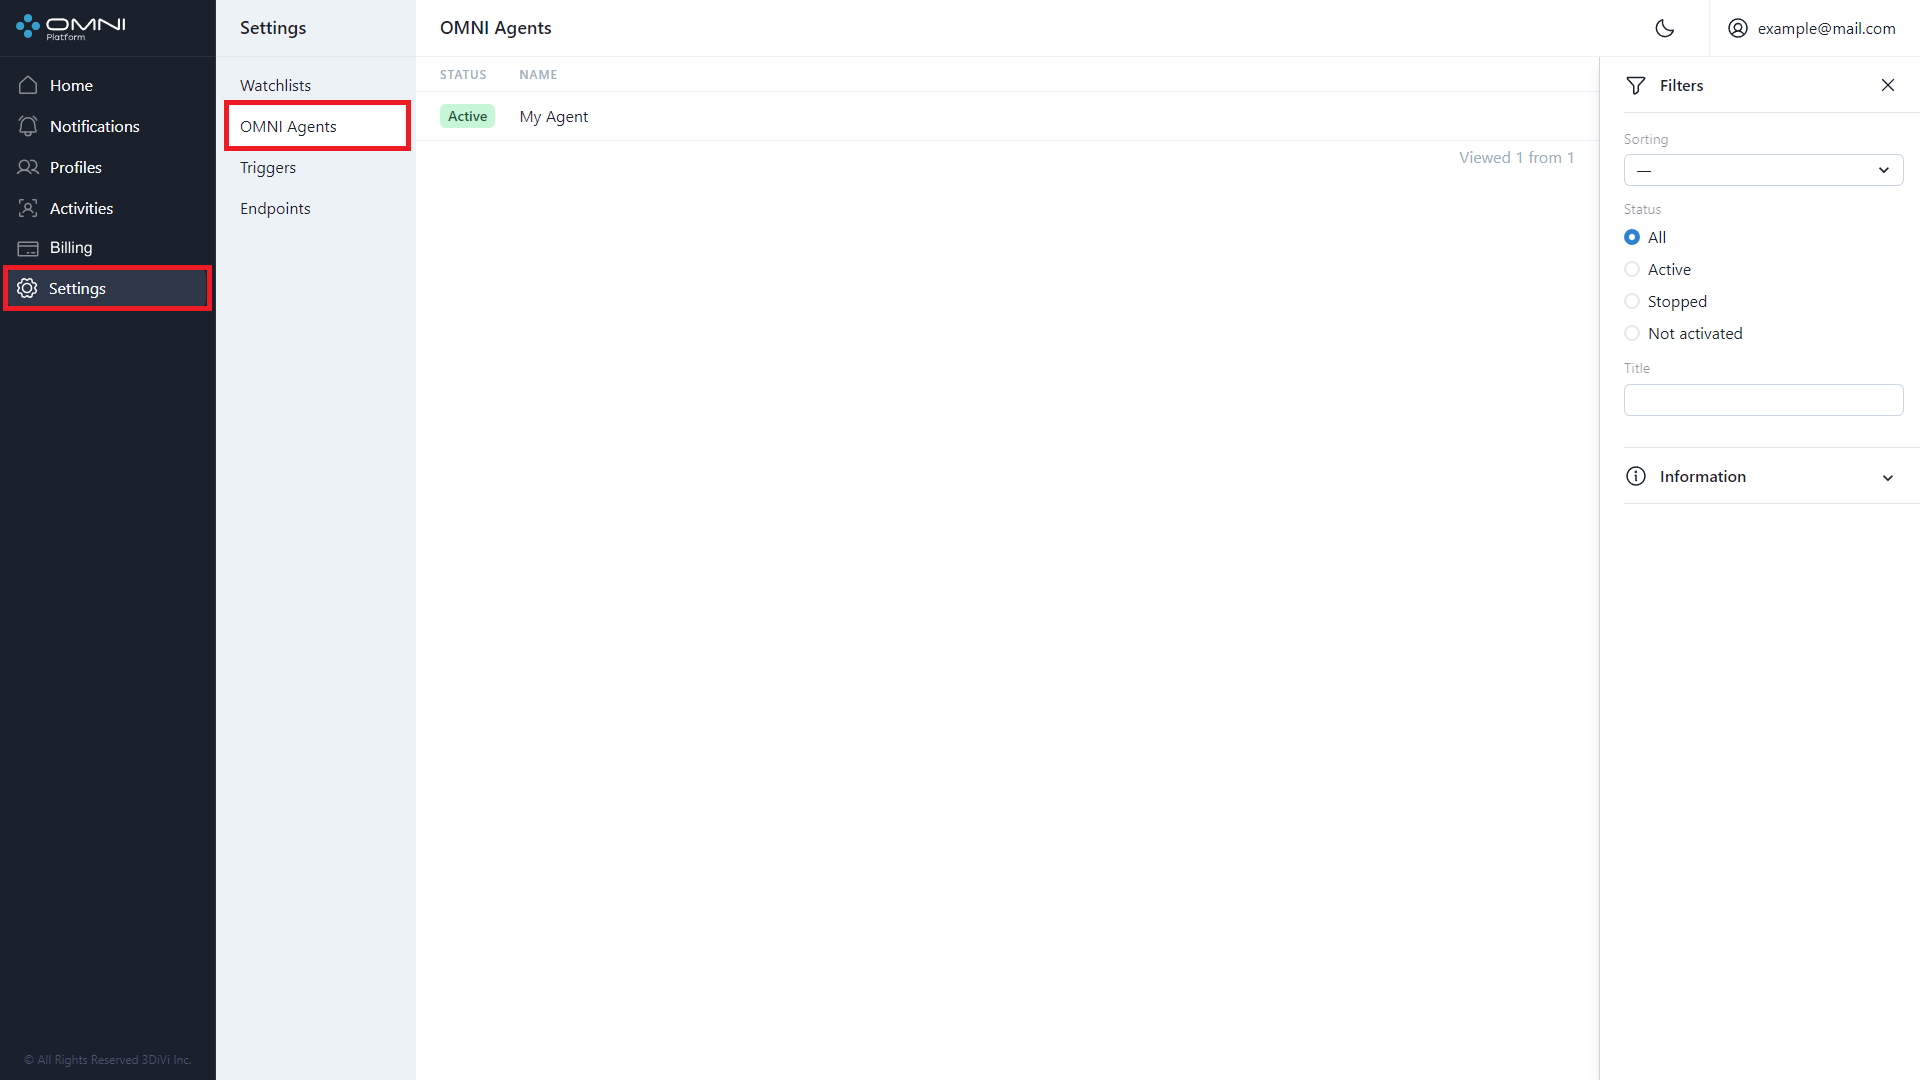
- The opened page displays a table with created agents. To view detailed information on the agent, click on a row in the table to open the agent card. The card displays the name, creation date, last modification date, and a button with a shortened ID. To see the full ID, just hover over this button. If you click the button, watchlist ID will be copied to the clipboard.

Agent status (active/stopped) can be viewed for each created agent at OMNI Agents section. If some agents are stopped and data from cameras is not collected, you'll see a special Warning panel at home page of web interface.
Edit Agents
To edit an agent, do the following:
- Click on a table row to open an agent card.
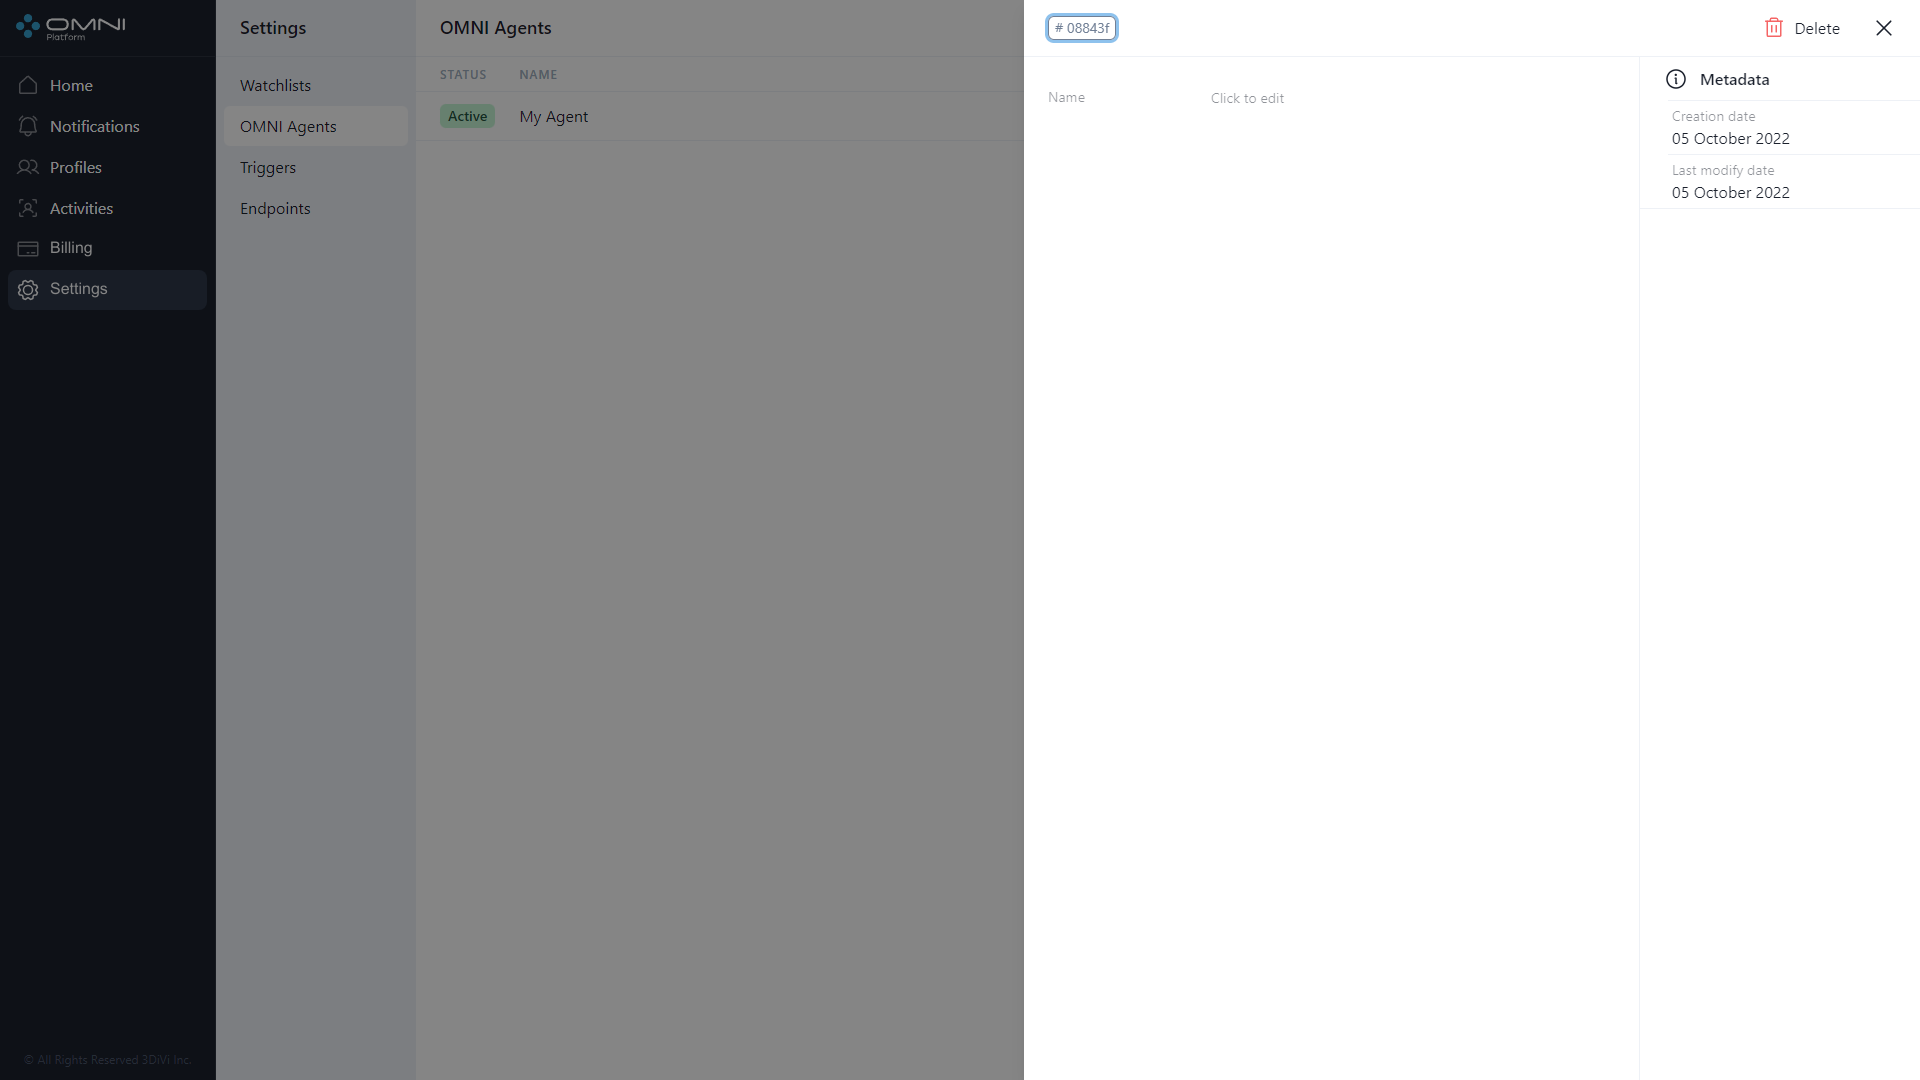
- To change the agent name, click on the appropriate field. After click Save button.

- As a result, agent data has changed.
The new agent name will only be specified for new activities and notifications. Agent name for old data will not be changed.
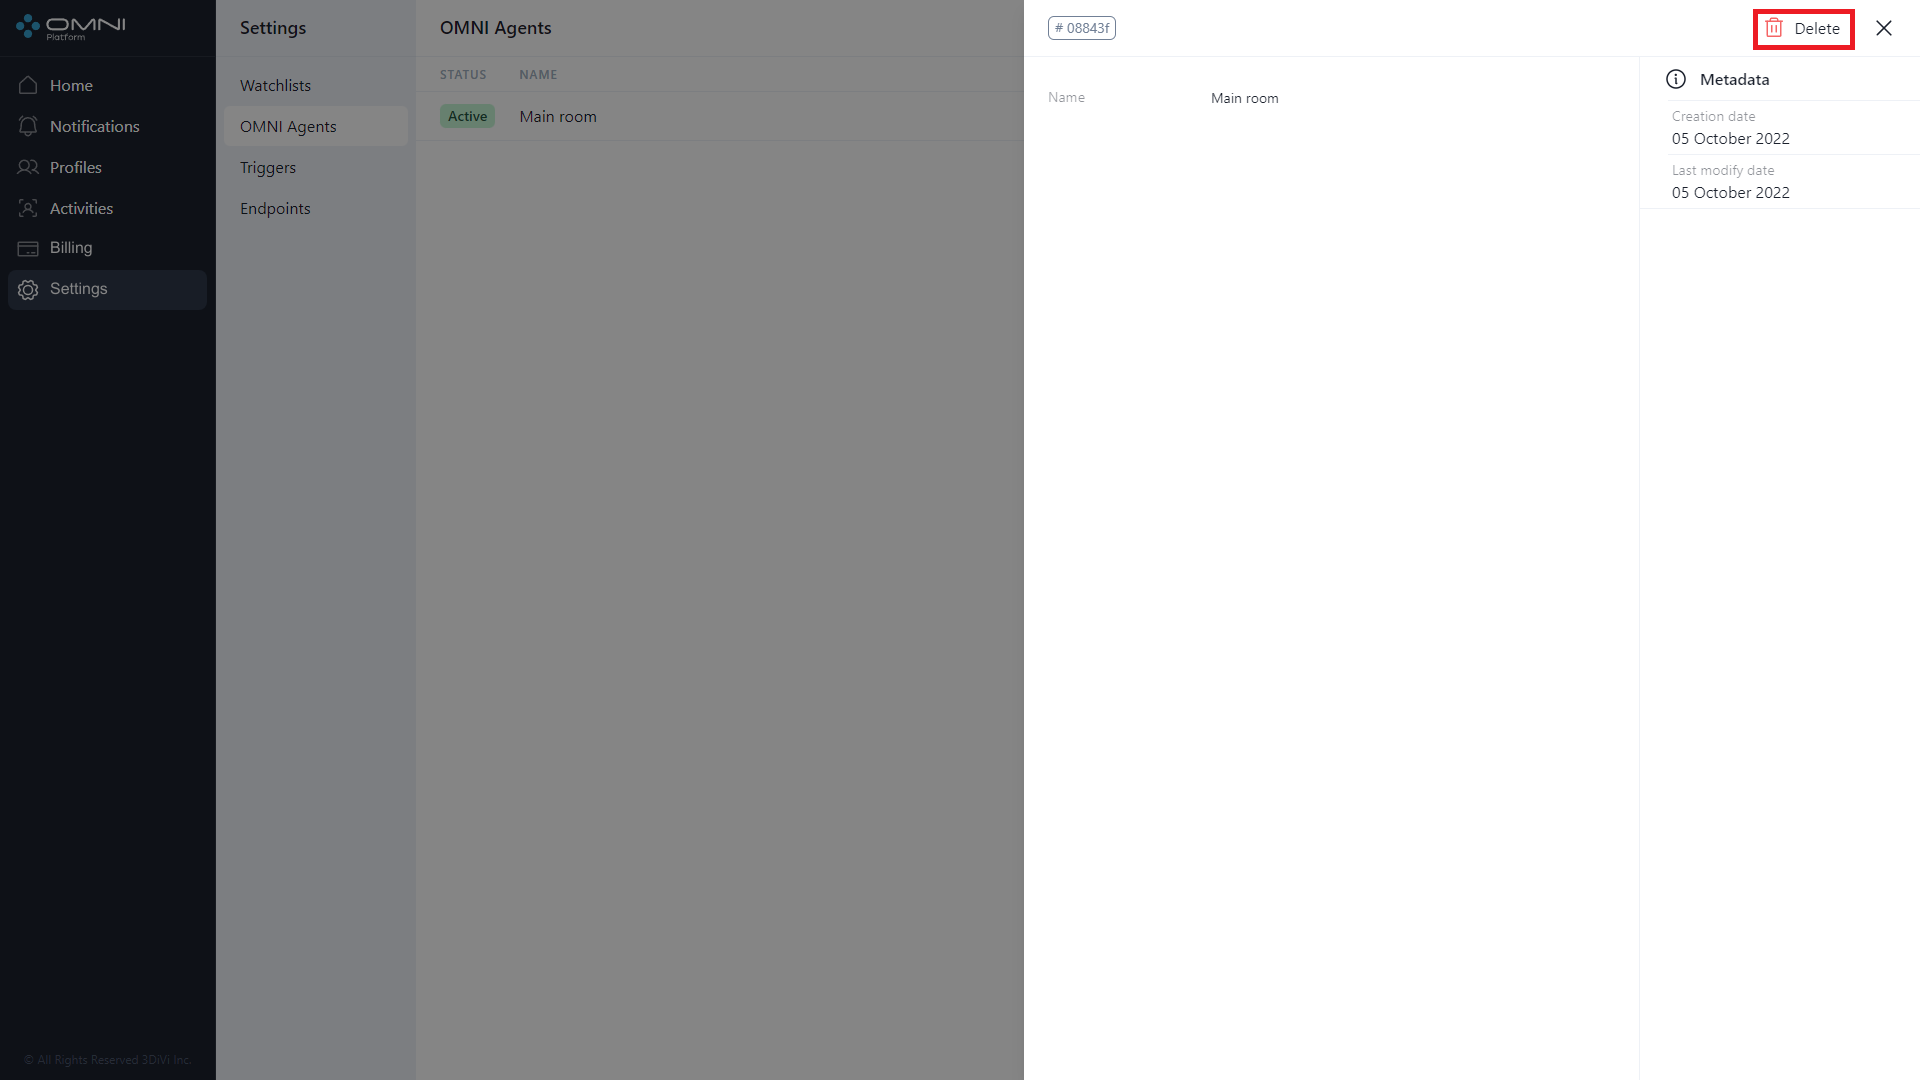
Delete Agents
To delete an agent, do the following:
- Open the agent card by clicking on the table row and click on Delete button at the top right side of web interface.
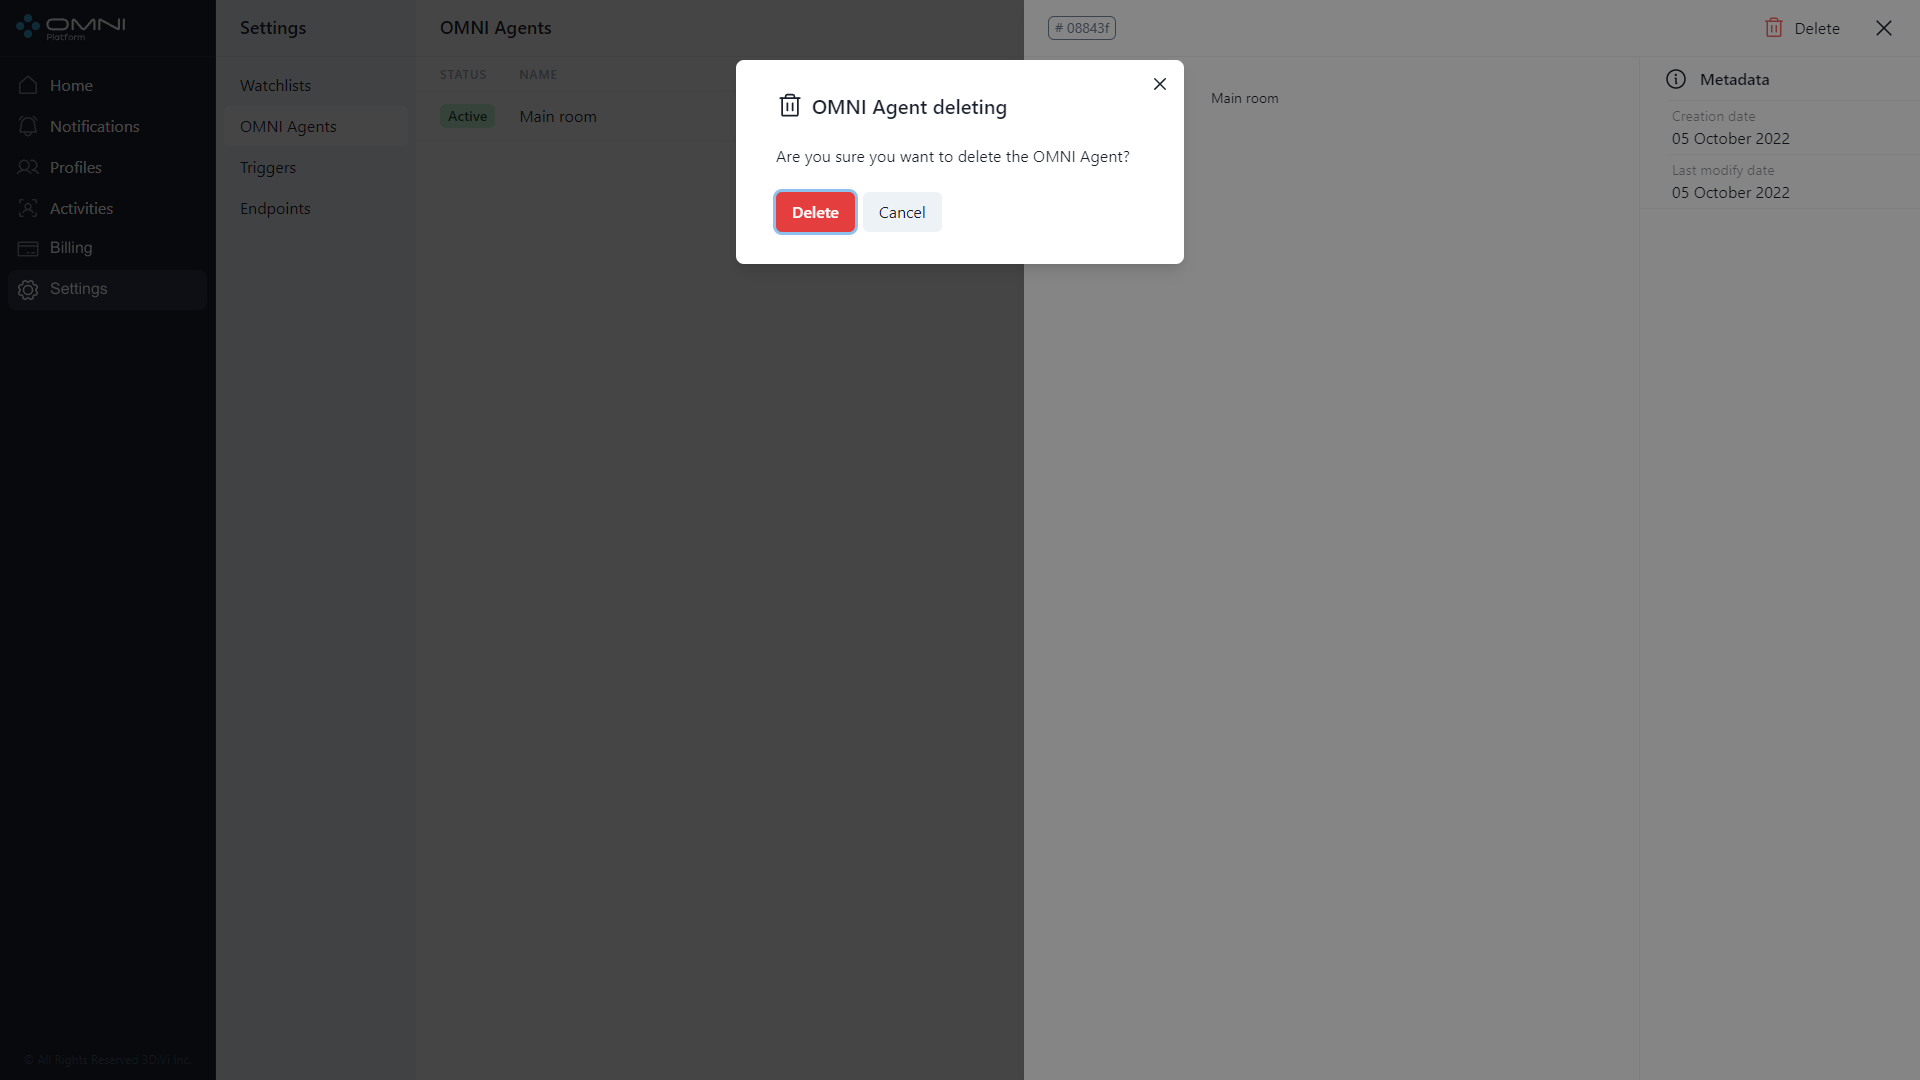
- Confirm the deleting.
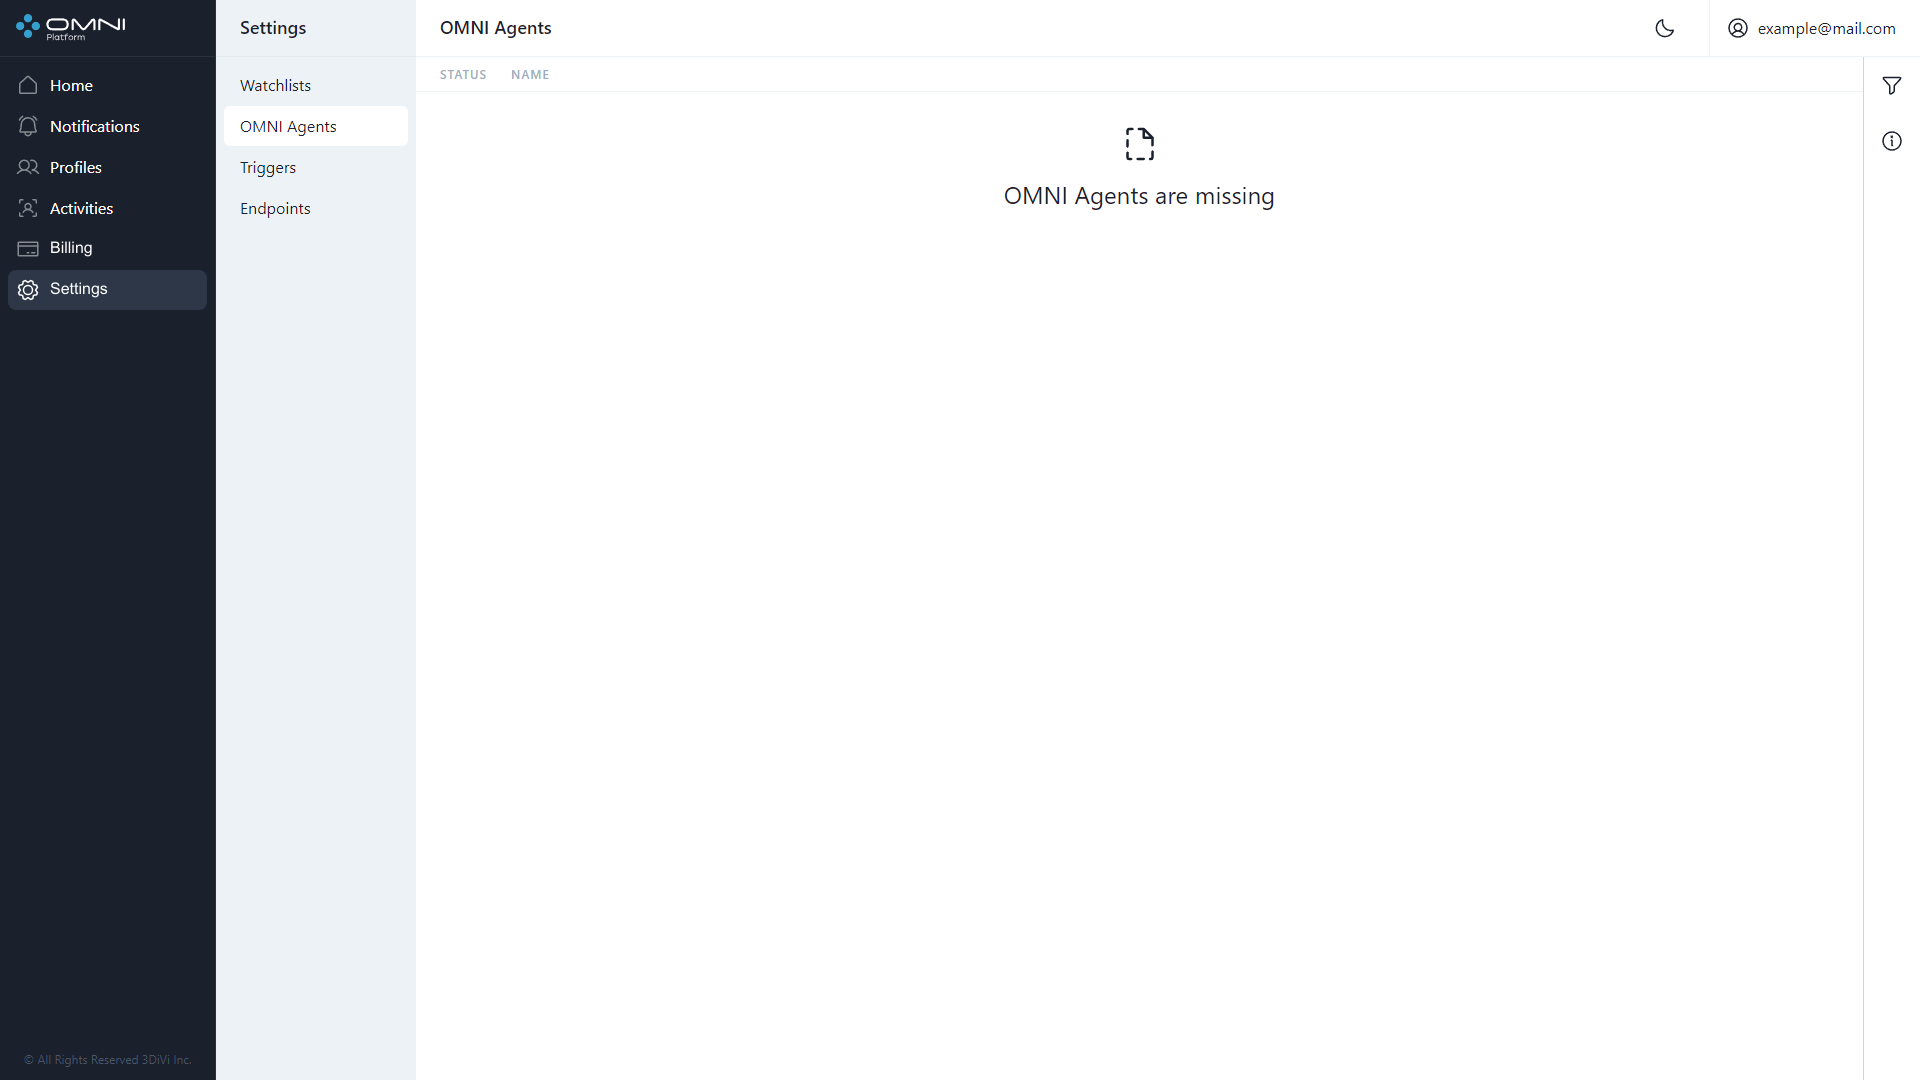
- As a result, agent is deleted from the database.
Filtering and Sorting
The system contains a list of filters and sorting options for Agent searching. Agents are filtered by the following parameters:
- Status
- Name
Agents are sorted by the following parameters:
- Creation date
- Modification date
- Name
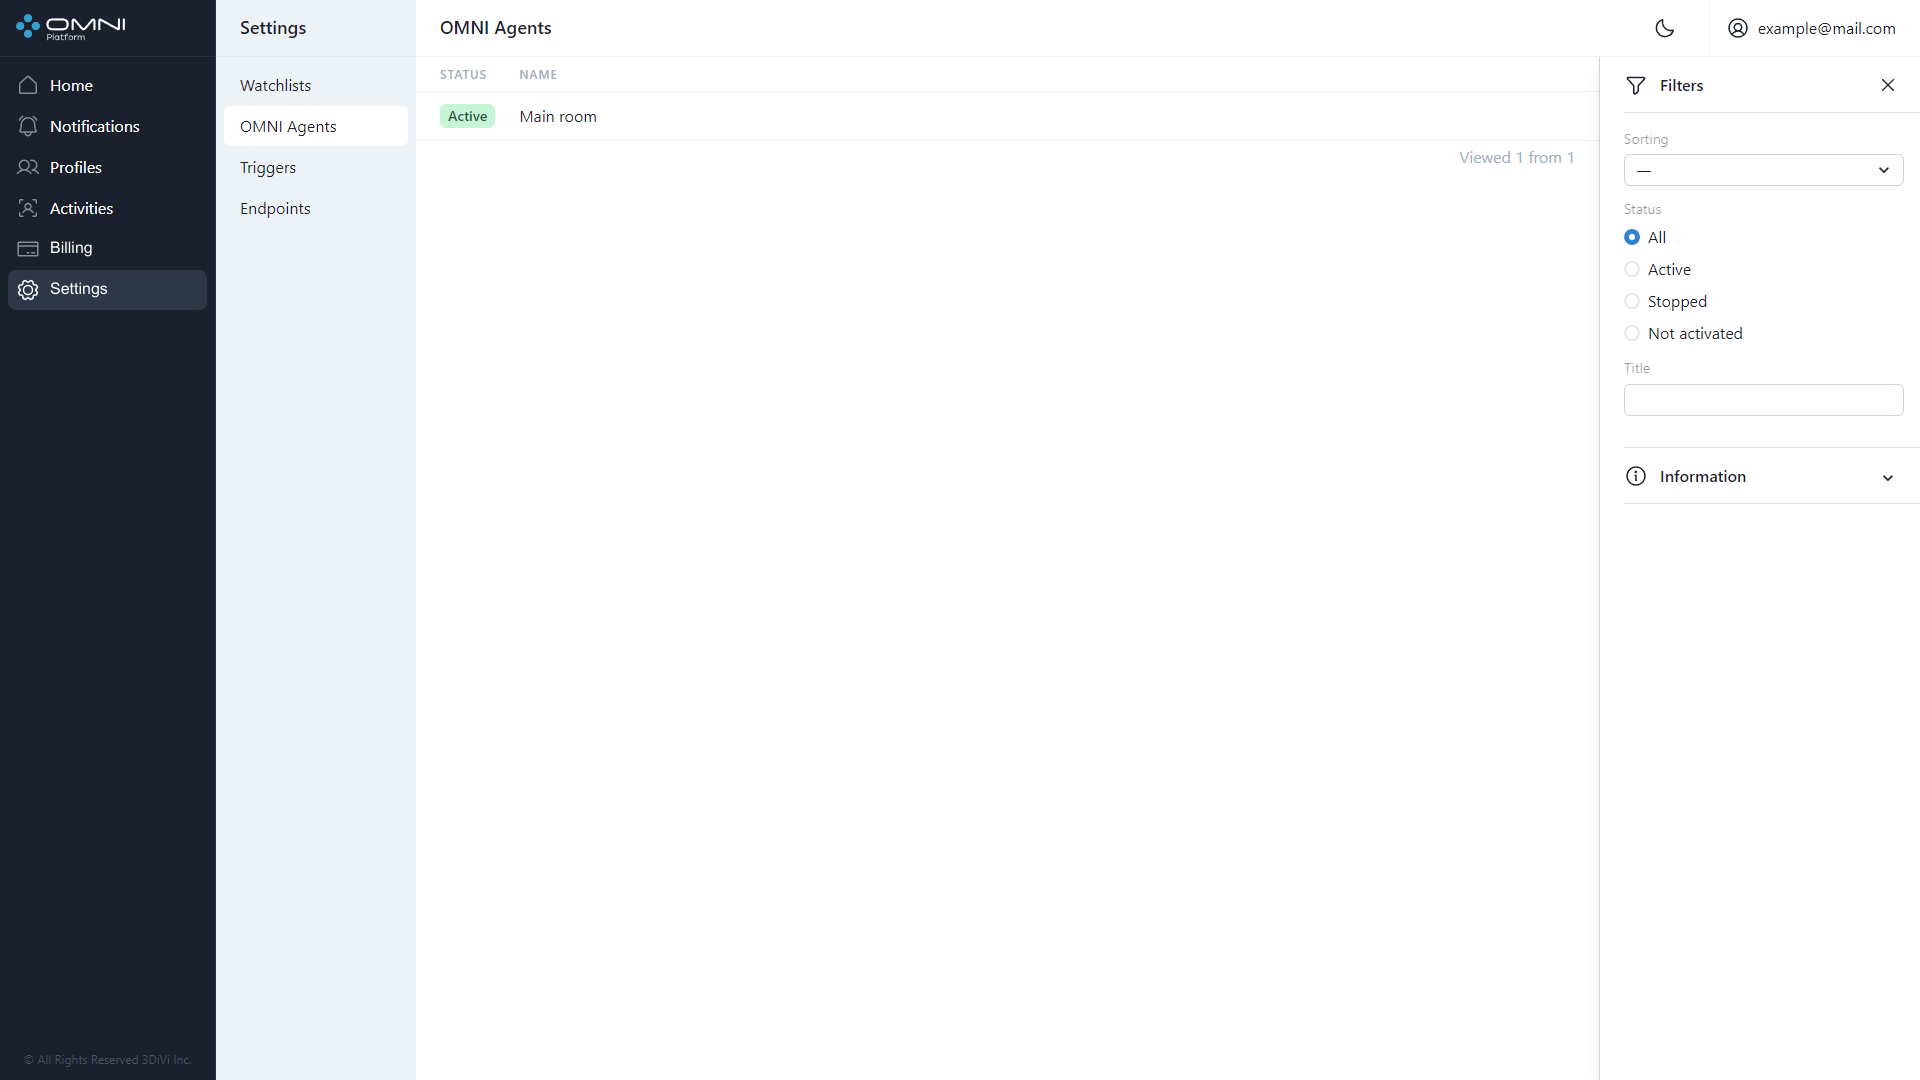
To configure filters, click Filtering icon at the top right side of web interface under Account button.

Fill in the appropriate fields in the opened tab. IDs can be copied from object cards.
